Start Your Garden In Winter With Microgreens Even A Novice Can Grow
Starting a garden project in the dead of winter may sound tough, but microgreens are easy, even for the novice among us. Their seeds take off pretty quickly, they are not fussy once they get growing, and they are great nutritional powerhouses for your family to add to just about everything in the new year. Plus, launching a vegetable confetti (as they are also called) windowsill garden is a great fix for outdoor lovers who already feel antsy waiting for spring planting to roll around.
A handy feature of microgreens is that they are one harvest and you're done, so they make a nice winter project that has a fairly quick beginning, middle, and end. Microgreens are simply just-sprouted seeds, so the vitamins, minerals, and anything else fabulous are tucked into a mini package in high concentration. According to CBS News, they got their start in the '90s when a reporter saw a chef pairing a smoked maple-cured duck breast with microgreens and decided to write an article about it. Since then, these germinating seedlings have been progressively picking up in popularity.
Like any vegetable, shelf life matters for these seedlings. Some last up to three weeks, while others only 10 days. Here are a few tips and tricks to pull off growing your own microgreens before the new year.
Growing your microgreens at home
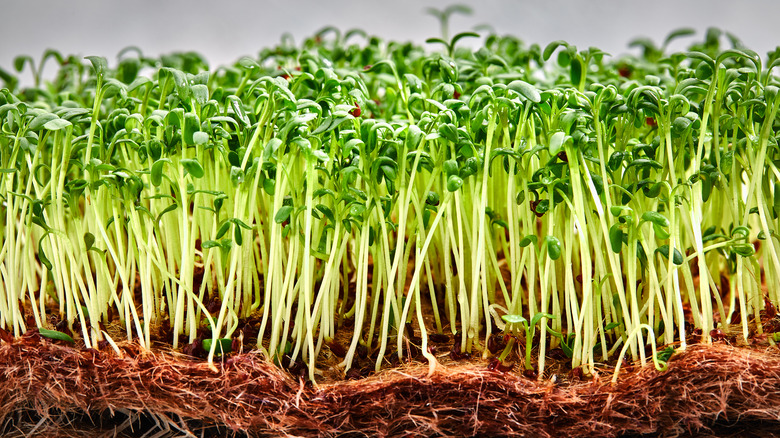
Starting from seed is fairly simple, but a few tricks will help. Keep in mind that you are growing microgreens, not sprouts. The difference may seem insignificant, but it's meaningful, especially since sprouts can take off from just seeds in a jar of water — but not microgreens. To get that sprout to mature into a visible little leafy microgreen, you need something for them to root into, like a grow mat or soil (via Feasting At Home).
The step-by-step rundown to growing your vegetable confetti starts with choosing your seeds. According to Home Microgreens, you could, in theory, simply use seed packets sold for garden use — but don't. For one thing, those may have been soaked in fungicides meant to give outdoor seeds a leg up when fighting harsh conditions in the garden. Also, getting a big bunch of microgreens will require a lot of seeds. A microgreens seed packet typically includes almost three times as many cores as a typical garden seed packet.
Get started by soaking your seeds for six to eight hours, and drench your growing mat as well. Place both in a shallow dish, fan out your seeds over your growing mat and tamp them down. Cover the container to keep the seeds dark for a few days until you see them sprouting. At that point, uncover and place them on your windowsill to enjoy watching them reach for the sun for the next few weeks while you water them daily.
Which microgreens pack the biggest punch?
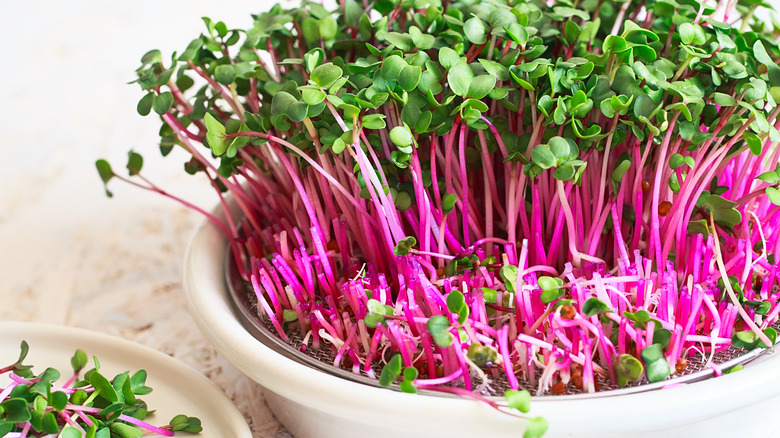
If you are looking to plant the most nutritious microgreens, start with arugula, broccoli, kale, radish, red cabbage, or wasabi. These are from the mustard plant family Brassica or Brassicaceae. A food and function paper published by the Royal Society of Chemistry noted these microgreens are the richest in antioxidants and present particularly high carotenoids (immunity boosters plus vitamin A).
Narrowing it down to one or two? Broccoli has the highest amounts of vitamin E, so that is an easy winner, but if you wish to turn your microgreens into a pretty display as well as functional, you might consider red cabbage or beet seeds. They sprout gorgeous red stems that bring some colorful vibrancy to your windowsill.
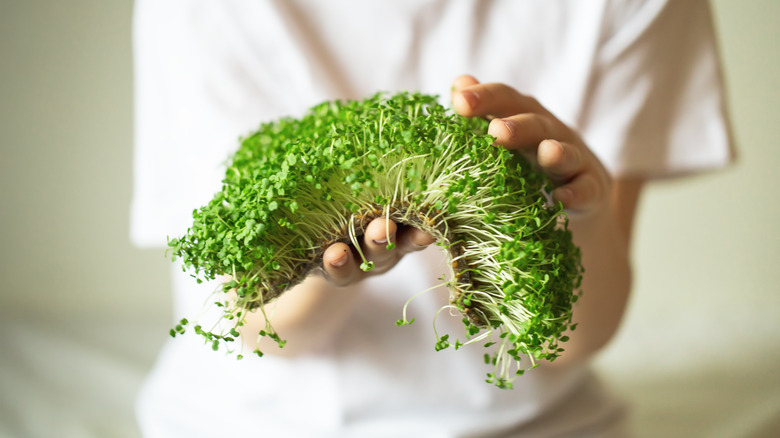
Urban Farmer suggests you harvest your microgreens once you see leaves develop fully, or in about two to three weeks. Your best shot at this quick growth cycle is to ensure your microgreens get around four hours of bright light a day. If that is not possible on your windowsill, positioning them under a grow light or a downward-facing lamp should suffice. To harvest, use a sharp garden shear and cut the microgreens at the base, just above the soil or growing mat. Then, like any leafy green, wash before eating and refrigerate leftovers, which can last up to 10 days in the refrigerator.