How To Properly Shape Your Christmas Tree

When you see a real Christmas tree out on a tree lot, you have a good idea of exactly how it'll look when set up in your space. It's a little more challenging to visualize an artificial tree right out of the box. Everyone who has set up an artificial Christmas tree over the years has had the experience of taking the tree out of the box and feeling a bit underwhelmed because it doesn't look the way you thought it would.
However, fear not — there's nothing actually wrong with your tree. You likely just need to shape it in order for it to truly shine. While everyone has their own systems and preferences, there are a few go-to tips that will help you ensure your tree is perfectly shaped and stunning every year.
If you're not dealing with a pre-lit tree, Interior Design Info notes that you can put the lights on first. This may seem a bit strange, but it's easier to situate the lights before you have each branch shaped. And as a bonus, you can double-check that everything works properly and will be able to visualize the way your tree will look lit up as you're fluffing each branch.
There's not much needed for tree shaping beyond some time and patience, but Balsam Hill does recommend wearing some type of gloves, as the tree branches may be a bit scratchy or irritating to your skin over the course of all that fluffing and shaping.
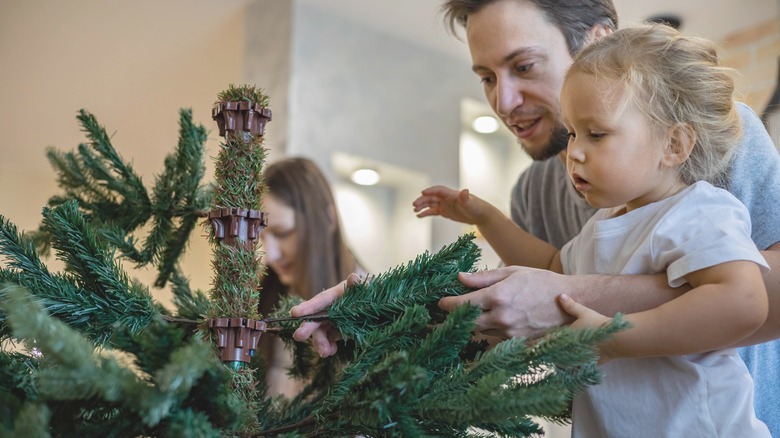
Work bottom to top

Once you have the majority of the tree pieces stood up and connected (apart from the very top segment — we'll get to that later), you might be tempted to just start wherever you think the tree needs shaping, moving from spot to spot. Resist that urge — for truly professional results, you want to be a whole lot more methodical about it.
The general consensus is that you should work from bottom to top when shaping your tree. In order to make the process easier, you may want to tie up the branches directly above the segment where you're working to add more room to maneuver.
Size is also a consideration. If you're shaping a larger tree that requires getting on a ladder or chair to reach the very top section, make things easier for yourself and shape the top before you actually connect it to the rest of the tree. This will help you achieve picture-perfect results in the safest way.
Often a reference photo can be incredibly helpful during the process. If you happen to store your tree in the box it came in (or there are images available online of the exact model you have), don't hesitate to examine them. They'll give you a better idea of how the tree should ideally look, such as whether the branches should point slightly upwards or downwards, as per Balsam Hill.
Go branch by branch — and be thorough
You've set aside a generous amount of time, you've referenced a photo, and you're moving from the bottom to the top. However, it's critical that you don't overlook a key step to properly shaping your Christmas tree — you need to shape the tree branch by branch, not just segment by segment.
As per Earl May, in order to attain the best results, you'll want to get every single branch and tip. Fan out the various sections of each branch to create a full look and hide any gaps or holes in the tree. While you can disguise some things with carefully placed ornaments and ribbons, it's easier to ensure you're working with the best foundation possible.
Finally, as Interior Design Info recommends, you'll want to take a few breaks throughout the process to view your tree from a distance. Even taking just a few steps back, you'll get a much different perspective from when you're looking at all the branches up close. This distance will allow you to view the tree in its entirety and more easily identify if there are any gaps or strange configurations of branches to address.