How To Use A Stud Finder
While it might seem like stud finders have been around forever, that's only true if you were born after 1977. That's the year the modern stud finder was invented by a man named Robert Franklin, as noted on WorthvieW. Zircon Corporation began making a product called the StudSensor in the early 1980s, and it held the patent for stud-finding devices all the way through 1998. Since then, many other companies have produced their own versions of the product, including Franklin Sensors, Bosch, Ryobi, and Dewalt.
Everyone from weekend DYI warriors to construction pros regularly rely on stud finders to locate support beams behind drywall quickly and accurately. Even the casual home decorator can accomplish the task of hanging pictures more easily using a stud finder. They're not all created equally, though, and there are some steps to follow to correctly use a stud finder after determining the type to buy.
Which type of stud finder to you need?
There are several different types of stud finders available in varying price ranges, and they all operate a bit differently. Which one you purchase will likely depend on how often you'll use it and whether you need to locate other things behind drywall beyond studs.
The least costly models employ magnets to locate nails holding support beams together behind the wallboard. These are the traditional types of stud finders used by do-it-yourselfers for decades. There are also stud finders that do the same job using electricity to detect energy stored in the studs. These are categorized as mid-range in terms of price and how accurately they work. High-tech stud finders are also available that use radar to locate everything from studs to pipes and wiring. As you probably guessed, these are the most expensive stud finders on the market, but they are also the best in terms of accuracy.
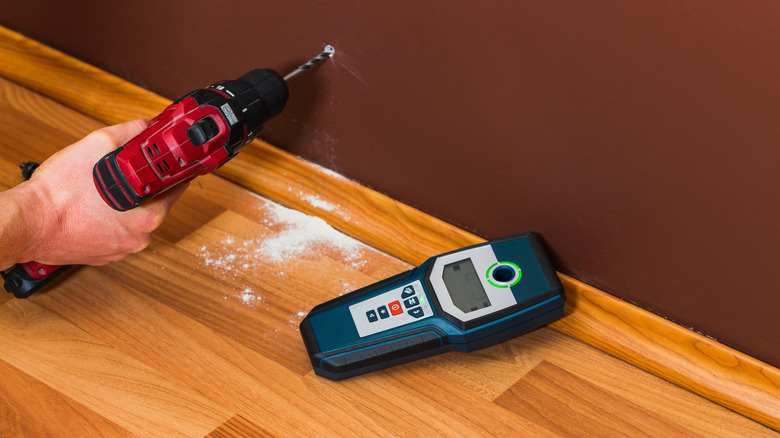
Regardless of the type you choose, check the batteries in your stud finder before using it. Incorrect readings can occur if your batteries are not fully charged. If your stud finder needs calibration, do that as well before beginning your project. If you've misplaced the manual, check the manufacturer's website for instructions.
Using your stud finder
Stud finders are often used to determine the best place to hang heavy objects like large art pieces or television mounting brackets so the first thing to do is determine the best location on your wall. Once you've decided on the best viewing spot, be sure to read the mounting instructions for the type of object you're hanging before you begin.
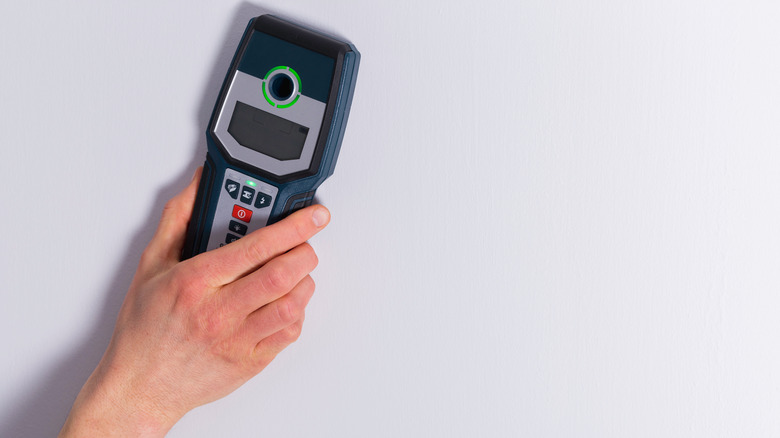
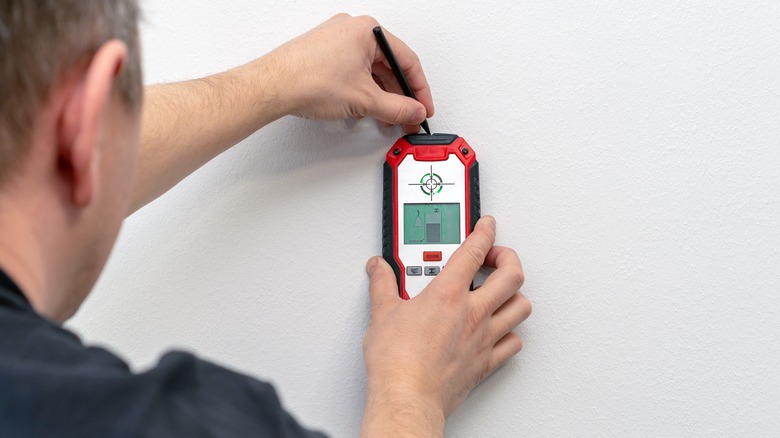
Support beams are usually located every 16 inches behind walls in new homes but can be further apart in older houses, as mentioned by Homedit. Concentrate on an area about 2 feet wide in the vicinity of your ideal hanging spot and run the stud finder along the wall from right to left to begin your search. If you don't immediately locate a stud, move the finder up or down the wall by a foot or so and try again.
When you find the support beam, the stud finder will beep or a light will blink. Make a small mark on the wall with a pencil to denote that spot. Continue moving the stud finder to locate the other edge of the stud, noting that it'll typically be a 2 x 4, and mark it. Dead center is right in the middle of those two points. Once you locate a single stud behind the wall, you can easily measure 16 inches in either direction to find the location of other studs.