The Easiest Way To Install Crown Molding, According To An Expert
Historical homes can cost over 5.6% more than similarly sized homes in the same area, yet many people are willing to shell out a little extra cash just to have the unique appeal of an older home, according to Realtor.com. After all, older homes often come with unique details like built-in shelving, hardwood flooring, and crown molding, which is one of the most beloved vintage home features. You don't actually have to purchase an old house to achieve the same charming look; adding this feature to your walls yourself is one of the easiest ways to give a room more age-old appeal and potentially even boost your home's future sale price.
Of course, there's a big difference between seamless, pristine crown molding and a shabby, poorly fitted DIY project. That's why we spoke to Jeff Palla, president of Mr. Handyman, a Neighborly company. In an exclusive interview with House Digest, Palla gives us his best tips for purchasing, planning, and installing this detail in your home. Stressing that the job must be done well, he says, "Adding crown molding to your home boosts character and can make low ceilings appear higher. It also increases value when it comes time to resell."
Materials and tools

Beautiful results start with choosing the right tools and materials. When you're just getting started, you may be surprised to learn that there are many different kinds of crown molding, and each type comes with distinct advantages and drawbacks. Jeff Palla says, "When selecting crown molding for your home, it is important to consider both the style and material. Wood is pricier, while medium density fiberboard (MDF) is more affordable but may warp. Other popular types of crown molding include polyurethane, metal, composite, vinyl, and polystyrene." Even curved and oddly-shaped rooms can be easily dressed up these days. Rubber flex crown molding is designed specifically for this purpose. Depending on the size of the job, it can run anywhere from $50 to $500 per linear foot (via Angi).
Once you've settled on the right design and material for your project, it's time to pick up some high-quality tools. Although installing crown molding may seem like a relatively simple project, Palla advises, "You will need tools like coping saws, power miter saws, chalk lines, hot glue guns, rasps, drills, and hammers."
Measuring and cutting your molding
Accurately measuring your crown molding is one of the most important steps — and the most tedious. To help you nail the perfect fit, Jeff Palla offers some advice. "Measure 3 inches down from the ceiling where the crown molding will sit. Note: It's best to round up 1/16 of an inch or so to avoid cutting pieces too short. Use a T-Bevel and protractor for measuring corners." These words of caution about rounding up ring true; it's much easier to trim away a little excess later than it is to fill an obvious gap.
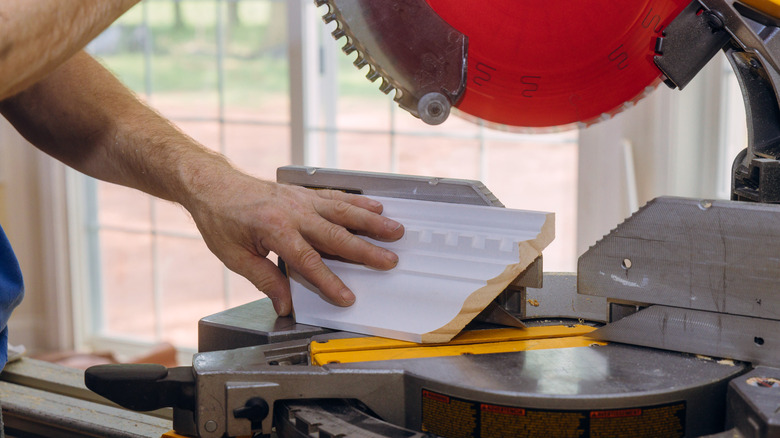
With your measurements worked out, you can move on to cutting the crown molding into shape. This step can be extremely nerve-wracking, as messing up your cuts could mean wasting materials and, therefore, wasting money. Palla walks us through his process. "When cutting crown molding, first set your saw to the correct setting. Place crown molding where it is supposed to be cut; take your time when cutting to ensure best results." Before rushing into the installment step, he says, "Check if your pieces were cut correctly by holding them up on the desired wall. Dry fits help ensure pieces are not too long/short prior to gluing." It may help to line up your crown molding pieces along the floor after you've dry-fit them to make sure they stay in the right order.
Attaching and installing crown molding
Next, you'll prep your crown molding pieces for installment. Jeff Palla recommends giving each piece a thorough coat of glue to avoid correcting mistakes later. He says, "Glue all sides and ends of each crown molding piece; everywhere it touches the wall should have glue behind it. The glue (rather than the nails) is what keeps the pieces in place."
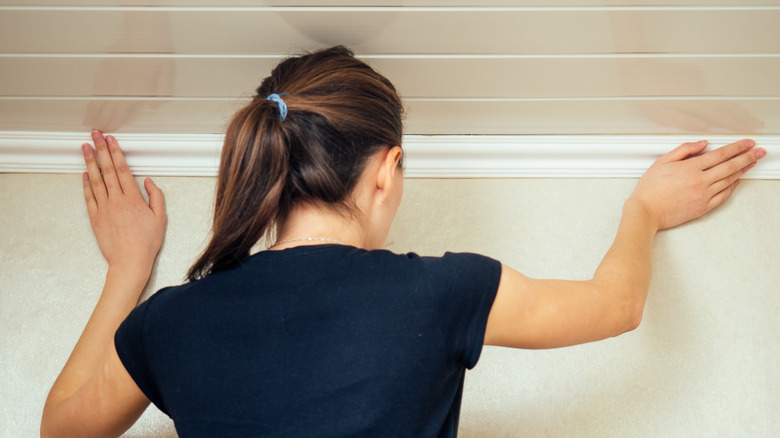
Finally, your gorgeous crown molding can be installed. Grab a sturdy ladder and climb up until you can reach the ceiling. If possible, recruit a helper to hand you pieces and tools as you work your way around the room. Palla says, "Take the piece you have prepped with glue and place it on the wall. The detailed side always faces down when placing. Once in position, using a nail gun, nail each of the corners of every piece... Make sure to clean up the glue while it is still wet." Most importantly, he cautions DIYers to work carefully and specifically. "Be precise when fitting," he says, "and remember caulk can hide minor mistakes on paintable material, not stained. Making up for imperfections in cutting and attachment will increase total [installation] time."
Making a return or end cap
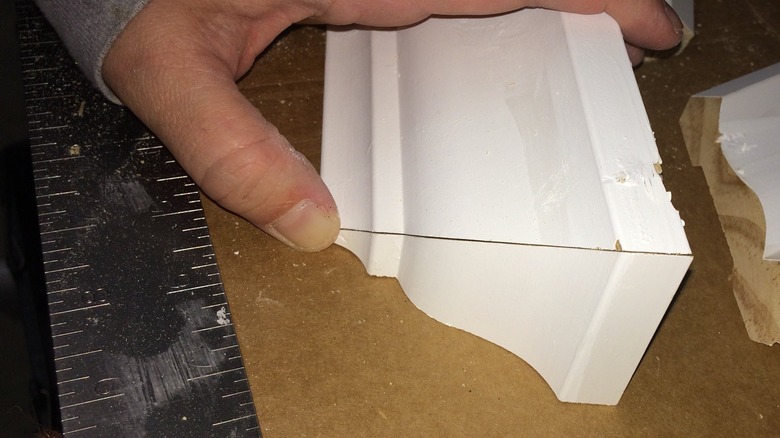
Installation is a breeze when you're working with a big room or long hallway, but what should you do when you reach an endpoint? How do you resolve awkward corners where one room meets another or you run into cabinetry? "For areas where the crown molding just ends — e.g. doesn't go to inside or outside corners and there's nothing for it to butt up against — create a return. Take a leftover crown molding piece and make a diagonal cut off the corner, and then cut a straight line of this same area to make a small triangular shape. Take this piece and glue it on the inside of another crown molding piece," advises Palla.
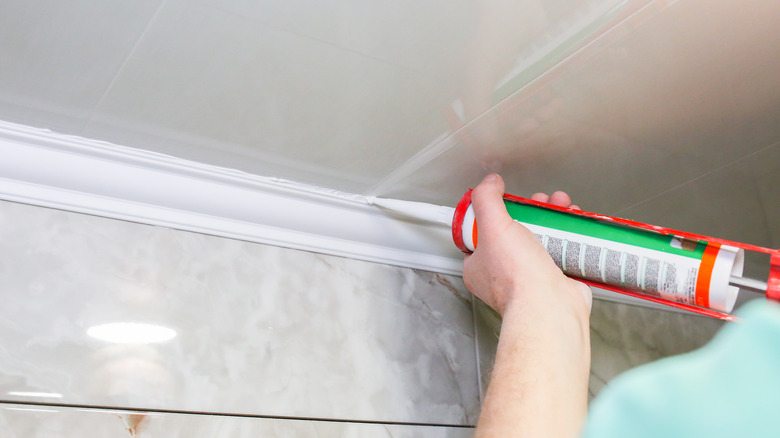
Now that your corner shape is worked out, all that's left to do is polish off the look. "Finish by filling all the cracks and holes with caulk," suggests Palla. "Really... push [the caulk into] each crack to avoid it sitting on the surface. Always keep a slightly wet sponge with you to do this." Once your beautiful crown molding is installed, sealed, and dried, you're ready to complete the project with a coat of fresh paint.