Tips On How To Transform A Shiny Surface To A Matte Finish
We've all made mistakes we regret when choosing the right finish. It's hard to know what type will work best with what room or piece of furniture, and sometimes what we thought would be a great spot for a shiny surface ends up being a glaring nightmare. But is it even possible to change your mind and dull the finish once you've gone shiny? Or what if you've bought a home full of glossy finishes or inherited a shiny furniture piece? First of all, yes it's possible — it's just a matter of finding the best way for your purposes or project.
As far as paint goes, gloss finishes are easier to clean, but have the nasty side effect of showing any imperfections and even accentuating them. The same can be said for glossy wood pieces. These also often look dated and very much in need of a modern makeover. The bottom line is, if you have a finish that's too shiny on any type of wall, piece of furniture, or another surface, and decide you want to flatten it, there are steps you can take. So if you're interested in tips on how to transform a shiny surface to a matte finish, you're in the right place.
Use steel wool and soapy water

One way to dull the varnish finish on certain things is by using some super-fine steel wool. This method is helpful for smaller objects as well as furniture, and the best grade to use is #0000. You can find it at most home improvement sections or even craft stores. This kind of steel wool is so fine it almost feels like cotton. It will also remove any undesired brush strokes that may be left in the finish. Maybe you have a picture frame or a small jewelry box with a high-gloss finish that you want to change to matte. Using steel wool is a simple, chemical-free method that nearly any skill level can use.
Gently rub the steel wool over the object to remove the shiny coating and buff it out until you get to the desired level of sheen. Be careful to put something down to catch those pesky metal shavings while you're using the steel wool. Buff slowly and evenly, checking the surface for progress along the way. However, if you happen to take too much off, you can use a varnish to bring back some shine.
Try Scotch-Brite pads
One popular product is 3M Gray Scotch-Brite scuff pads. There are great to scuff the existing paint finish to prepare the surface for a new one. It allows a new coat to grab the surface of the old one, and in the case of a high shine, can help you reapply a matte finish. These pads work great for this purpose and are a cost-effective option. The pads are made out of aluminum oxide and are a very durable abrasive that can often be substituted for sandpaper. Woodworking projects can go faster and you'll get a finer finish with these pads. Plus, many people find them easier to work with than sandpaper. They also come in different grits and sizes, making them ideal for various projects. Every color of the pads corresponds to an equivalent grit of sandpaper. So for example, if you need 360-400 grit for basic refinishing, use the pads that are maroon in color.
Clean the surface you want to dull before starting, and be sure you remove all greasy buildup and dirt. This is important to prevent bigger problems later, and it keeps the new finish from becoming contaminated. Simply scuff the entire surface until it becomes dull and dry, with no shiny spots left, and has a uniform appearance. Afterward, take a clean microfiber cloth and dampen it with rubbing alcohol to go over the surface again. It should be slightly rough and tacky so the new matte finish adheres well.
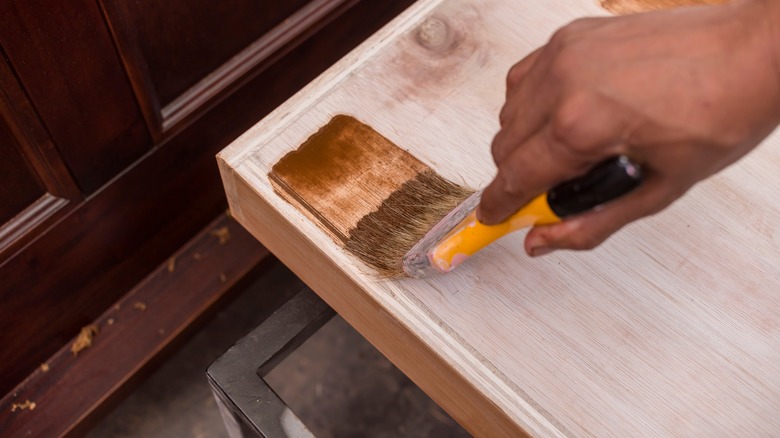
Sand and polish wood surfaces
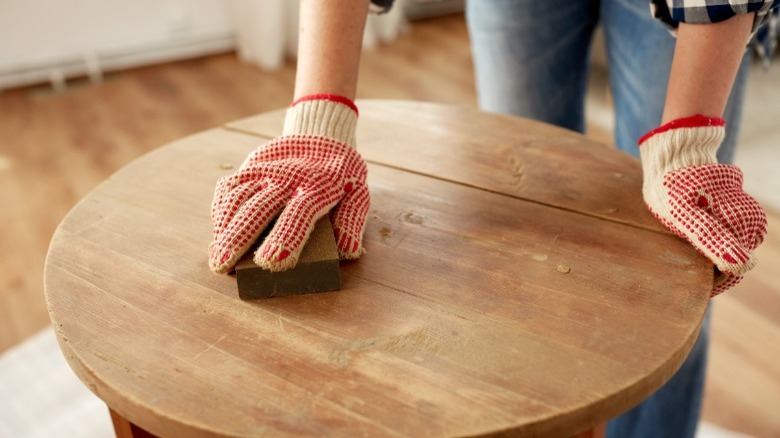
If you want to dull a gloss finish on wood, you will likely have to sand it down. For this method, you'll need several different grits of sandpaper, from 220 to possibly 1,000 grit. Mineral spirits or soapy water can be used with clean rags for wiping down in between.
Depending on how thick it is, start with 220 or 300-grit sandpaper. You can use also 400 grit if the finish is thinner. Then, lightly wet sand the surface with mineral spirits and use a circular motion. Increase the grit to a finer texture as you work and clean in between sandings with the mineral spirits to monitor your progress. When you've removed the sheen to your liking, you can clean it off with soapy water or a little bit more mineral spirits and let it try.
If it becomes too dull or you're not quite happy with it, you can use a higher grit and go over the surface again to bring some of the shine back. If you still haven't achieved the results you are after, you may have to use a polishing compound and lightly buff out the surface with an orbital sander. Another option is to apply a spray coating like Rustoleum Matte Finish to complete the project. This gives surfaces a protective layer while eliminating shine.
Try denatured alcohol
Although this method doesn't work on all finishes, denatured alcohol can remove the shine from many wood surfaces. This can work to remove shellac coatings but isn't effective against varnishes. To test if the alcohol will work on your project, apply a small amount in an inconspicuous area to see if the coating melts away. If so, you can use it on the rest of the piece. However, if it only softens slightly, you likely have lacquer in your coating as well. Add an equal amount of lacquer thinner to the alcohol and spot-check the coating again. Once you know you have an effective solution, you can move forward with removing the entire finish.
Working in sections, apply the solution and wipe it away as the coating softens. If there are nooks and crannies or lots of grooves, use a paintbrush or toothbrush to work the liquid into these spaces. When you're done, wipe the entire piece down with steel wool slightly moistened with your solution. It will dry quickly and be ready for sanding to your desired finish. Then, leave your piece unfinished or apply your desired paint, stain, or polish.
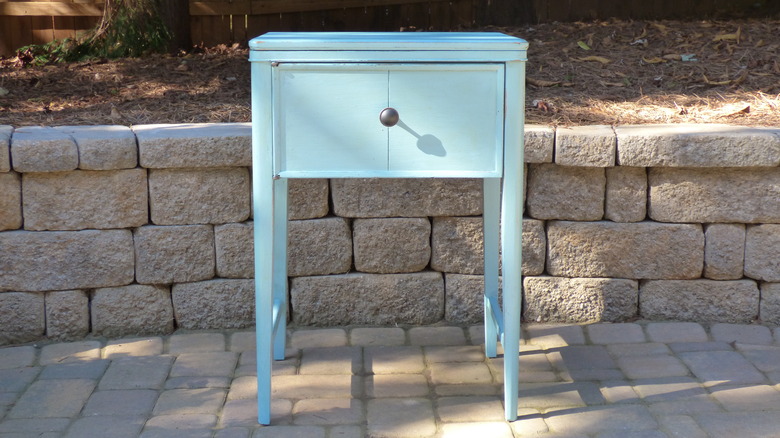
Repainting over other finishes
There are a few main types of paint finishes, each designated by the sheen once dry. These include flat, eggshell, satin, semi-gloss, and high-gloss. Satin and semi-gloss have a protective sheen that gives them more durability and resistance to moisture damage. This makes them a popular choice for kitchen cabinetry and furniture pieces. However, you might not want the glossy look and would like a modern, flat finish instead. Fortunately, it's possible to revamp these surfaces with a more toned-down paint option while retaining durability.
In order to properly transform these surfaces, they need to be sanded, degreased, and primed for the new paint first. Start by thoroughly cleaning and degreasing the surface and allowing it to dry completely. Then lightly sand the surface to create a rough, textured surface for the primer to grip onto. Remove all dust with a clean microfiber cloth or the brush attachment of a vacuum. Then, apply a coat of quality primer that's designed to support your new paint finish. Once dry, you can coat the surface in your new paint. Apply enough coats for adequate coverage and allow each coat to dry completely before the next. To finish your project, add a matte polyurethane sealant or a flat finish varnish over the fully cured paint. This will help keep moisture out, prevent minor damage, and reduce visible wear and tear.
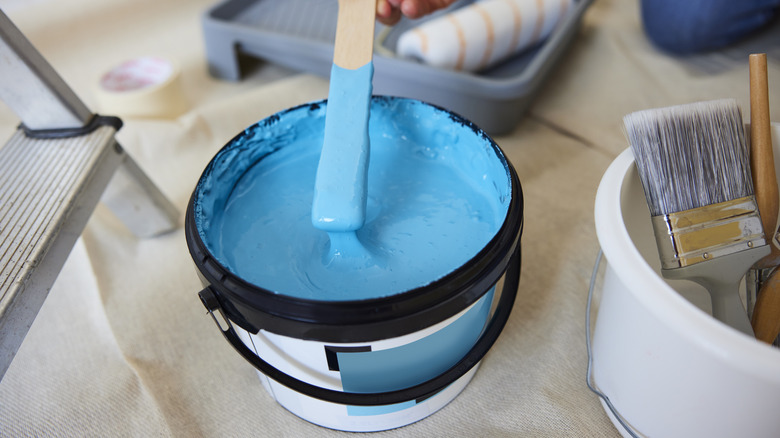
Use a gloss remover or liquid sandpaper
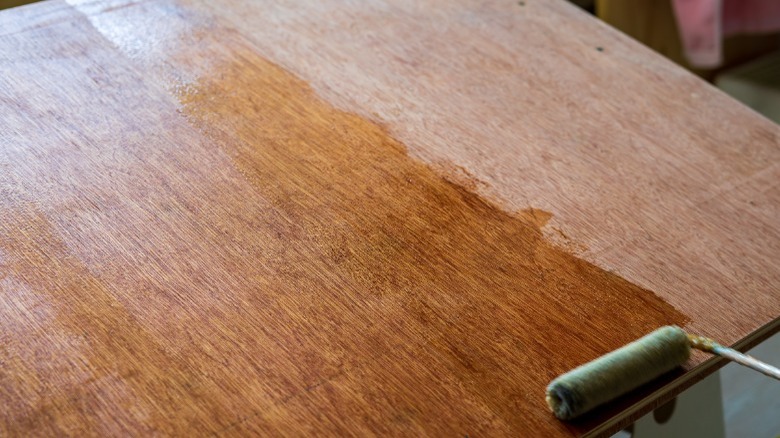
If you really want to avoid sanding altogether, you can try a deglosser, also sometimes called liquid sandpaper. However, keep in mind it does not work very well on oil-based paints and finishes. That said, you can apply it to a polyurethane or painted surface in lieu of sanding before applying your new paint finish. It takes the gloss off and creates an ideal surface for paint or primer to stick to. While sandpaper does this by creating physical ridges in the finish, the glosser uses a chemical reaction to bond the new finish to the surface.
Be sure you're working in a well-ventilated area, as the fumes can be strong. First, you'll pour the gloss remover into the bucket and get your scouring pads out. You can also use a rag or paintbrush for smoother materials. Apply the gloss remover over the surface, making sure to cover the entire piece. As the gloss remover works, the surface area will become cloudy and feel sticky in places to the touch. Check the manufacturer's instructions for the ideal wait time. Then, apply a coat of paint within this window so the deglosser can chemically bond it with the surface. You can then apply a flat clear coat for extra protection.
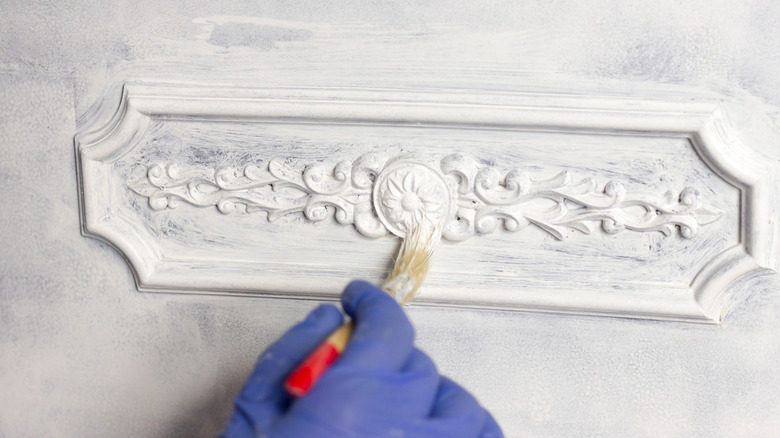
After painting try a flat acrylic varnish
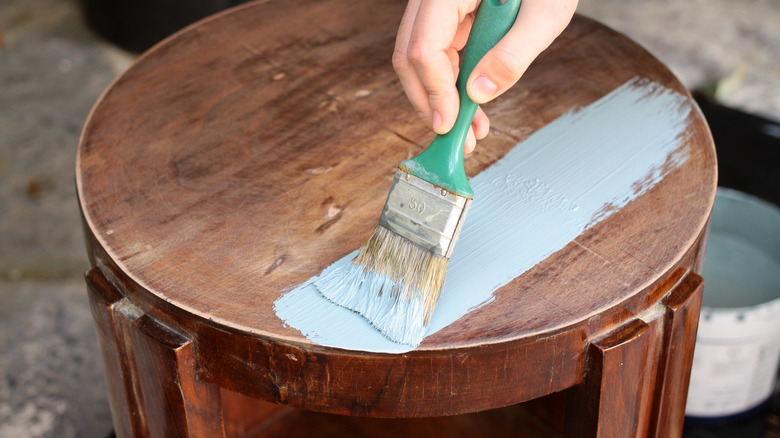
Using an acrylic varnish is probably one of the simplest methods to try for making your shiny surface matte. If you've already painted with paint that's too glossy, that's ok, as long as the paint is still in good condition. It's better if you try this method right after the glossy paint dries, but as long as it's done before any wear occurs, it can work. Modern Masters makes a product called Dead Flat varnish that's popular with DIYers and is super simple to use.
Simply apply a matte varnish coat and allow it to dry. In many cases, this is enough to achieve just the right sheen. The finish can be applied to woodwork, furniture, doors, and cabinets and dries fast. It especially works well with light-colored woods like ash, birch, and maple. The dead flat varnish can be applied with a brush, roller, or even a spray gun, and is often used in decorative projects where too much gloss is creating variations in the sheen. Plus, this gives you that subtle on-trend matte look while creating cleanable surfaces — perfect for high-traffic areas.
Before using gloss paint, make it into a matte finish
Maybe you've found the perfect color of paint for a room or project you've been working on forever, and it is truly perfect. Except — it's semi-gloss, and doesn't come in matte. So you buy the paint, with the hopes that you can fix it somehow. If this is the situation, you have a couple of viable options. Luckily, you can mix your own matte finish into the paint before ever using it, and ending up being sorry later. There are two products you can try: crushed chalk, or rice flour.
Rice flour is a low-cost cooking ingredient that doubles as a common DIY material. If using crushed chalk, you have to make sure it's completely powdered, and run it through a sieve first. Add either one in small increments, testing the finish before adding more. Be sure to mix the powder into the paint extremely well, and if the mixture is too thick, add a little solvent and use small amounts at a time. It's going to take some trial and error, and it's best to try it out first on something easily hidden like the inside wall of a closet. Remember to add a little extra drying time because it will be slightly thicker.