How To Properly Install A Fan If You Have A Cathedral Ceiling
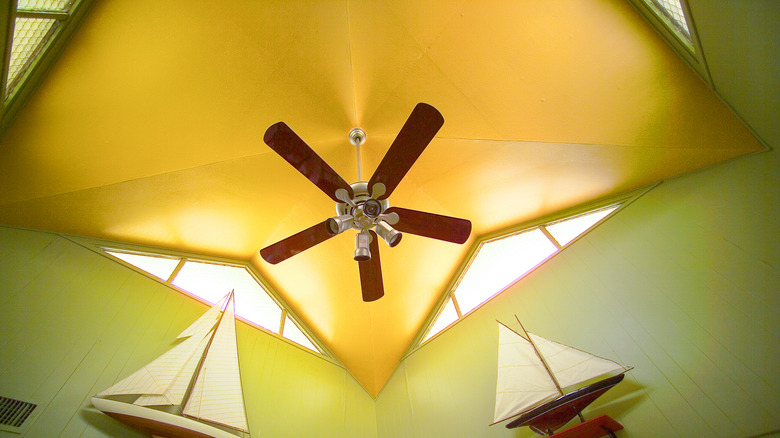
Cathedral ceilings, noted for their symmetrical and high structure, are a dramatic component of a home's architecture; any entryway is more majestic when there's one present. And, hanging a large chandelier here is a common way to add to that grand impression. But what if you have a cathedral ceiling in your living room or bedroom? In these situations, you may want to install a ceiling fan to get some air movement instead of just a light.
That process is bound to be complicated, though, especially because of the height in some spaces. So in many cases, it may be wise to call a professional in to do the work if you're not confident in your ability. However, for those who want to do some DIY light installation, Jordan Fulmer, owner of Momentum Property Solutions, offers step-by-step instructions for installing a fan in a cathedral ceiling in an exclusive interview with House Digest. "During the entire installation process, the power should be turned off at the breaker," he encourages as a starting point.
Make sure you can install a fan on the cathedral ceiling

Though it sounds like a good idea, before buying a ceiling fan, Fulmer says to do your due diligence. "The first step is to ensure your ceilings can accommodate a ceiling fan," he recommends. "Check to ensure your ceiling's slope is less than the limit specified by the manufacturer." Most often, this info will be on the packaging, but it's worth calling the manufacturer directly if you're unsure; a cathedral ceiling tends to be a unique structural element of the home that could be built differently from one location to the next.
Then it's time to make sure it's safe to install a fan here, as noted by Fulmer. "Next, you must ensure the electrical box that will be used to mount the fan is properly secured to the adjacent ceiling joists and not just connected to the drywall, he continues. " In this step, you may need to call an electrician to take a closer look at the electrical box and either install or move one if necessary. "Lastly, make sure the mounting holes in the electrical box are oriented horizontally and not going up or across the ceiling slope," Fulmer adds. "It is important that the mounting bracket be installed in this direction to accommodate the slope."
Put together the ceiling fan assembly
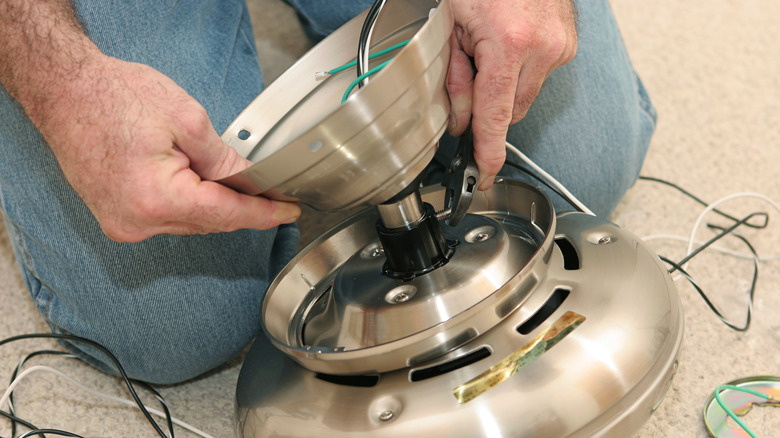
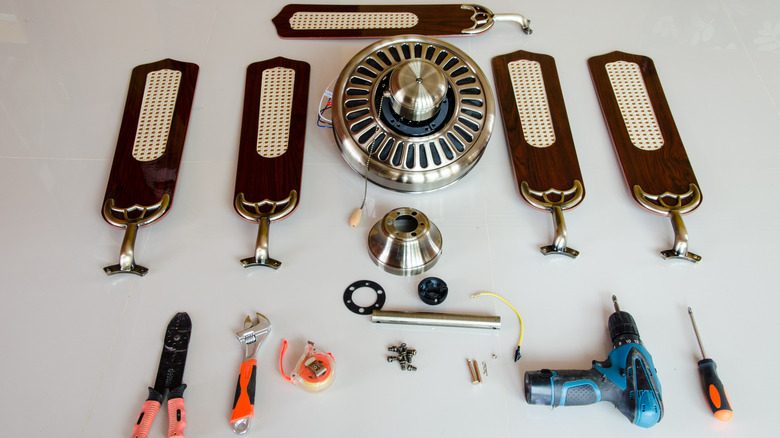
Once you have your fan and you know that your space can accommodate it, it's time to get into the nitty gritty part of this DIY. "The next step is to assemble the body of the fan," says Fulmer. Always follow manufacturer requirements and advice to do this properly.
One important thing to consider is that additional parts may be needed, thanks to the height of cathedral ceilings. "You will likely need to purchase a separate downrod to install with your fan so that it ends up at your desired height," Fulmer offers. "Most homeowners want their fans to be between 8 and 9 feet from the floor." You may have to order this if you cannot find your desired style or color at your local home improvement store. A lighting store may offer another option, too.
Then you need to add the downrod to your setup, according to Fulmer. "Slip the wires up through the downrod and then secure the rod to the fan body using the provided pin and screws," he recommends. "The wires can be trimmed to remove any excess, but make sure to leave enough to avoid problems when making electrical connections."
Hang the fan securely
In order to make safety paramount, don't rush through this step. Because of the way these fans will hang, often with a significant amount of length between the ceiling and the fan itself, it could sway significantly when on — especially at higher speeds. That could stress the brackets and holding mechanisms if not installed properly.
Though you should follow all recommendations from the manufacturer, Fulmer offers these steps as a general guide. "Mount the mounting bracket to the ceiling electrical box using the associated screws," he suggests. "Then, hang the fan body by slipping the bulb on the end of the downrod into the mounting bracket. Most mounting brackets have a notch cut into them that fits into the bulb and keeps it from spinning. Make sure to align these features when hanging the fan." It may help to have someone hold the body of the fan while you attach it. That can help to minimize any risk of falling, especially if you're high off the ground.
Safely connect the ceiling fan to the home's electric system
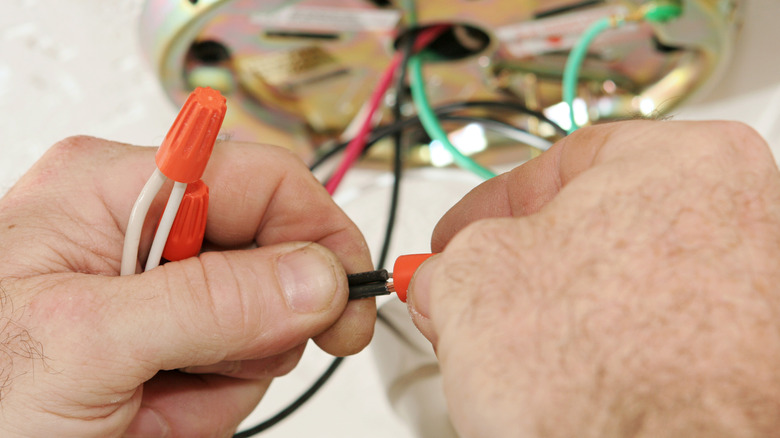
While there are only a few more steps to getting the ceiling fan mounted, it's important to pay close attention to the wiring component; a mistake here could mean a lot of disassembly later which will try your patience. "There are a few potential configurations that your home's wiring could be in," Fulmer shares. "If you do not feel comfortable making electrical connections, then contact an electrician to install your fan." So if you have any uncertainty, working with a pro on this step is always preferable.
But if you think you have the skills, proceed with the process. "However, let's consider the most basic setup where power comes into your switch box that has two separate switches for the lights and fan," Fulmer explains. "In this case, the electrical connections you'll want to make are as follows: house black to fan black, house red to fan blue, house white to fan white, and house bare copper to fan green." If you have a different configuration, you may still be able to install the ceiling fan yourself with a bit of research (or advice from a local contractor).
Attach the ceiling fan blades and bulbs

A bit more balancing and careful attention will get this home lighting upgrade completed. "The final step is to install the fan blades to the motor assembly," says Fulmer. "There are typically two screws per blade that are supplied with the fan." Tighten all screws once you've positioned each blade, but be careful not to overtighten, as that can cause the blades to blend slightly out of shape.
Then, continue with the instructions provided by the manufacturer, which Fulmer shares are likely the following: "After the blades are attached, install the light kit by connecting the quick-connect electrical plugs and securing it to the fan housing with the provided screws. To finish the installation, install globes on each light socket, screw in light bulbs, secure the mounting bracket shroud, and attach the pull chains. Flip the breaker to turn the power back on, and now check your work!" If you have limited functionality, there could be a wiring issue, and if there's no power going to the lights, that could mean a larger problem with the electrical box. Most often, though, unless you make a mistake when hanging a ceiling fan, you'll find the process takes just a few hours to complete.