How To Build A Sliding Barn Door, According To An Expert
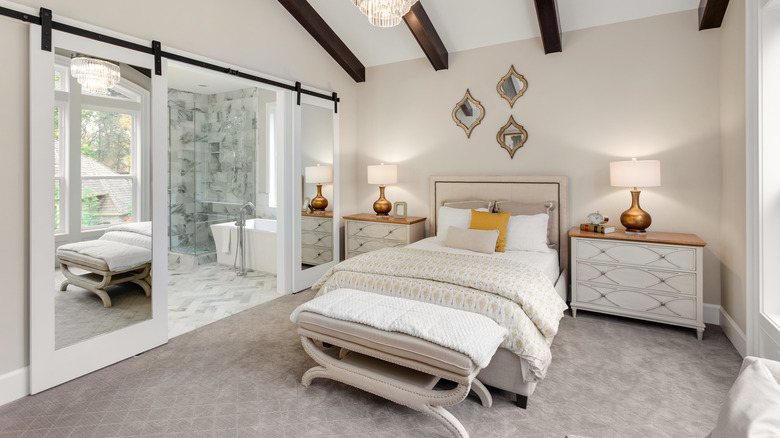
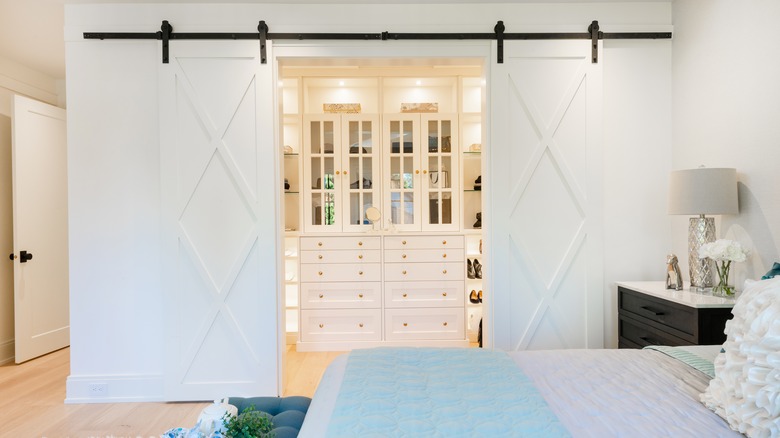
If you're a fan of classic, rustic style, or if you're looking for a door design that takes up less floor space than traditional options, a barn door might be the choice for you. Installing this trendy touch, however, can be a little pricey, often costing upward of $1,000. Luckily, building your own barn door is relatively simple, and you'll be left with a custom-fit, more cost-effective option that still brings the same touch of style and functionality.
In an exclusive interview with House Digest, Joe Ferguson, architectural designer at Skirtings R Us, revealed just how easy it is to accomplish this feat yourself. All you need are a few basic materials and a bit of patience, and, soon enough, you'll have completely transformed your space. Building your own sliding barn door gives you the opportunity to fully customize your final product to your taste and save some money along the way.
Gather your materials

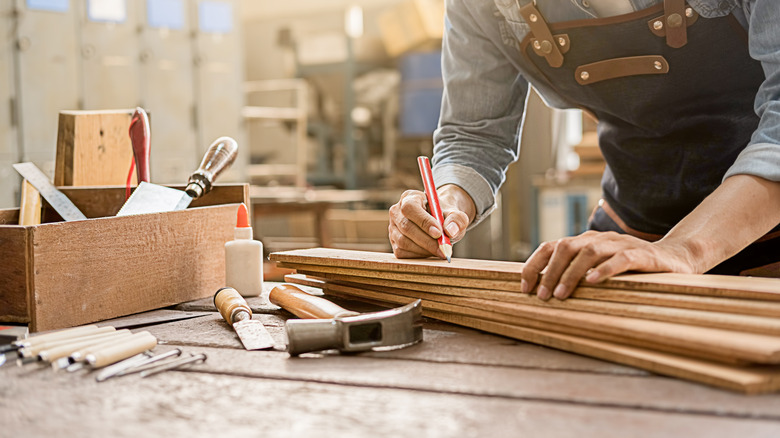
Your first step in building, of course, is gathering the proper materials. According to Joe Ferguson, you have some leeway when it comes to the base of your barn door project, and this is your opportunity to save even more money on your DIY with upcycled materials. "You can use either hardwood, reclaimed wood, or basic pallet boards to help you build a barn door," he says. "Find wood from a hardware store or your supplier, and purchase some sliding barn door hardware, glue, clamps, door pulls, and or chain locks."
When it comes down to your wood selection, you should still go for something sturdy, but, because you're not building anything that will be bearing large amounts of weight, you have quite a bit of freedom in your final decision. Cater your wood choice to your budget and desired look — if you're planning to paint, you can get away with a cheaper option. If you're looking for a bit of texture, however, this is a great opportunity to showcase the natural grain of your wood and add a cozy, warm accent to your space.
Get to work with the cutting
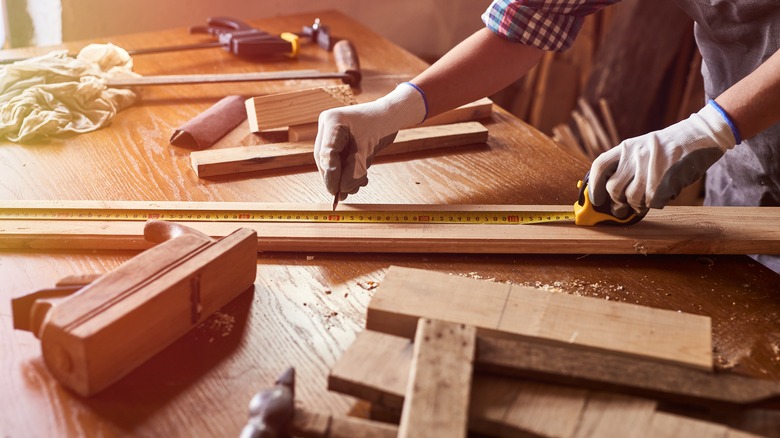
During this process, you can either purchase pre-cut boards or cut them to size yourself. For a standard sliding barn door, Joe Ferguson explains you'll need 1 foot by 6 foot boards, 1 foot by 3 foot strappings and filler strip, 1 foot by 4 foot boards for the rail mount, and 2 foot by 4 foot boards for framing. Once you've gathered all of your boards, you can begin the process of measuring the exact size and number of panels you'll need to fit your space.
"The first thing to do is to mark the opening and outline the door size and the jamb," says Ferguson. For ease of assembly and sturdiness in the final product, he also recommends cutting mortise joints in the frame "between the headers and footers," a simple process that can be accomplished with only a drill and chisel.
Put the panels together
After you've assembled the frame, it's time to get started on the barn door itself. Your primary method of assembly in this process will be tongue and groove joints so everything lays flat, but you'll need wood glue and a couple of fasteners for added security as well. Per Joe Ferguson, "Make sure that the joints fit well, and screw in the corners or bolt plates to secure them in place. Let dry overnight."
As the wood glue securing the panels dries, you can get to work on the rest of the project — namely, finishing the framing and installing a rail so your barn door can slide open and closed. "Prepare the opening by adding a door jamb on top and on the closing side," notes Ferguson. "Make sure to use a solid frame for vertical and horizontal framing. Attach the upper rail or the bottom guide."
Sand, stain, and align

With your door now built, all that's left are the final touches and the installation. This is where you'll be able to cater your door to your ideal look, so sand, fill in any holes or cracks with wood putty, and pick a paint or stain that matches your home's style.
After you've achieved your desired finished product and allowed any paint to dry, it's time to install the hardware on the top of the door. Barn door hardware usually comes in a kit, so you shouldn't have any issues finding pieces that match and roll seamlessly.
"Add the mounting rail onto the door and attach the rolling mechanism at the (top or bottom). Align the door on the opening and attach it to the rail at the top of the door jamb or opening. Lastly, attach the door hardware and chain lock," says Joe Ferguson, adding, "Test the rolling mechanism and door hardware."
Finish the job
Now that you've installed your hardware and confirmed everything lines up properly, Joe Ferguson suggests asking a friend for assistance with the most physically taxing part of the job. "Ideally, you have a buddy or two to help you attach the door. Prop it up first against the wall before attempting to put it to the test on the rail," he says. "Once able to dock it up the upper rail, feel free to test your new barn door and add lock stops where necessary."
And there you have it — a handmade door that combines fashion, functionality, and convenience. Of course, safety is paramount, so ensure your barn door is properly affixed and locked to prevent any unexpected mishaps. After a brief inspection, you'll be able to sit back and enjoy this handmade fixture in your home. Says Ferguson, "If the door is not wobbly or not too heavy to roll, you may now use your brand-new door."