Change Your Floor In A Flash With Peel-And-Stick Tiles
Your flooring is one of the major determining factors of how a room comes together and its overall feel. You can have beautiful furniture and lovely decorations, but subpar flooring can diminish all your best decorating efforts. However, replacing your flooring material is expensive, incredibly labor-intensive, and not a viable option for renters.
This is where peel-and-stick tile flooring comes in, and it is as simple as it sounds. Peel and stick tiles are made from vinyl with an adhesive back, allowing you to quickly and affordably transform any room in your home. You can opt for traditional tile designs in rooms like your bathroom or kitchen, or tile with wood grain designs for your living room or bedrooms. When it's time to either replace your floors or move out of your rental space, you can easily remove them. The only somewhat complicated part of the process is installing them in the first place, but all it requires is a bit of time and some cleaning supplies.
Prepare your floors
The first thing you need to factor in before installing your peel-and-stick tiles is how many you'll need. Do this by calculating the square footage of the room, which is the length multiplied by the width. Add roughly 10% more, to account for mistakes or miscalculations. Next, you'll need to thoroughly prepare your current floors. Ideally, all you'll need to do is clean the floors to make sure dirt and debris don't get trapped underneath the peel-and-stick tiles.
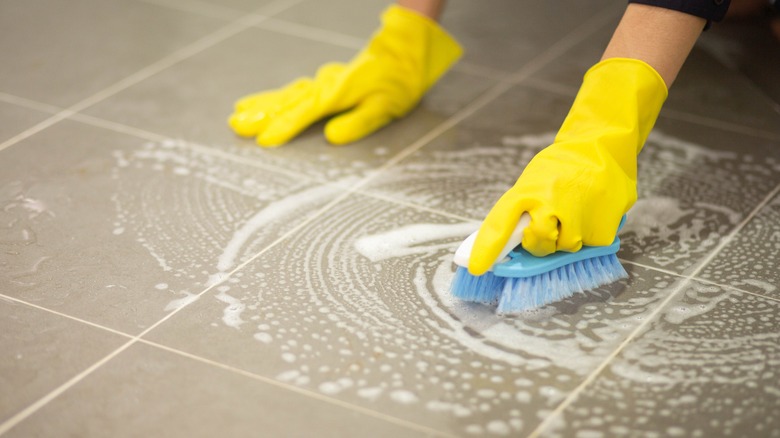
However, if you have any major gaps, holes, or other uneven surfaces, you may want to address them before laying the tile, as the thin material will likely expose the blemishes and some bumps or gaps may still be visible through the tile. If you have the ability to level your floors, then fill any gaps in concrete, or grout in between existing tiles to level them out. Afterward, be sure to thoroughly sweep, mop, and vacuum your floors, ensuring there isn't any dirt or debris left behind.
Laying the tiles
If you're installing your peel-and-stick tiles in a room with lots of foot traffic and heavy movements, it's a good idea to prime the floor with a sealant before laying down the tiles. While the tiles will stick fine on their own, primer can help secure them in place and prevent them from wiggling around or dislodging. This can make it much harder to remove the tiles later on, though.
Regardless if you're putting down extra adhesive or not, you first need to lay out your tile starting in the center of the room. Many rooms that appear to be perfectly square or rectangular may not be. So, use chalk to mark out the center of your room, and place the first tile there. Then, dry lay the tiles in each direction.
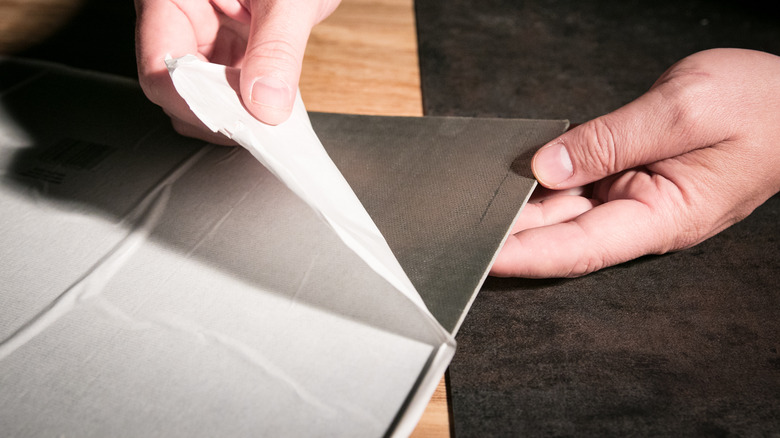
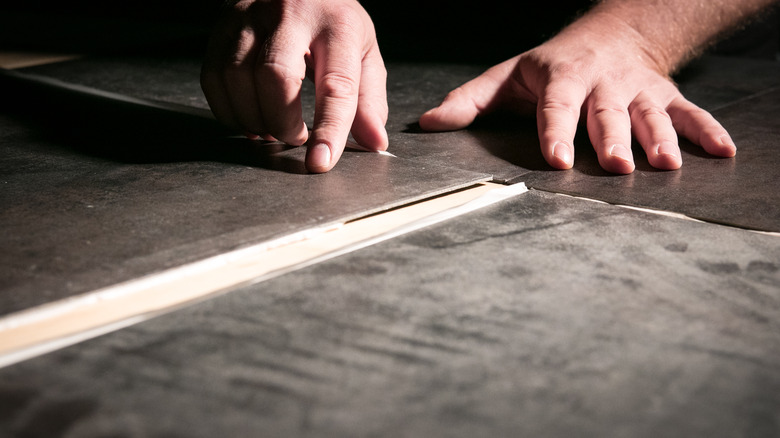
You should also consider where the cuts will be positioned, too. For example, if you have a small gap at the end of the room it may be better to start with a half tile to make it look more even. For corners, simply use a sharp utility knife to cut the tile to fit. Once you have the layout ready, simply peel the adhesive backing off the first tile, line it up, and lay it on the floor. Use a roller to secure it in place and get rid of any air bubbles, then continue with the rest of the tiles.