How To Easily Paint A Chair Rail The Right Way
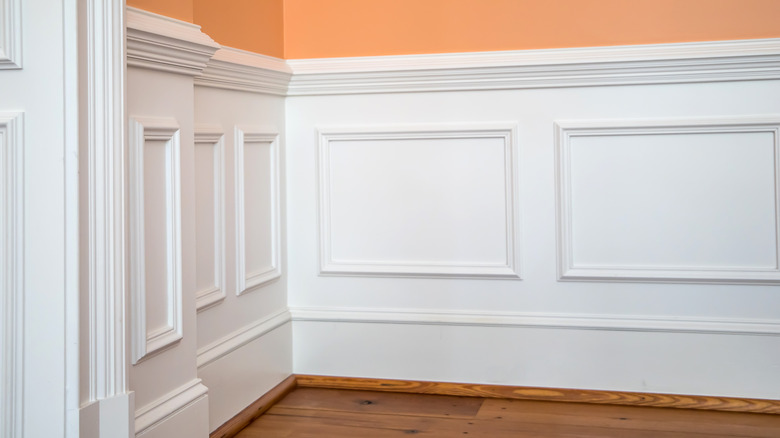
Look down the hall leading to the bedrooms at your chair rail. Chances are good that this chair rail molding has been dinged more than once over the years. You may see a few smudges, worn areas, and perhaps even a hole or two from when the kids threw something down the hall. No matter where in your home it is, the chair rail is designed to help protect the wall itself, and that often means it needs to be updated and painted over time to keep it looking fresh.
Like any other molding in your home, it's essential to ensure you paint it properly, keeping it clean and even, allowing for the natural beauty of the molding to come through when you're done. Often, these rails create artistic design elements and character in the home. They add value in some cases. It's easy to paint your chair rail knowing these simple tips, and you'll get impressive results (even near professional-level perfect) in no time.
Selecting the right paint
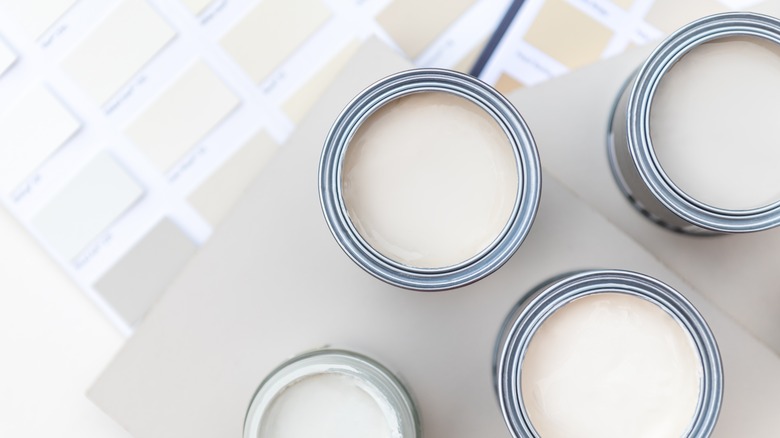
One of the first steps is to choose the right paint for your chair rail. Though most are white, you may wish to consider an alternative color if you are looking for something that truly stands out and adds some drama. For example, you could choose a very light shade of gray, which can give it a bit of a more subdued look, helping the color on the wall above stand out more so. Take a few minutes to test out a small, hidden area to ensure you like the color combination. Then, if you're painting the wall above, be sure to compare the new colors together.
Even if you decide to keep the chair molding white, you'll want to invest in the right type of paint. Durable, scrubbable paint is the best since these walls can often be dinged and nicked over time. Also, most often, you'll want a matte or a flat finish since you don't want to create a shine on the molding itself. Investing in good quality paint is ideal, as it ensure you don't need multiple coats and will cover up just about anything already there.
Prep the area
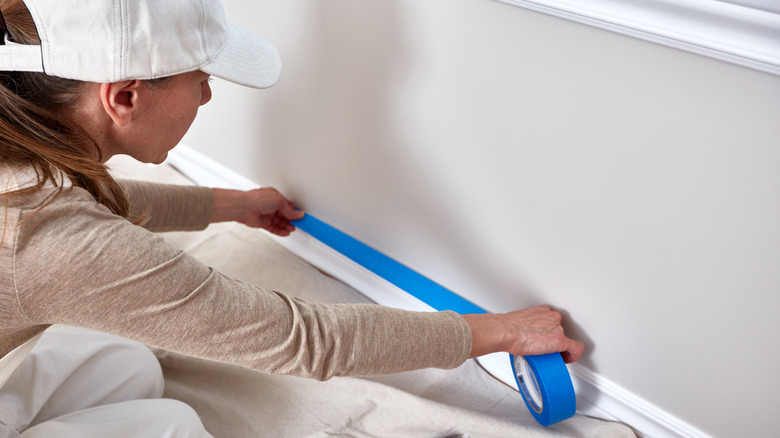
Before you start painting the chair rail, take the time to do the tedious task of preparing the area. This is important for several reasons. First, the chair rail may have intricate detailing, and you'll need to spend some time getting it just right. You'll benefit from having tape along the edge and bottom to minimize paint splatters as you work carefully and slowly. Also note that you'll want to tape off the floor to help minimize paint staining your carpeting or grout, which are very hard to clean, even if done right away. This is especially necessary if you are painting the floor molding to match the chair rail.
It may seem like a small task, but it has a lot of impact, so you'll want to ensure it's done properly. As you work through this process, slide your hand over the top of the railing from one side to the other. Notice and mark off any areas with dings, holes, or damage that may require repair before you move forward. If the railing is significantly warped or damaged, consider replacing that portion now.
Sand and putty the chair rail
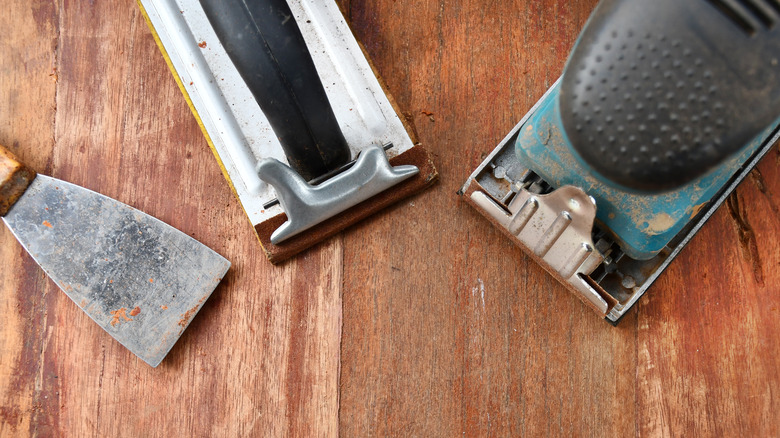
It's not time to paint just yet. You'll first need to prepare the wood surface for paint since you don't just want layers and layers of paint added to the top, creating a sloppy look. Start with sanding down the railing. Again, pay close attention to the details to ensure the entire surface is evenly sanded. Use a mid-grade sanding paper or sanding block and a putty knife to remove any stuck-on debris.
If you spot any holes or dings you cannot easily sand away, fill them with wood putty. This putty can help create the smooth surface you desire for a stunning finished look. Once you apply the wood putty in a smooth coat, let it dry fully before sanding it down. You may have to repeat this process if significant damage remains. If it's too bad to repair with putty, replacing the piece of molding may be necessary. After this step, vacuum up all the dust and wipe the surface with a dry, soft towel. You do not want this dust in your paint or finished project.
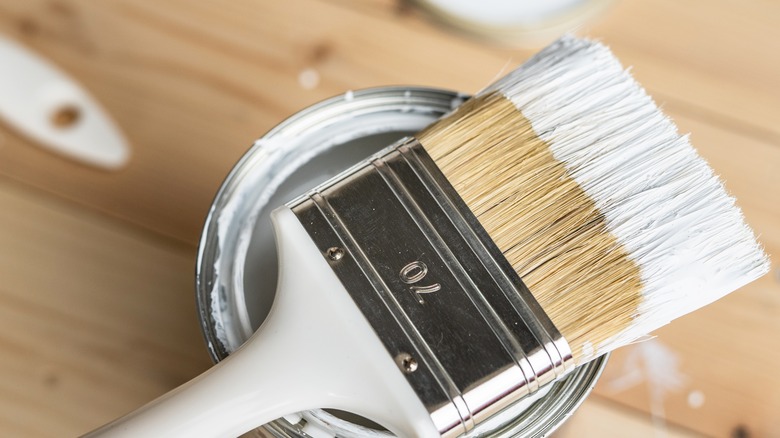
Select the right brush for your wood railing

Here's where many people have some issues. The brush you use does matter. Chances are good that you will not use a roller for this project since the chair rail molding is likely to have various components, edges, and nooks in it, which gives it that beautiful appeal. You need a brush with bristles to get into all of those spaces. Be sure to use a small brush, perhaps one that you've spent a bit more on (you don't have to be the highest quality out there, though).
Choose a 2-inch wide brush or one that's no bigger (or slightly smaller) than the molding itself. Look for one with a short handle for easy use. Angled brushes are beneficial for painting molding because they can apply a more even coat of paint to the surface. A nylon or polyester brush will typically work well, though a white filament hair brush is another option. What's most important here is choosing a paintbrush with high-quality bristles that will not pull off while you are painting.
Get painting
With the right paint and a prepped surface, all there is left to do is paint the chair rail. Paint horizontally as much as possible, moving along the railing in a single direction. This helps create even brush strokes and allows the paint to dry properly. A smooth look makes a big difference since the details of the work you're doing are fairly easy to see. Don't use more paint than necessary, as drips are problematic and hard to clean up. Instead, dip the brush in the paint can, getting only the very top covered with paint, and move along small portions of the molding at a time.
It may be necessary to do more than one coat, which you can decide once you see how it dries. Consider a second coat if you can see anything through the paint, such as a blemish. Another coat could also add more drama and depth of color. Most often, this isn't necessary if you purchased high-quality paint and applied it correctly. Once you're done painting, allow it to dry fully before removing the taping around it. Painting molding throughout your home doesn't have to be a challenge with this process.