Here's Martha Stewart's Tips On Growing Garlic Indoors And Outdoors
In order to grow a robust head of garlic, Martha Stewart suggests planting cloves outside in the fall as the winter freeze encourages strong growth in the spring. Garlic planted outside can be harvested in the mid-summer and enjoyed in your meals for weeks to come as its shelf life is nearly six months long. Alternatively, garlic can be planted indoors from just a few cloves, and according to the Martha Stewart website, all you need to do is "sit them on a sunny window ledge and water them lightly."
If you do want to try growing garlic indoors, be aware that although these plants will develop delicious greens, they will rarely develop into a full new bulb. Martha Stewart notes that the boon will be much better from an outdoor garden — still, indoor garlic can be continually planted all year round from garlic seeds or local organic cloves. Avoid planting garlic cloves from the grocery store as they may not be the best to grow in your climate.
Growing garlic indoors
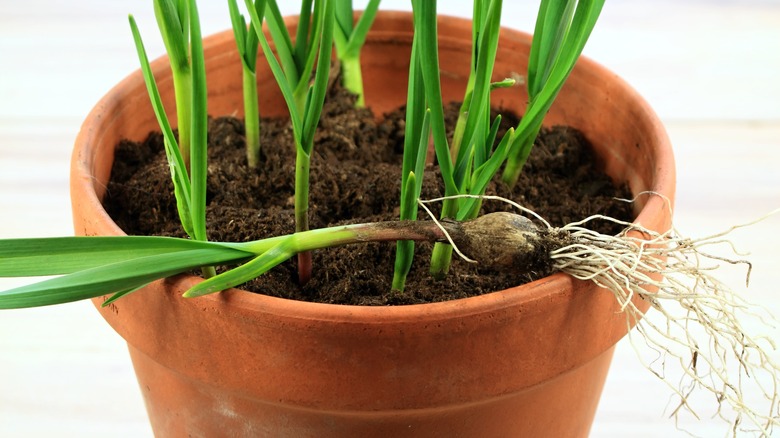
According to Martha Stewart's website, all you need to grow your own garlic indoors is a handful of cloves, a pot, some soil, and water — it's so simple and yields garlic greens in just a few days. To get started, choose a container with drainage holes. This step is crucial as garlic will rot if it becomes waterlogged. Leaving a few inches at the top, fill the container with potting soil – preferably a loamy or sandy mix to allow for maximum drainage – then take an organic or locally grown head of garlic and split it apart into cloves. Discard any that have decayed and preserve as much of the paper coverings on the clove as possible. Push the cloves pointy side up and several inches apart in the soil and cover with another inch or so, pressing the new topsoil down gently.
While this method will predominantly yield mild scapes, pre-freezing your garlic cloves may encourage them to produce small bulbs. For several weeks, store a head of garlic in the refrigerator. The cool temperatures will encourage the garlic to flower and eventually form a new bulb. Repeat the aforementioned steps after chilling your garlic in the fridge. Your garlic bulb should be ready to harvest when the green leaves have yellowed.
Growing garlic outdoors

To grow your own garlic outside, start in the fall and choose a sunny area with well-draining soil. In her personal blog, Martha Up Close & Personal, she recommends, "for the best results, plant the largest cloves from each bulb and save the smaller ones for eating." Soak the cloves in a solution of baking soda, fish emulsion, and water to fertilize them and protect them from diseases. After the garlic absorbs the solution, drain and rinse them. As a final step, Stewart suggests spraying the cloves with rubbing alcohol for sterilization.
Place the cloves in four-inch deep holes at least a foot apart so they have space to develop into bulbs. Plant the garlic with the pointed end facing up. Cover the holes with soil and gently tamp down the topsoil. About a month before the garlic bulbs are ready, the scapes can be harvested. Stewart's blog suggests snipping the scapes when "the curled ends [are] growing above the rest of the plants."
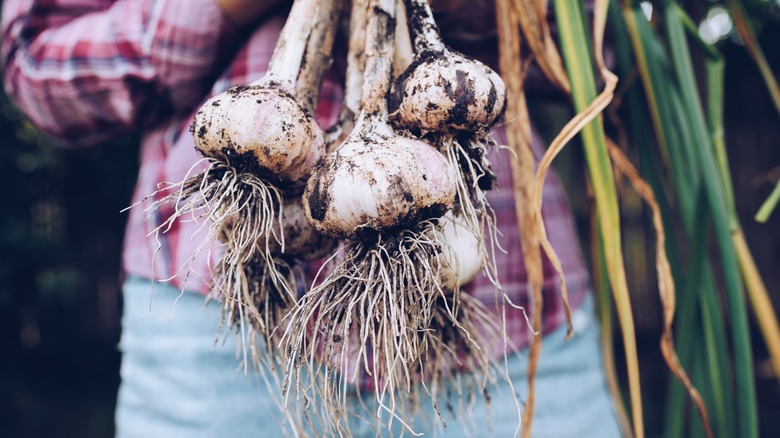
In mid-July, the top greens from the plant will brown and the bulbs will be ready to pick. On a dry day, use a pitchfork to loosen the plant and gently pull it from the earth by the base of the leaves. Remove any dirt, trim off the top greens, and allow the garlic to cure for ten to fourteen days, or until the outside becomes papery. Store the garlic in a cool, dry place and it will last for months.