Installing Wall Sconces Is The Perfect Room Refresh, And Here's How
If you're feeling stuck in an interior design rut, it might be time to look on the bright side — or rather, the light side. We may not realize it, but lighting plays a huge role in how we perceive a space and the people in it. "Even if you're not in a bathroom looking at yourself in the mirror, if you're looking at other people in lighting that makes them look dreary, drawn, and horrible, you start to feel that way, too," interior designer Robin Muto told The New York Times. Wall sconces are a brilliant way to refresh any room because they can clear up space on your nightstand or tables, provide an alternative to unflattering overhead lighting, and create a classic and elegant feel. Plus, they look vintage and expensive, even if they aren't! If you're starting with a bare wall, installing wall sconces can seem a little intimidating. After all, you'll need to cut holes in the wall, run cables to new electrical boxes, and successfully wire the sconces while protecting yourself from electrical and fire hazards.
Most wall sconces will come with the necessary installation materials and instructions, but where do you begin if you aren't sure how to manipulate wires or cut drywall? Is it safe to install wall sconces on your own? Here's how to properly and safely install wall sconces, our tips for making them look perfect, and alternatives if you're still unsure about plunging into in-wall lighting.
Installing and wiring your wall sconce
When installing any lighting, always start by shutting off the circuit breaker. Before knocking any holes into the walls, think carefully about where you'd like to place your sconces. The ideal placement for sconces on the wall is just above eye level, or at least 6 feet from the floor, to softly illuminate the ceiling without shining into your eyes. Installing your wall sconce directly above an existing electrical outlet makes it easier to run wires through the wall. Carefully measure and mark your sconce location on the wall, ensuring that the sconces are level if you're installing more than one.
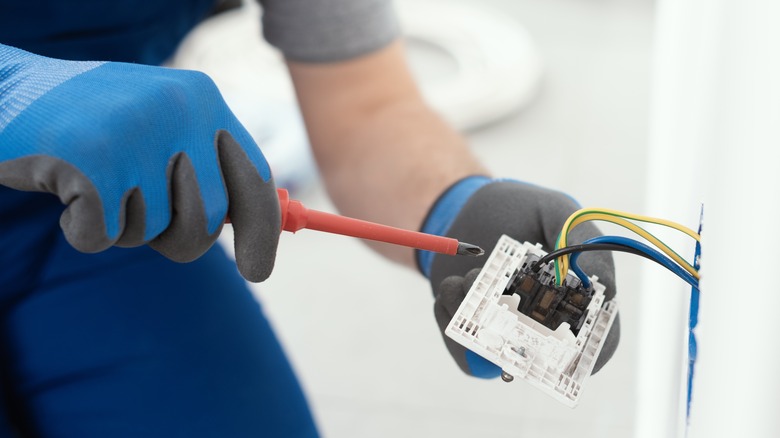
Next, use a stud finder to locate the studs in the wall. You'll want your sconce to be in the same stud bay as the electrical outlet. Trace and cut a hole for the sconce electrical box with a drywall saw, then trace and cut a hole for the light switch. Pull the wall outlet away from the wall, then fish a 14/2 wire down from the sconce hole to the switch hole and another wire from the switch hole to the outlet hole. You may need to use fish tape if the wall is insulated. Follow the manufacturer's instructions and attach the 14/2 wire to the fixtures in the same order, connecting to the power outlet last. Fit everything back into the wall, turn on the power, and flip your light switch to ensure your sconce works properly.
Tips for the perfect look
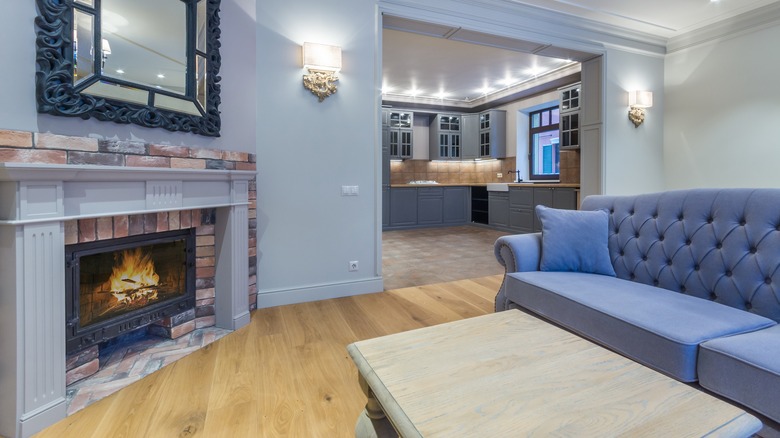
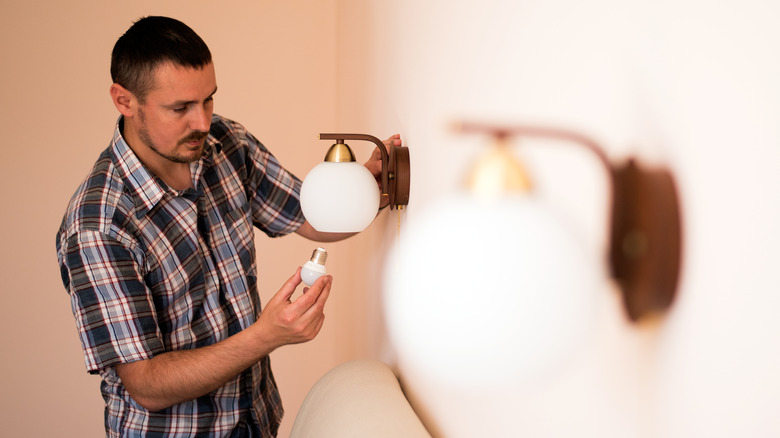
Sconces can work in a wide variety of spaces, on either side of the bed or sofa, leading up a staircase, or lighting a dark corner of the hallway or bathroom, for instance. Depending on where you want to put your sconce, your placement and installation details may vary. Once you've installed your sconces, don't forget about the light bulbs! Warm and soft lights around 2700 Kelvin work best in bedrooms and cozy spaces, while brighter lights around 3000 Kelvin are ideal for bathrooms, kitchens, or energized living areas. For bedrooms and other calm spaces, consider installing your sconces with a dimmer switch so you can easily shift the mood.
Every situation will be different, so follow the manufacturer's instructions carefully or hire an electrician if you're nervous about playing with wires yourself. One less intimidating and more renter-friendly option is installing battery-powered wall sconces. These sconces can be hung with a few screws or damage-free adhesives like Command Strips, and they don't require you to cut holes in the wall or run any wiring. Most are remote-controlled, so you can even turn them on or off from across the room. Battery-powered sconces are also a smart way to test out the look without causing any permanent changes to your walls.