Here's How To Properly Remove Tile Backsplash From Your Kitchen
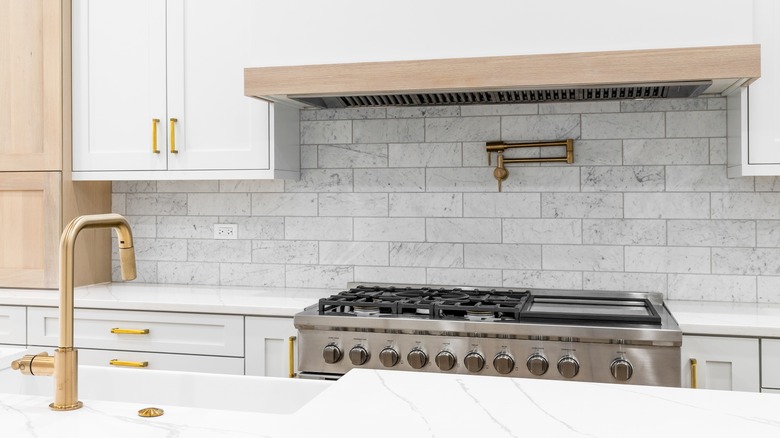
Tile backsplash beautifies a kitchen, making the perfect accent piece to elevate the room. They're often placed behind the stove to help protect the wall from water, grease, or other splashes that can damage it. While installing tile backsplashes is simple, removing them can sometimes be more complex. You might switch the tile pattern or remove the tile altogether to create a different look in the kitchen. So knowing how to take apart tiles correctly will help the process run smoothly.
However, there are some challenges you could face when removing tiles. Since it's connected to the wall with mortar, similar to cement, it can damage the drywall. You'll want to be careful when tearing out the tile. Moreover, detaching tile backsplash from the drywall will always be messy — you'll never get a clean removal. Having the right equipment is crucial so that you don't damage anything behind the drywall, but you don't need to worry about the drywall because you'll install a new one.
Tools and prep work before tile removal
When detaching tile from the drywall, you want to be prepared by wearing clothes that will cover every inch of your skin. You don't want to accidentally get hit or cut by a sharp tile piece. In addition, you should wear gloves and safety glasses to protect your hands and eyes. Using an electric oscillating tool for a semi-clean removal is essential; you also need a caulk removal tool, a four-inch drywall knife, a multi-grout tool removal blade, a hammer, a screwdriver, a pry bar, a putty knife, a shop vacuum, and an all-purpose drywall joint compound.
Before tearing any tile out, you'll want to prep your workspace. If you're extracting the tile backsplash in the kitchen, it's essential to prevent tile pieces from falling into the sink or the stove. So, prep the space by laying plastic sheets on the floor and over the stove, counters, and sink. Secure the sheets with tape or your tools. You can also use cardboard on the counters if you don't have enough plastic sheets.
On the other hand, ensure you turn off all the electricity in the backsplash area to prevent hitting any of the wires. Sometimes there are tiles surrounding outlets, so it's crucial to be careful around those areas. Finally, remove the outlet faces with a screwdriver to prevent damaging them.
Step-by-step tutorial
Once your prep work is done, remove the caulk with the caulk removal tool where the tile meets the counter. After the caulk is gone, attach the grout blade to the multi-tool to cut through the grout between the tiles. Instead of scraping the grout, the blade will help to separate the tiles. As you're cutting through the grout, keep the vacuum on so it cleans the debris. After going through each grout line, insert your putty knife along the backsplash's border to separate it from the wall. You'll need to add some force to the blade to get behind the tile.
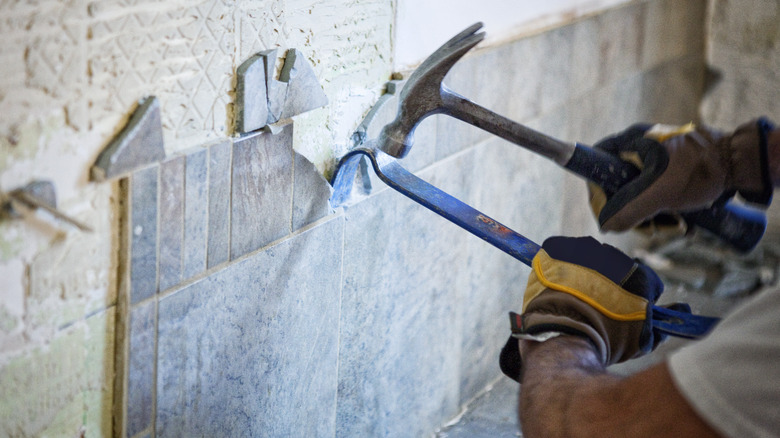
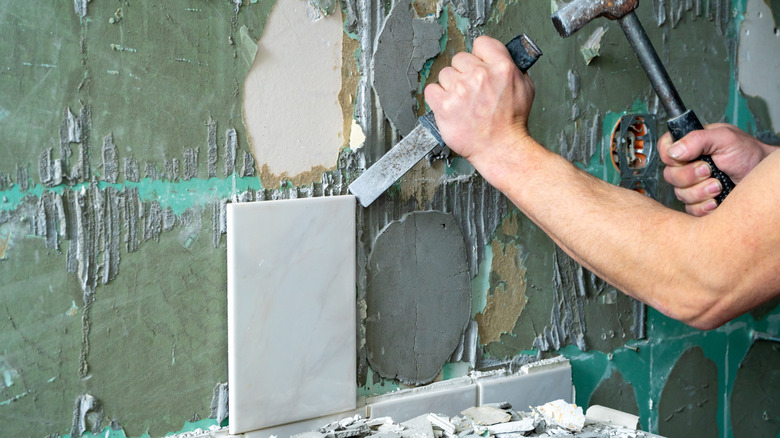
Next, remove the first top corner tile by placing the putty knife on top, leaning it towards the wall, and hammering the knife to insert the blade between the wall and the tile. You'll need to tap a few times to detach the tile. Once you get the hang of it, continue with the rest of the tiles. Then, when all the tiles are extracted, scrape the surface with the putty knife to remove the thin set left behind. Finally, repair the holes left behind with the joint compound. For small holes, swipe a small amount of joint compound over it with the putty knife. Larger holes will be repaired with scrap drywall and plywood and covered with joint compound for a smooth finish.