Tips To Know Before Painting A Leather Sofa
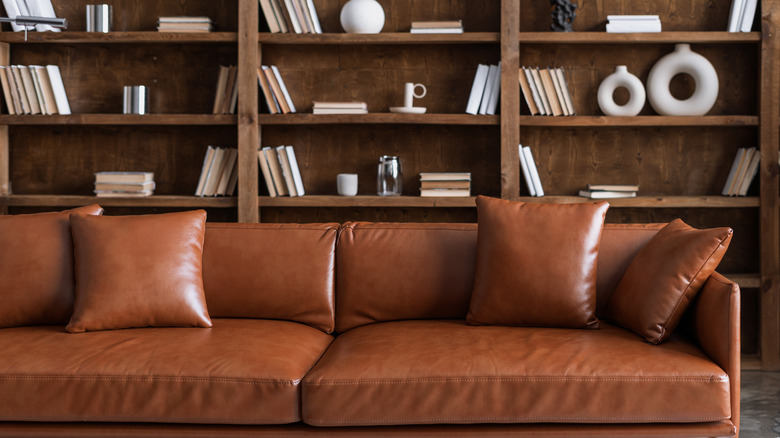
If you have pieces of leather furniture that have seen better days, one of the best ways to bring them back to life is by giving them a few coats of paint. This might feel a bit strange initially, but plenty of paints are designed for this specific purpose. With proper prep, application, and sealing, you'll be able to recolor your existing furniture while still maintaining the material's suppleness and comfort.
However, before you paint your leather pieces, it's essential to research and determine if the furniture can be saved or if you're better off tossing it. If your sofa or chair has been sitting in a humid storage unit and you've noticed discolored patches and a damp odor from mold or mildew, cleaning off the mold beforehand is necessary instead of simply covering it up with a new color. Additionally, peeling or severely cracked furniture likely needs to be reupholstered entirely, though smaller repairs can quickly be done and covered with paint for a more seamless finish.
Do any necessary repairs beforehand
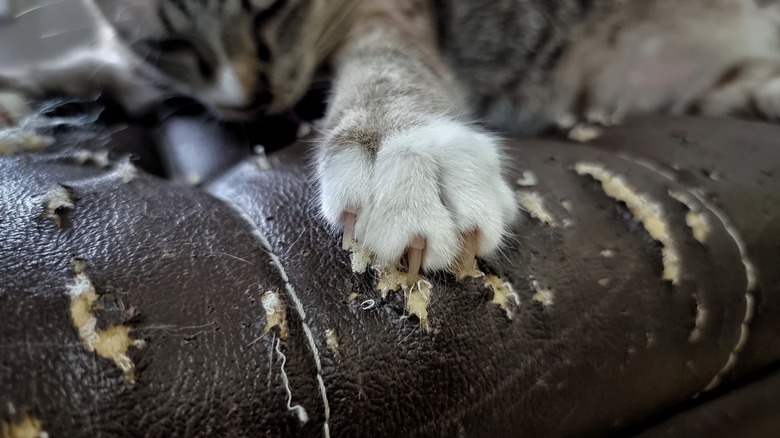
If your leather furniture pieces have any holes, slashes, or pet damage, you should start your painting process by doing a few simple repairs. Thankfully, because you're painting, you won't have to worry about creating the perfect color match, though it is a good idea to find something relatively close so you can't see color differences peeking through the paint.
If you browse online or head to your local auto supply store, you'll find plenty of options for repair kits, like this Restor-It No Heat Leather and Vinyl Repair Kit. For this specific kit, all you need to do is mix up the repair compound until you create a color match, then apply and let it air dry. For larger tears, you can also use the included backing fabric and grain textures to ensure everything looks as seamless as possible. After your repair is done, be sure to give your piece of furniture plenty of time to dry before continuing with the painting process.
Prep your leather
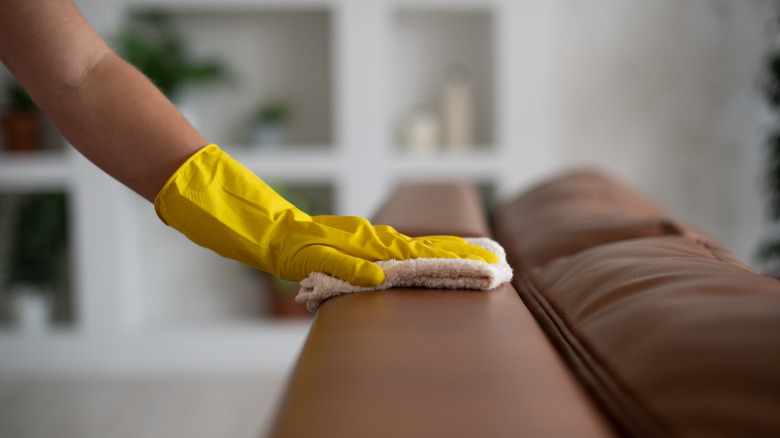
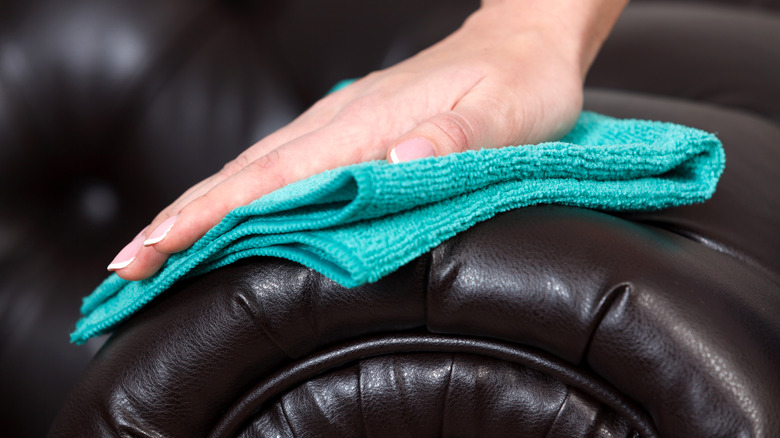
To ensure your paint properly sticks to your leather, you need to do a bit of prep work. Because it's a natural material that requires moisture to stay supple and shiny, the surface can be too greasy for the paint to adhere to. To prevent this issue, give your furniture pieces a good clean with a damp cloth to remove any debris, dust, or dirt, then go in with a leather preparer to cut through the oil and shine. Many brands carry prep solutions for this purpose, though Angelus Leather Prepper and Deglazer are among the most readily available and popular options.
From here, you can go straight into painting or rough up your leather with sandpaper to ensure your paint will stick. This might feel a bit wrong at first, but a small amount of texture on the surface can help smooth out any cracks and create more grip for your paint. As long as you don't sand through the leather itself, the paint will leave the final product smooth.
Choose a paint designed for use on leather
When choosing your paint, make sure to pick something designed to not crack or peel with frequent use. Specialty leather paints are the safest bet as they're formulated with this specific purpose in mind, but they typically come in small bottles for use on shoes or purses. If you're coating a smaller piece of furniture, this can still be a cost-effective and straightforward way to change its color, but it can get frustrating if you have to buy dozens of 1-ounce bottles to fully coat something like a couch.
Leather paints are acrylic based, so getting a larger bottle of acrylic paint to complete your job and exploring a more comprehensive range of colors is possible. If you want to ensure this will work and provide you with a proper finish, try testing the paint on a swatch of similar leather to the material of your furniture. Leave it in the sun, bend it, scratch it, and see if it can withstand your expected level of wear.
Apply using thin coats
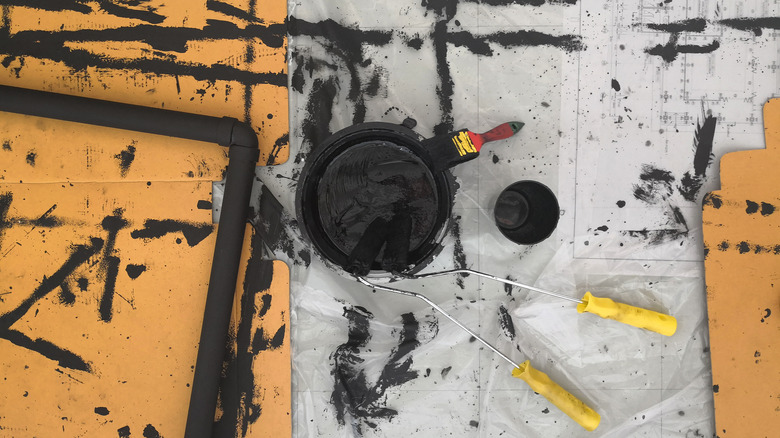
When applying your paint, it's important to work in thin layers. You'll likely have to go over your piece of furniture several times to get the coating fully opaque, but thinner coats allow everything to fully dry down so you're not left with any bubbles or cracks. Apply your paint over the entire surface of your piece of furniture with a soft sponge to ensure everything is smooth, then leave it to dry for at least an hour between coats.
Leather paint is on the thinner side, but if you're working with regular acrylic or a thicker formula, you can also wait until each coat completely dries, then go in with sandpaper to keep the coating thin and flexible. This process might take some time, but after about three or four layers of paint, you should be left with completely opaque coverage, even if you're going from a darker to a lighter color.
Finish off with a coat of sealant
After you're satisfied with the coverage of your paint and the new finish on your furniture, it can be helpful to its integrity to add on a coat of sealant. If possible, grab an acrylic sealer from the same paint brand to ensure you're left with the best result possible. Brands like Angelus carry both leather paint and sealants that range from matte to high gloss, so you can customize the final look to better fit in with what you had in mind. Apply a thin coat of this sealant the same way you applied the paint, then leave it to dry for at least a full day before you start using your furniture again.
Painting leather furniture can be quite an intimidating process, especially if it's your first time. Still, if you properly prepare your furniture and buy the right materials, you can create a long-lasting finish that completely transforms your existing pieces.