A Decorative Crown Molding Switch Changes The Look Of Room At A Fraction Of A Renovation's Cost
Tired of living in a space that lacks the elegance and charm you desire? Are you yearning for a quick and budget-friendly solution to transform any room without the hassle or expense of a complete renovation? Decorative molding might be the answer. A surprisingly simple trick using inexpensive decorative molding can transform uninspiring ceilings and create a stunningly elegant atmosphere.
Redesigning an entire room can be lengthy, expensive, and time-consuming. However, this method offers an affordable solution to those who crave the luxury of Parisian moldings or desire to infuse their room with timeless sophistication. Installing decorative molding on your ceiling allows you to instantly transform your home into a sophisticated and refined atmosphere without breaking the bank. This approach requires minimal construction work and can be accomplished with a few tools, precise measurements, and careful installation. The result is a beautiful and visually stunning finish rivaling even the most extensive home renovations.
Achieving a flawless installation
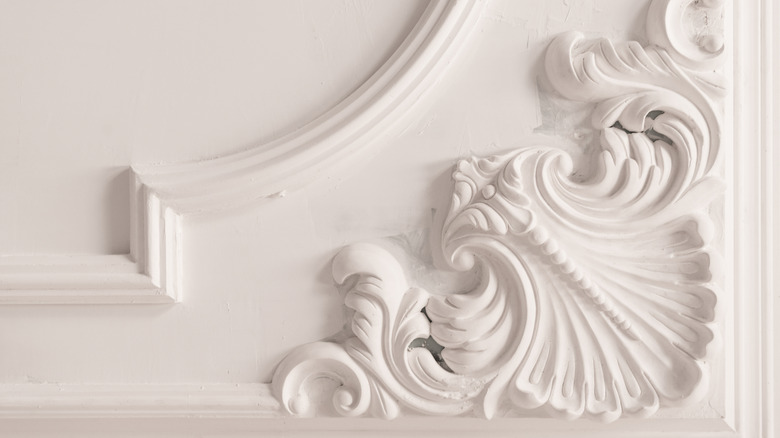
To create a beautiful and sophisticated look in your space, start by selecting decorative molding and trim pieces that match your style and budget preferences. There are several materials to choose from, such as wood, polyurethane, or medium-density fiberboard (MDF). When making your choice, consider factors like durability, cost, and design options each material offers. Don't be afraid to add medallions and other intricate embellishments.
Precise measurements are essential for accurate cuts and proper molding placement. Use a measuring tape to determine the dimensions of the areas where you want to install the decorative molding. A basic diagram can also be extremely helpful to ensure that you have the correct dimensions for accurately cutting and placing the molding pieces. A miter saw will make precise angled cuts on the elements, but a utility knife or similar tool may do the job, depending on the molding material you choose. You can use construction adhesive or finishing nails and a hammer, but if you want an easier or more renter-friendly installation, try removable adhesive strips. If you need to fill gaps or seams, you can use paintable caulk with a caulk gun for easy application. This step will provide a finished and polished look by eliminating visible gaps or imperfections.
Explore design possibilities
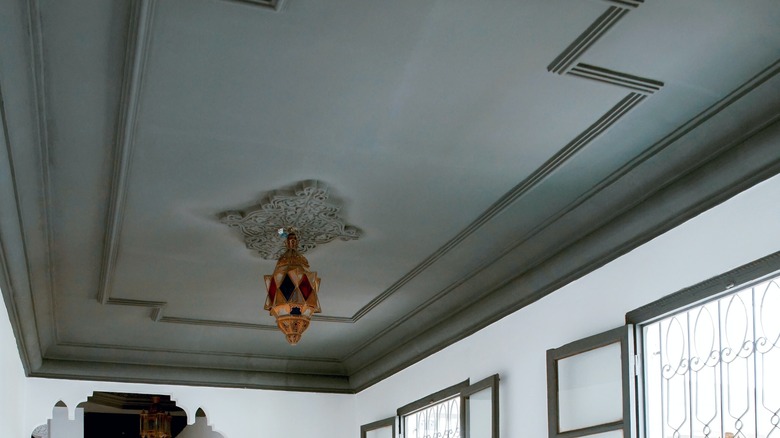
If you opt to paint your ceiling molding, choose a color and finish that complements your room's overall design. Choose the same color as your ceiling for a luxe look, or make it stand out with a contrasting shade. During installation, safety should be a top priority. It's recommended to wear protective goggles and gloves when using tools, especially if you're using a miter saw or handling adhesives. Proper ventilation is also crucial to avoid inhaling fumes from paints or glues, so opening windows or using fans is a good idea.
Regular maintenance will keep your decorative molding looking gorgeous. Use a soft cloth or gentle brush attachment on a vacuum cleaner to remove dust and debris. For stubborn stains or marks, lightly dampen a cloth with mild soap and water, then gently wipe the affected area. Avoid using harsh chemicals or abrasive cleaners that may damage the molding. Decorative molding can transform a room's look and feel, with endless possibilities to choose from. Consider experimenting with different molding profiles, sizes, and combinations to achieve a unique and personalized look that matches your style.