Add A Touch Of Charm To Your Space With This DIY Adjustable Plant Hanger
When we first started seeing macrame décor come back on trend, we were just as obsessed as everyone else, especially with the stunning macrame plant hangers. But after seeing some of the price tags that come with them, these hanging planter cozies seemed a bit out of reach, budget-wise. And though there are plenty of macrame planter DIYs out there, many of them require a more practiced hand and developed skill set to pull off. But that isn't always the case.
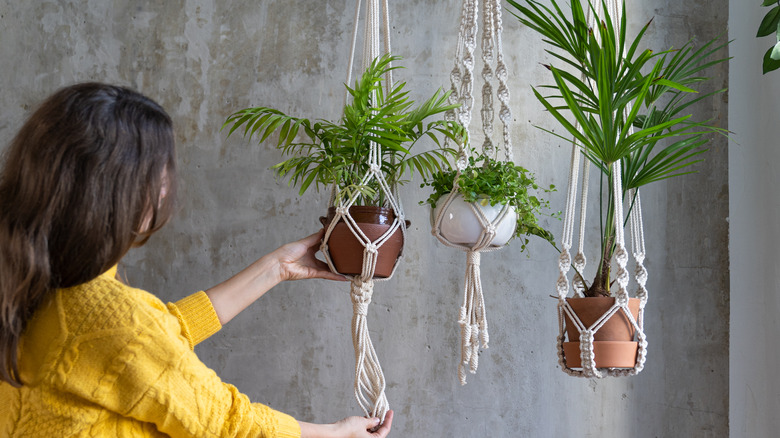
What made the trick to macrame finally click was a tutorial from Instagrammer @plurque_com. We realized that macrame art is basically just a combination of knot tying and hair braiding with yarn. And just like learning a new hairstyle, macrame braiding requires patience and paying attention to step-by-step instructions. We also love the use of beads. They not only add beautiful visual detail to a macrame plant holder, but they can help give you some structure and flexibility on what shapes and sizes of plant pots the macrame net can hold too. This means you can swap out the actual pot and plant according to season and your decorative tastes with ease. To complete this craft, you'll need a metal ring, macrame rope or thick craft yarn, beads, and of course, a potted plant.
Braids and beads
To make the macrame structure, you can follow countless patterns, but we recommend starting with something for beginners, such as this tutorial. It only requires a few basic knots and no complicated weaving patterns. Before you get started on this hanging planter, try practicing some basic knots on scrap yarn. That way you aren't making mistakes that could impact the structure's ability to support a pot, and will be left with a cleaner finish.
Get started covering the metal ring by folding a 4-meter rope length in half, and securing it with lark head knots. Repeat with your other rope lengths until the ring is completely covered — this is your foundation. Then tie each rope section into five braids about six times before adding your first and second layers of beads to adjacent rope lengths. Finish the top tie with braids or your favorite simple knot.
By creating two different layers of beads in the rope lengths, you can adjust the size of the yarn squares, allowing it to fit around most potted plants. You normally tie a knot to secure a bead on a rope, but in this case, you want the bead to be moved around as needed. To customize this craft to your own tastes, experiment with different bead shapes and colors, add more complicated braids toward the top of the planter, or play with different yarn colors.