Traits Of A Healthy Fall Bulb That's Ready For Planting
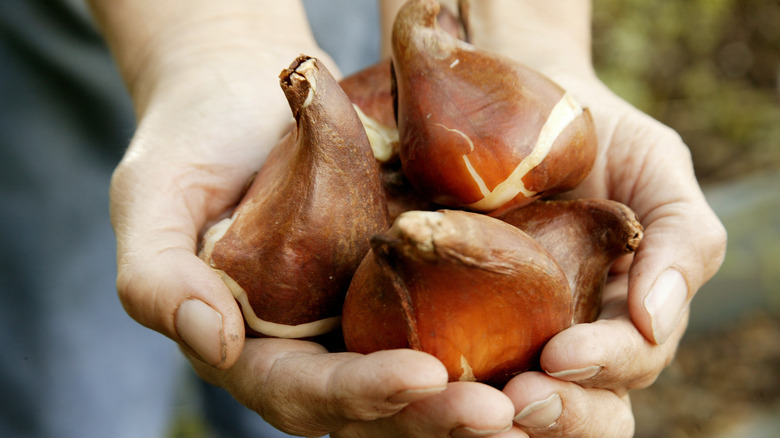
As you prepare to plant your fall bulbs for spring blooms, you want to ensure they're healthy. Like most stone fruits, bulbs should be plump and firm, indicating they have lots of stored nutrients to help them form roots and bloom in the spring. Before you put your daffodils into the ground, you should examine them for signs of age, disease, or other damage that may make them less successful in the coming months. The healthier the bulb is when planted, the better its ability to fight off adverse conditions.
If you've walked through the home improvement store and found a set of spring bulbs marked down because it's the end of the season or discovered a package you bought months before, don't simply toss them in the ground. Carefully examine them and sift through ones that may be damaged, and you'll get better results this spring. At the same time, if you already have some bulbs that don't look as healthy as you like, you may still get success out of them with the right care. Knowing what to look for in a healthy bulb for your garden ensures you get the most out of your investment and a healthy plant.
Signs of a healthy fall bulb for planting
A healthy fall bulb will differ somewhat between species. Daffodils, for example, have larger bulbs than crocuses, so size is something to consider, but it's not the only factor. In addition, different bulbs will have different appearances. Some have a skin like an onion's flakey, dried-out exterior. Tulips tend to have more scales, while most have a smoother exterior.
One of the most important health indicators of bulbs is their weight. Squeeze the bulb in your hand. It should be firm and not have a lot of give to it. A denser mass means more stored nutrients for the roots, while a weakened or soft mass means the bulb has already spent a great deal of that energy. You can place larger bulbs like daffodils into a tub of water to see if they sink, a good sign of their density.
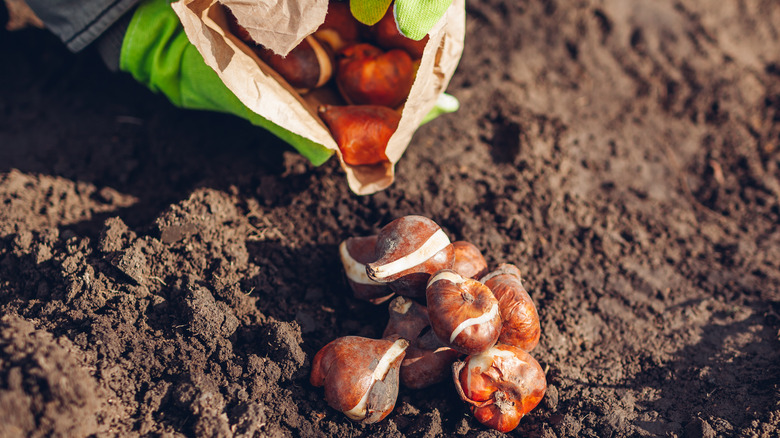
Turn over the bulb to look at the base. It's common for it to have a split area, which tends to appear right before the ideal planting period. That opening is okay as it allows the roots to begin growing, which you'll want to happen within the weeks after planting. Finally, make sure there are no obvious signs of mold or damage to the bulb. You can't just rinse it off, and you shouldn't use these bulbs or any others they were touching.
What to do if your bulbs are less than perfect
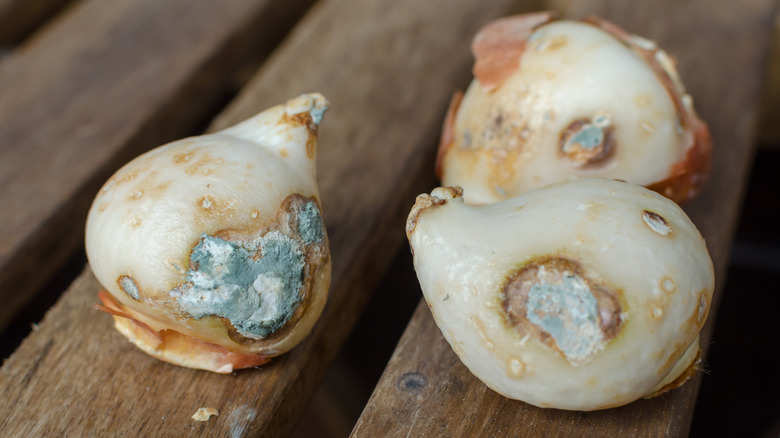
Some bulbs need to be tossed out if they're not in good condition. That includes any that are moldy or have a mushy texture to them. They shouldn't have a prominent smell, either. If the bulb seems older, but in good overall condition, you can certainly use it, especially if it is still fairly dense. If the bulb is lightweight or crumbles somewhat in your hand, it may be harder to get anything to grow from it.
If the bulbs haven't completely dried out yet, consider planting them. Use a higher quality, nutrient-rich soil (with organic bone meal as a supplement if possible). Plant in well-draining but moist water to give it the best chance of sprouting.
What about bulbs that are already sprouting? If the bulbs are sprouting, get them into the ground as soon as possible. Make sure you're using high-quality soil here, too. They will take root quickly if given the right attention. If you are planting these just-sprouting bulbs in the spring after frost, they should continue to bloom and provide you with flowers this year. However, if you had planted them in the fall, you may have gotten bigger, more robust blooms. Don't keep them in a bag over winter since that will suffocate the bulbs and limit their ability to root. Even if these bulbs don't bloom this year, they may be able to come back next year.