How To Make Your Own Reusable Paper Towels
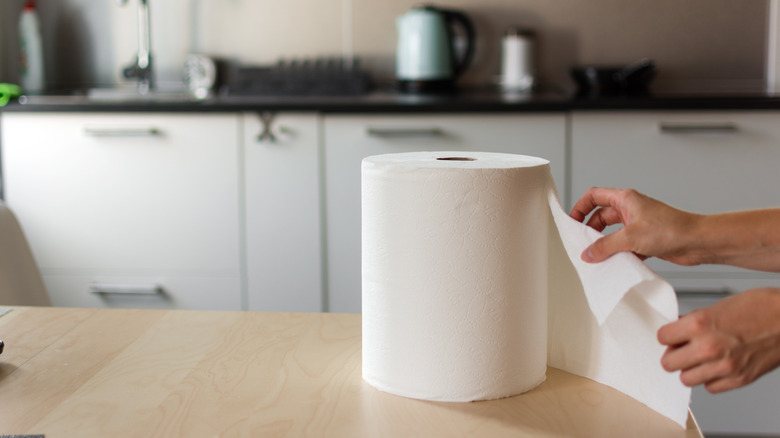
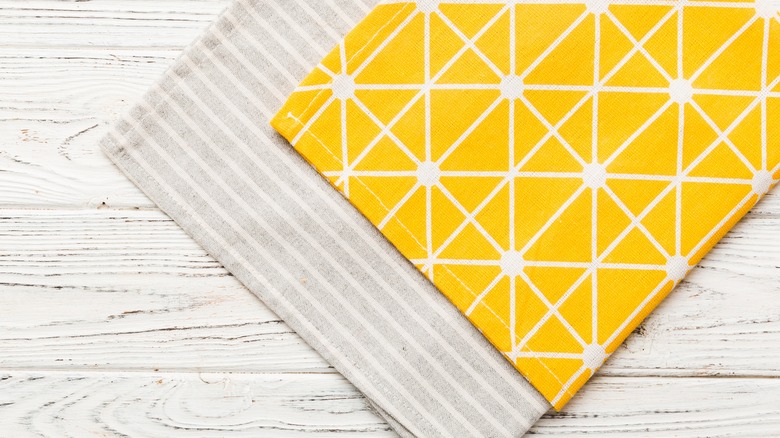
If you've finally had it with the expense and waste (and occasional shortages) of paper towels, TikTok maker @basscreationshandmade has a super-simple sewing project that'll give you an alternative to reach for. Her reusable 2-ply paper towels are made of two layers of flannel and cotton terry rectangles sewn together. It's a very standard beginner sewing project, with the brilliant addition of a topstitched X across the whole piece, keeping the plys from separating. You end up with an absorbent rectangular cloth wipe. Even if you don't plan to totally replace paper towels, these are key to making the best tips for cutting back on paper towel use possible.
The towels start out a lot like a simple throw pillow project. You're basically sewing a rectangular bag, starting inside out as usual. The three main differences are that the hand towel won't be filled, the entire right-side-out perimeter is topstitched, and it includes the X-shaped topstitching to hold the fabric plys together. The simplicity of the project and the practicality of the wipes afford you lots of useful variations, like making the cloths in different sizes to cut down on unnecessary laundry. You could also use this approach as reusable wipes for cloth-diapered babies and even as "family cloth," if you're into that.
Eight simple steps to end paper towel dependence
You're obviously going to need a sewing machine and the usual tools like scissors and, if you're making a lot of these, something energizing on the ol' EarPods. You'll also need very basic sewing skills. Cut the flannel and terrycloth to size and face the right sides (the printed side that will eventually be facing out) together. Use clips, pins, or marks of some sort to indicate where you're leaving an opening of a few inches for turning your "bag" right side out later. Sew around the perimeter of the piece with about a ½-inch seam allowance, remembering to backstitch at the start and end.
Now it's time to prepare for pushing the whole thing through that opening you left earlier. First, trim off any excess material and clip the corners diagonally so that the material doesn't bunch up in them. Now turn the wipe right side out through the opening and flatten the edges all the way around. You can iron the project at this point to make it flatter; @basscreationshandmade uses a seam creaser to flatten the folded edge. Poke the corners out as much as possible, then topstitch around the entire piece with a ⅛-inch seam allowance to create the finished edge. Next comes the big X. Draw lines from corner to corner with a washable marker or tailor's chalk, then topstitch along both lines, clip off the thread tails, and you're all done!
Tips for better alternative paper towels
This project is easy and will work fantastic, as @basscreationshandmade describes it, but there are a few steps you can tweak to make things go even more smoothly. While she mentions ironing after turning the piece right side out, it might be best to iron the pieces before you start sewing — which should make them easier to handle and keep together. Especially if you're a newbie at sewing, it also might be a good idea to pin or clip the two pieces of cloth together at the beginning to be sure things stay properly aligned — just remove the pins or clips as the sewing machine reaches them.
Use a chopstick, skewer, the eraser end of a reasonably long pencil, or something similar to poke out the corners of the wipe after you turn it right side out. The purpose of all this poking is to get square, sharp corners. Before you topstitch it to close up the gap you left earlier, use a seam creaser (or the iron again) to carefully crease the fabric at the opening. This will make holding the opening together easier and will help you avoid an unsightly bulge where the opening was. This is a particularly useful strategy if you later decide to apply this technique to something stuffed like a perfect fall-themed throw pillow, where it will already be a little challenging to close that gap.