Transform Your Laundry Room Storage Space With These DIY Floating Shelves
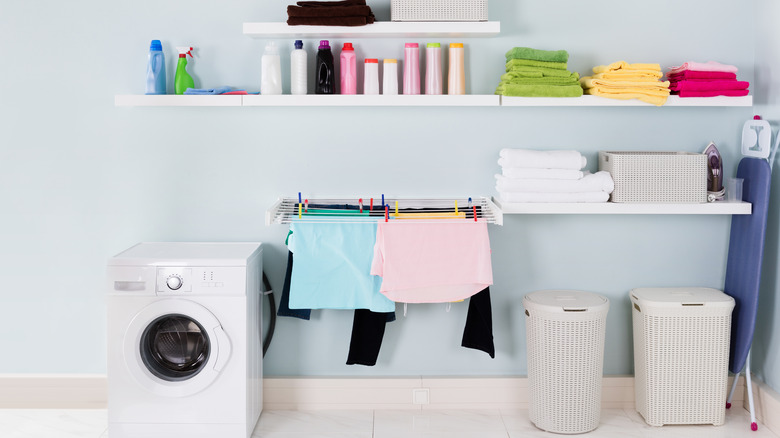
Transforming your space with floating shelves is one of the best ways to add valuable extra storage in tight spaces, allowing you to make use of wall surfaces that may otherwise be blocked by appliances, fixtures, and lower furniture. This is especially true of areas like laundry rooms, which often require a lot of supplies but still need ample room for large washers, dryers, sinks, and counters. TikTok user @arileedesigns showed off her method of making chunky floating shelves for above the large appliances in her laundry room. The shelves and their framework, constructed out of 2-by-3 cuts of wood screwed directly into the wall, are easy to build and hang. This makes them a perfect DIY addition to organize your laundry room with shelving for supplies like detergents, cleaning supplies, and folded linens.
You can create the inner framework of brackets to whatever size you desire, making this shelving solution perfect for other spots where floating shelves might be a great idea, including bathrooms and kitchens. Because of their sturdy construction, they can hold a substantial amount of weight. If heavier shelf loads need to be accommodated, adjustments can be made to the distance between the brackets. You can also stain or paint them your desired shade to match your aesthetic.
Creating floating shelves
To assemble a floating shelf, you will need lengths of 2-by-3-inch lumber to build the inner framework and 1-by-6 or 1-by-8-inch lumber for the top and bottom of the shelf. Cut one large piece of 2-by-3 wood that will attach to the wall and determine the length of your shelving. You can make the shelf shorter or, as @erileedesigns has, extend it along an entire wall.
After firmly securing that initial horizontal piece of wood to the wall studs with screws, attach shorter lengths of 2-by-3s to the wall piece perpendicularly at 12- to 20-inch intervals, creating ribs that extend outward. These pieces will determine the depth of your shelf and support the thinner cuts for the surface and underside. Use shorter intervals between ribs for a shelf that will hold heavy materials to prevent bowing or sagging in high-humidity spaces. Supports for floating shelves in general should not be placed more than 24 inches apart for medium to heavy loads.
Once the ribs are secured to the wood screwed to the wall, attach another length of 2-by-3-inch wood to the front, outer side of the ribs and parallel to the wall piece. This will form the front of the shelf. To finish, add the 1-by-6 or 1-by-8-inch pieces of wood to the top and bottom of the shelf with screws. All that's left is to put your new floating shelf to good use organizing and storing all of your laundry supplies.