Turn A Plain IKEA Cabinet Into A Stunning Kitchen Hutch
Finding space to store extra dishware, glassware, pots, or pans in a small kitchen is tricky. Even though every kitchen has a different layout, there are ways to add more storage, like creating shelves or wall racks. However, you might want an extension to your cabinets to give you more space than a shelf would. Instead of spending your savings on an entire kitchen renovation, Ikea has handy and affordable furniture that you can use anywhere in your house — providing you with a little more space. TikTok user @valeriajacobs used Ikea's HAVSTA glass-door cabinets to create a hutch in her kitchen. The cabinetry gave her a few more shelves to display plates and bowls.
The transformation isn't too difficult to execute and gives your kitchen a chic and classy look. Plus, it's easily customizable — complementing your kitchen's interior flawlessly. The TikToker added crown molding to increase the cabinet's height and a fresh coat of paint to match her forest green kitchen. The HAVSTA cabinet is so versatile that you can use it for many things around your home, such as an extra bookcase or decorative element to store vases, picture frames, and small trinkets. The simple design elevates the room while boosting storage space for all your essentials. Here's how to turn your HAVSTA cabinet into a beautiful kitchen hutch.
Creating your own kitchen hutch
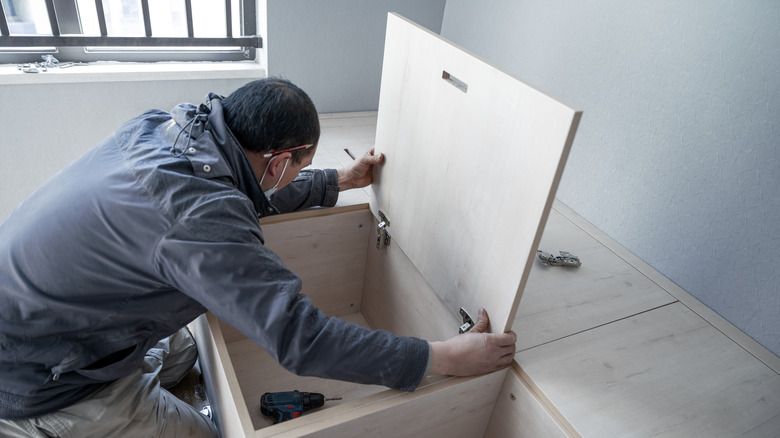
TikToker @valeriajacobs assembled and added the crown molding and new paint to her hutch in her kitchen. However, when following her DIY, we recommend you take all your materials outdoors to prevent causing damage to your kitchen. In addition, the TikToker assembles her cabinet first, then primes and paints the interior and exterior. When adding an extension of wood, it's best to sand, prime, and paint them individually before assembling to make the process easier. Painting Ikea furniture is more complex than you think. They require a specific type of primer and paint to ensure the paint doesn't chip over time. The combination of sanding and the suitable primer and paint will give your Ikea cabinets a sleek, scratch-free surface.
On the other hand, when adding the crown molding to your cabinets, the TikToker glued scrap wood to the top of the cabinet as a foundation and used a nail gun to attach plywood to the scrap. While gluing the scrap wood will help support the plywood, you could also nail those pieces to the cabinet to ensure it's secure. You won't have to wait for the glue to dry, so it slightly speeds up the process. Also, adding caulk around the molding and nails will help fill gaps and hide the nails better than painting over them. Once your cabinet is completed, perch it on your counter and fill it with your dishware.