HGTV Jenn Todryk's Best Tips For Making A Faux Beam Look Real
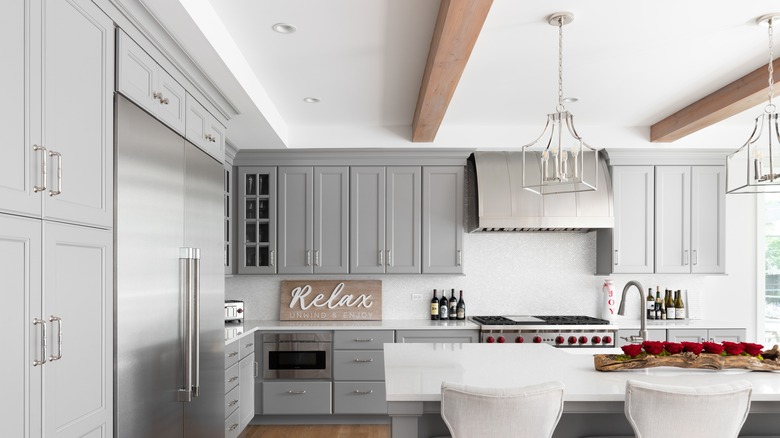
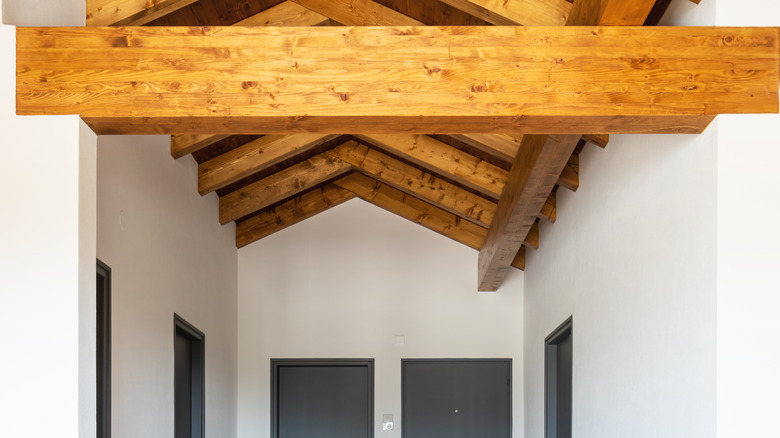
Everybody loves a good exposed beam. And badly exposed beams — obviously fake ones — are pretty good, too. We glance at them and understand what they are, as if via a collective unconscious catalog of building methods: There's a beam holding up that ceiling, which makes sense. But it turns out to be almost as easy to make a convincing fake exposed beam as an unconvincing one, and why bother with an illusion that only works out of the corner of one's eye? HGTV's Jenn Todryk insists that faux beams should be constructed with miter joints rather than butt joints, and she's right.
From the side, a butt-joined beam looks like a box, Todryk says in an episode of "No Demo Reno," while a beam made with mitered joints looks like a real beam. There's even a nifty animation showing that this effect works because the actual seam between boards happens precisely at the corner, and each face of the beam is a single with continuous grain. The grain becomes mismatched with a butt joint, and the difference is almost impossible to disguise without painting — and sometimes even with painting. And paint is, of course, often not the finish of choice for exposed beams.
The basics of constructing a mitered faux beam
The basic mitered fake beam is a simple matter. Each visible board is ripped so its long edge is beveled at a 45-degree angle, resulting in boards with a trapezoidal profile. Each cut plane is joined together, and voila, a box with mostly hidden seams emerges. One common practice for assembling these beams is a little more complicated and yields slightly better results. After miter cuts are made, lay the boards flat and side-by-side, with the exposed faces all pointing up. Tape the long edges together with something strong, like a high-quality packing tape.
Add glue to the mitered faces, then roll them up into a rectangular box, your beam. The tape will help the beam close up perfectly when rolled up, and then you can clamp the beam while the glue dries. You can fasten the boards with a brad nailer to hold the package together while it's drying. Finishing up is a matter of attaching the beam to cleats on the ceiling.
Tips for the most convincing faux beam
A few extra steps along the way will ensure that you end up with the most convincing fake beam possible. It starts, as most carpentry does, with board selection: your seams will be less pronounced when built with very straight and straight-grained hardwood. Carpenter Josh Hescott gives some tips on Instagram that fit perfectly with Todryk's miter strategy. The first is to cut the miter joints at 44.9 degrees rather than 45. The idea is to make the folded-up box pinch the visible corner more tightly. If your saw isn't that precise, try 44.5 degrees. Experiment with scrap wood to get your formula right. Supporting the boards with blocks the size of the open space inside the beam or with cleats along each joint inside the beam will also help hold things together more tightly. And burnish the finished corner while the glue is still wet, which will help make the joint disappear.
Other tips for a convincing mitered beam involve how the beam fits to the ceiling. Back-beveling the edge of the boards that contact the ceiling 5 to 15 degrees will give you a bit of wiggle room where the surfaces meet. It's also good to scribe the boards adjacent to the ceiling and walls and then sand them to the scribed line. This will result in a perfect fit with no telltale gaps.