The Dollar Store Bottle Brush Christmas Tree DIY That'll Save You Big Bucks
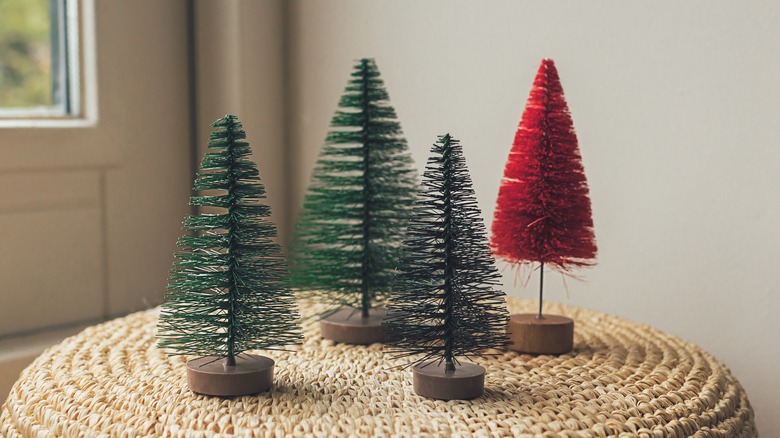
Displaying bottle brush Christmas trees around your home is a simple way to implement holiday décor in the tightest spaces. They make every corner more festive with their vibrant colors, but many retail stores sell bottle brush tree sets for a high price. For instance, West Elm regularly sells a set of only six bottle brush trees for about $50. Instead of paying that high price for your dream set, purchase as many as you want from Dollar Tree for $1.25 and DIY the look you desire for less. Also grab twinkle lights, faux snow, and four small square wooden trays to produce a striking lit-up tree wonderland display.
Once completed, you can place your Christmas decoration on your fireplace mantel or in your kitchen, living room, dining room, or even your entryway for everyone to enjoy when they walk into your home. Or, create multiple smaller sets so every room has its own unique display. The great thing about this DIY is that it's budget-friendly, as all the Dollar Tree materials, including 15 trees, twinkle lights, faux snow, and trays, cost less than $30 in total. Keep in mind that it's best to use battery-operated lights, as you'll easily be able to hide the battery pack behind the display. You'll also need a hot glue gun, a paintbrush, wire cutters, and Modge Podge, which could all be purchased at a craft store. Gather your materials and take them to your crafts station to create this unique decorative piece.
DIYing a bottle brush tree display
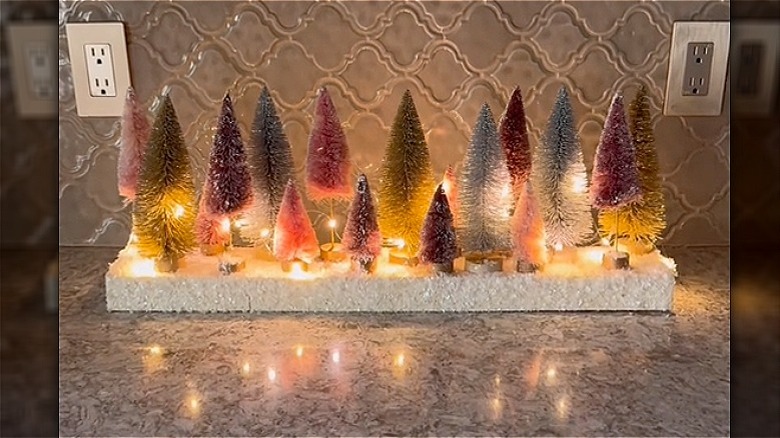
Start by hot gluing each wooden tray side by side to create a long wooden rectangle. Then, flip them over and apply Modge Podge over the entire surface. Next, sprinkle the faux snow over the glue. Apply more Modge Podge to the sides of the crates and add the snow by pressing it onto the sides with your fingers. After the Mod Podge has dried completely, hot glue a few tall trees along the back of the display. You can make a few trees shorter by removing their stems from the bases and cutting the trees in half with wire cutters, then gluing the top half of the trees to the bases. Finally, once all the trees are in place, intertwine your twinkle lights around them and turn them on.
This DIY gives you the creative freedom to customize your bottle brush tree set by using non-traditional Christmas colors or any shades you desire. You could also add small adornments like snowmen, elves, deer, cabins, or anything you might find in a forest. To add these, simply glue them onto the surface like you did with the trees. Further, if you don't have a hot glue gun, you could replace the base with a rectangular piece of foam that looks like snow. Then, remove the bottle brush trees from their bases to expose their wire trunks and simply push them into the foam. Finish the piece by placing your twinkle lights around the forest.