Mistakes To Avoid When You DIY A Limewashed Wall
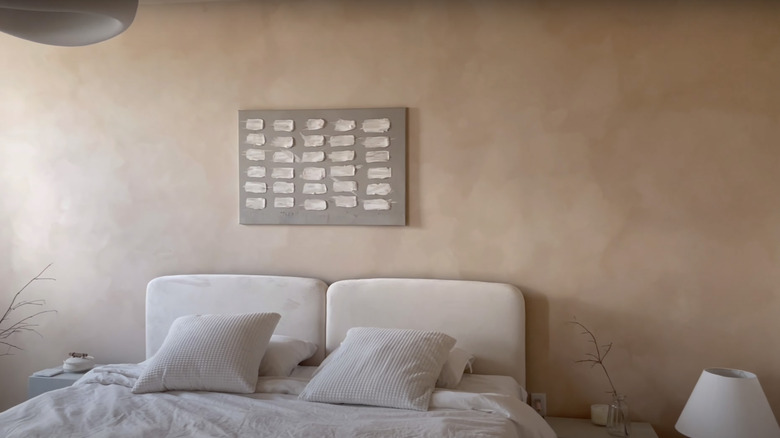
Limewashed walls are a home trend that's completely transforming our spaces in a unique way. This textured and translucent paint is created from heated limestone, water, and natural dyes to give our walls a dusty and aged finish that is beyond charming. Although we are seeing this trend pop off today, limewashed paints have been around for thousands of years and are highly sought after for their eco-friendly qualities. As simple as this DIY renovation can be, it's also incredibly easy to make mistakes, like rushing the project and laying the paint on too thick, which can throw off the entire look.
As you contemplate limewashing your walls and capturing the dimensional and contrasted effect it's known for, you'll want to carefully consider the time the project will take, the technique to use, and the consistency of your paint. Using limewash paint in your home is a very manageable DIY project, but it is important to note that this is not your standard paint and, therefore, should not be treated as such. Limewash paint is similar to brick limewashing in that both solutions are curated from limestone. However, a brick application will be of a pasty and putty-like consistency as opposed to the watery density of the paint. And you shouldn't confuse limewash paint with lime-based paints. Because this is not your average paint and the real trick is all in your technique, there are mistakes to avoid.
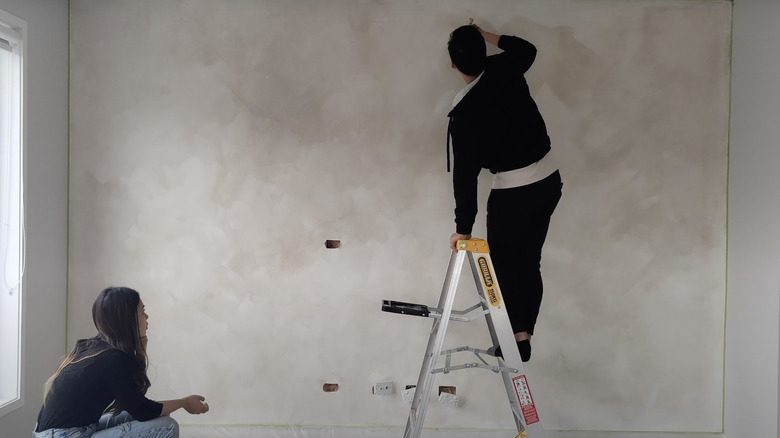
Don't rush the process
Arguably, the most vital element when applying limewashed paint is taking adequate time. Nothing good comes from rushing a project. Although the paint will inherently showcase a chalky texture, the real volume stems from your brush strokes. Since only two to three coats are recommended, the thin layers highlight your hand movements, and the combination of vertical, horizontal, zigzag, and circular strokes will be at the core of this finished look. That said, be patient with the entire process from start to finish.
Alongside a leisurely and precise application, do not rush between painting each layer. To ensure the paint spreads evenly and cures properly, you must wait for each layer of paint to completely dry before starting on the next one. This could take up to 24 hours. Only once the limewash is 100% dry will you see its final color and transparency, which you should use to guide your next steps. Based on how a layer dries, you can determine how many more layers to paint or if certain areas need more or less texture. Although it sounds easy to make mistakes, you should still get creative and try out different approaches, like using a lighter shade for the last layer to add extra contrast or playing around with unique brushstrokes and patterns.
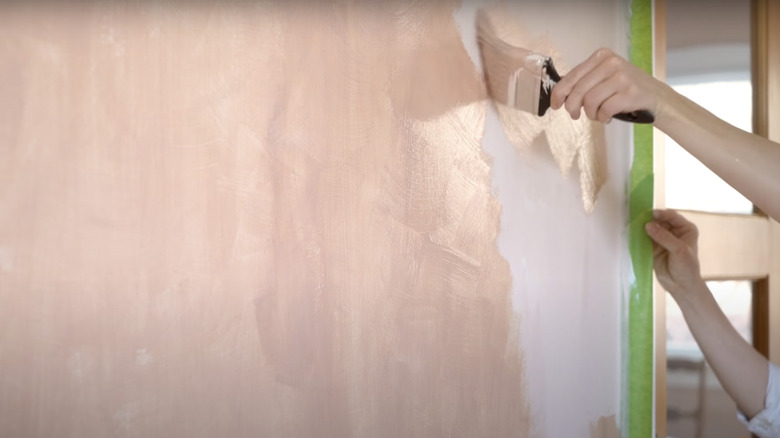
Don't lay it on too thick
As you take on this DIY project, apply limewash paint sparingly, or it'll cure incorrectly and leave you with a less-than-desirable outcome. As limewash dries, it absorbs carbon dioxide; however, this natural curing process isn't possible if the paint is applied too thickly, which can lead to a powdery-to-the-touch finish, decreased volume, and an uneven look overall. To help keep your layers on the thinner side, invest in a long-bristled brush. The larger bristles and wider brush will help with a slap technique and spread the paint further along the surface. Additionally, fill in dents or cracks in the wall before painting to avoid any pooling in those crevices.
In addition to making sure the application of the paint itself is spread thin enough, you want to ensure the paint's consistency is also correct. Unlike standard paint, limewash should be much lighter and of a milk-like density but not so diluted that it resembles a glaze. In the case of limewash drying too thickly, repaint over it with a thin layer evened out across the surface to erase the powdery texture, avoid cracking, and fix any inconsistencies in the coloration. Ensure you're stretching the paint as far as it can go before adding more to your brush. The beginning layers are bound to look a bit wonky, but always start thinner and add more layers as the wall dries. It will all come together in the end; you just have to trust the process.