Spruce Up Your Bathroom With These DIY Pallet Projects
We may receive a commission on purchases made from links.
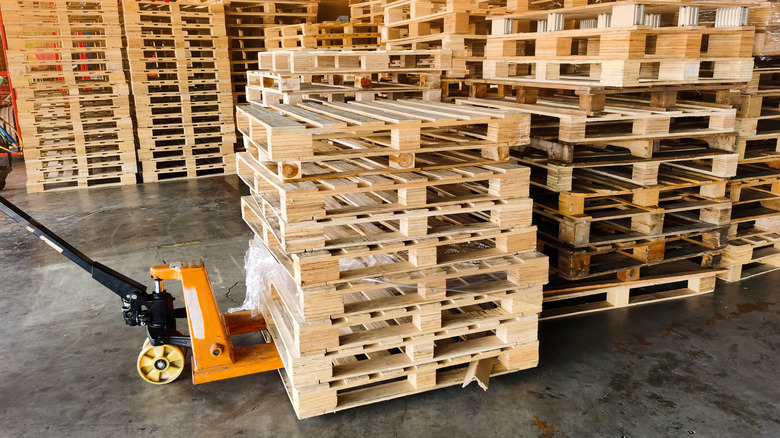
If you're trying to elevate your bathroom on a budget, wood pallets are a great option for your next beginner woodworking project. Crafters often gravitate to wood pallets for the easy availability and low price (you might even be able to find them for free at grocery, home improvement, or plant stores). Their raw appearance also lends a rustic look to the decor. DIY wood pallet projects tend to fit in nicely with rustic and farmhouse homes, but they can also add character to modern and eclectic spaces as well.
With a bit of elbow grease and a few tools, you can turn a wooden pallet into almost anything from a bathroom wall decoration to a stylish bench. There's also an array of bathroom shelving or cabinets you can build, crafting practical storage space from one of these often-overlooked pallets. Just keep in mind that since your finished project will be in the bathroom, it's very important to seal the wood well with a waterproofing oil or sealant. Even if the wood doesn't come in direct contact with water, your project will be exposed to bathroom moisture. Sealing it will help prevent mold or other water damage. Another important caveat: Not all wooden pallets are suitable for DIY use. Below, we'll expand on how to find a safe wooden pallet and walk through some DIY pallet projects that you can use to upgrade your bathroom.
Is it safe to use wooden pallets?
If you stumble upon a pallet on the street, you might be wondering, are wooden pallets safe to use? The good news is that many are, but you just need to keep some tips in mind. First, make sure the pallet is clean. Inspect the pallet as much as you can before touching it — wood pallets are used to transport all manners of materials, so if it has an unidentified spill or stain, it could be from a toxic source. It's best to leave dirty pallets alone!
Also, avoid painted pallets. Pallet rental companies often own them and they are not free for the taking. Next, look for markings on the pallet. An unmarked pallet is likely a domestic unit (built in the country), which is usually safe to use since it's unlikely to be treated with chemicals. Marked pallets are international pallets, and they must be treated before they come into the country. On these pallets, look for a two-letter code, which tells you how it was treated. For example, pallets with the code "HT" (heat treated), "DB" (debarked), and "KD" (kiln dried) are safe to use — they have been treated without toxic chemicals. The big red flag to watch for are the letters "MB". "MB" stands for methyl bromide, which is a chemical used to treat pallets that is harmful to humans. Avoid using pallets marked "MB".
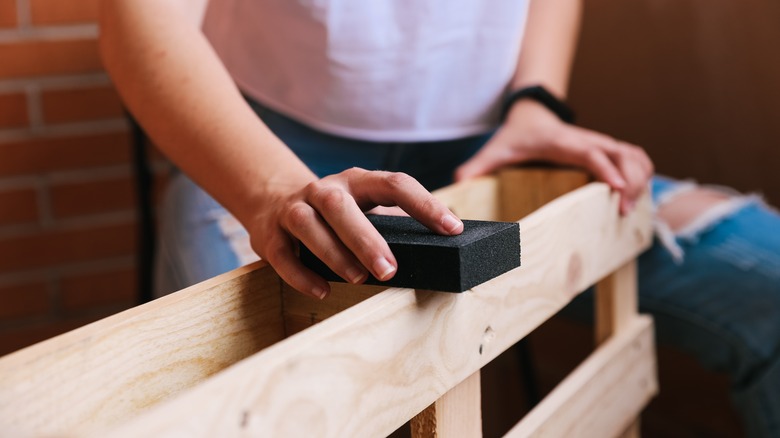
Pallets sometimes need to be taken apart before you start constructing something new, and there's plenty of potential for injury when dismantling them. Wear proper safety gear, including safety glasses and thick gloves, and take your time slowly deconstructing the piece. Avoid kicking or jumping on it to break it apart (that's a recipe for a fall), and take care around rusty nails. Once your pallet is disassembled, you're ready to start on one of these projects!
A towel rack is an easy beginner's project
This simple DIY towel rack is so easy to make, and since it uses cheap (or free) wood from a pallet, it's fabulous for a first-timer's project. It only uses one piece of wood with a few knobs screwed into it, so if you make any mistakes, you should still have plenty of pallet wood left. Or, it's a great project for a leftover piece that you don't know what to do with. Make sure to seal the wood so it holds up to damp bathroom conditions, especially if you plan on hanging wet towels on the rack. This DIY uses knobs for the rack, which gives it a rustic look that complements the pallet wood's imperfections. However, you can also use traditional hooks if you prefer.
Craft a rustic bathroom cabinet
Making this bathroom cabinet is definitely more involved, but it's worth the extra effort for the gorgeous finished product. All you have to do is glue and nail the wooden pallet pieces together to make a small box with shelves. The video shares a tip that's excellent for any wooden pallet project: start by sorting the wood into different piles based on intended use, with straighter and sturdier pieces for the structural parts of the project and more character-filled pieces (like those with knots, holes, and interesting wood grain patterns) for decorative parts. After all, it's this character that gives wood pallet projects their relaxed appearance. You can give your DIY bathroom cabinet even more character with your stain color and door knob hardware choices.
Create a simple bath tray
Have you always wanted a place to put your wine glass in your bathtub but thought bath trays were too expensive? Well, you can DIY your own with the help of a wooden pallet. This simple DIY only requires sandpaper, stain, and decorative handles. Take a piece from your pallet that is long enough to clear both sides of your tub. Then, sand it down with 80-grit sandpaper to ensure it's nice and smooth. You can then either stain it a new color or simply seal it so the moisture from your warm bath doesn't damage the wood. A great budget-friendly option is Advantageouse Clear Sealant, which you can get for $6.50 on Amazon. You can then let your decor style shine through via the handles of the tray. For example, if your bathroom is modern, choose sleek, chrome handles. If you prefer a farmhouse aesthetic, gravitate towards black iron ones.
Create decor with dollar store pallet
If you're a newbie crafter and want to avoid a project that involves sandpaper or nails, then create a fun decorative item using a small pallet from the dollar store. Dubbed "Crafter's Square Wood Pallets," you can get one for $1.25 at your local dollar store. To create your decor accent, paint the wood using colors that match your bathroom aesthetic, and then attach a vinyl sticker with a phrase or motto that you resonate with. If you want a custom one, you can order one from Etsy for as little as $3.50.
A laundry basket holder helps keep dirty laundry organized
Laundry baskets are a necessity for keeping dirty clothes organized and carrying them around, but they can be an eyesore when they're left out on their own. Solve this problem with a laundry basket holder made out of pallet wood. If a few people share one bathroom, this unit works as a great solution for laundry sorting. Plus, when it's time for laundry day, you can carry the baskets to the laundry room. You can even consider mounting the basket holder on wheels so you can roll the whole unit around. While this DIY sands the wood down with a sander and router, you can skip these steps to make it simpler.
Make a decorative and useful pallet wall shelf
Due to the natural charm of pallet wood, with its knots, nail holes, and imperfections, it makes the perfect base for rustic wall decor. There are so many ways to get creative with a pallet wall shelf. This project really just consists of gluing the pallet pieces together at different lengths and then adding three simple shelves to the front. This project recommends using irregularly sized wood planks for the backing to get a relaxed look, but you can choose uniform pieces to make it look more put-together. You can put anything from bathroom decor to beauty supplies on this.
Create a compact toilet paper holder
It's hard to make toilet paper storage look nice, but you can at least make it appealing with this pallet toilet paper holder. It's a fairly simple project that uses wood planks to create a combined toilet paper holder and storage unit. Apart from your pallet wood, the extra item you'll need is a wooden dowel to place the main roll on. Keep a couple of toilet paper rolls on hand to determine the perfect size for your holder. Stylish feet can give this unit a bit of a decorative farmhouse touch, or let it sit flat on the ground for a modern look.
Build a vanity organizer
For this pallet DIY, head back to the dollar store and pick up several mini pallet crates to craft a vanity organizer. You can also get them from Dollar Tree's website for $1.25. Staple and wood glue two of them together to create one bucket shelf. Repeat this process three or four times (depending on how big you want your organizer to be) and staple each bucket shelf to a vertical piece of wood. The end result will be a vertical organizer that you can put on your vanity. Store anything from makeup to lotion in there, making the products easily accessible to help you do your morning routine.
Simple floating shelf
If you want to create simple floating shelves for your bathroom where you can display signs, plants, and other odds and ends, simply take a plank that is closest to the length you're looking for, sand it down to make sure there aren't any errant splinters, and install it onto the wall. While this DIY suggests cutting off the heads of nails to mount it to the wall without any brackets, if that's too advanced for you, you can go ahead and use brackets. You want to scale them to the size of your shelf, but you can get a 6-pack from Amazon for $14.