Whip Up A Stunning Wooden Cookbook Stand With This Beginner-Friendly DIY

We may receive a commission on purchases made from links.
If you've ever struggled to keep your cookbook open to the right page while slaving over your stove, this scrap wood DIY will ensure that this scenario never happens again. With some wood, a saw, clamps, wood filler, a sander, and some wood glue, you can create the perfect cookbook holder to make your time in the kitchen a little easier. If you get your recipes online, this project also works great for holding a tablet. It could also be helpful for those who have trouble holding heavy hardback books while reading anything, whether a cookbook, textbook, or any other type of literature. This DIY is super customizable as well. For instance, you could give the top a rounded edge or use a wood stain or paint to give your piece the perfect color.
If you don't have any scrap wood lying around, you could purchase boards of wood from your local home improvement store to make your cookbook holder, like this 8-Foot Whitewood Board from The Home Depot that costs about $26. You can also find Gorilla Wood Glue for around $5 and Plastic Wood-X All-Purpose Wood Filler for about $10 at the same retailer. Though starting your first DIY can be intimidating, this cookbook stand project is relatively simple and great for those that don't have much experience.
Preparing the wood for your DIY cookbook stand
Once you've gathered your scrap wood or purchased your board, you'll need to use a miter saw to cut out your pieces: a back, a bottom, a ledge to hold the book, and two triangular pieces for the stand. The back piece will need to be 11 inches wide and 12½ inches tall. This will support your book when it's open, so it's crucial to ensure that it's large enough to handle your biggest cookbook. Be sure to wear goggles when working with your saw.
Your base and ledge should both be 11 inches wide to line up with the back of your stand, but should also be much shorter so they don't obstruct the pages of your book. Both pieces could be the same height of 2¼ inches, or you could make the bottom 3 inches and the ledge 2½ inches tall to achieve the perfect look. Additionally, you could skip cutting out a wooden ledge to hold your book open and use a metal drawer pull instead for a more modern aesthetic, like this Mandara Matte Black Drawer Pull from The Home Depot. Now, you'll need two identical cuts of wood that are 5 inches by 5 inches by 3 inches in a triangular shape. These will hold your cookbook stand at an angle that's perfect for reading while you're at the counter. When you have all your pieces, use a sander to smooth all the surfaces.
Assembling your DIY wooden cookbook stand
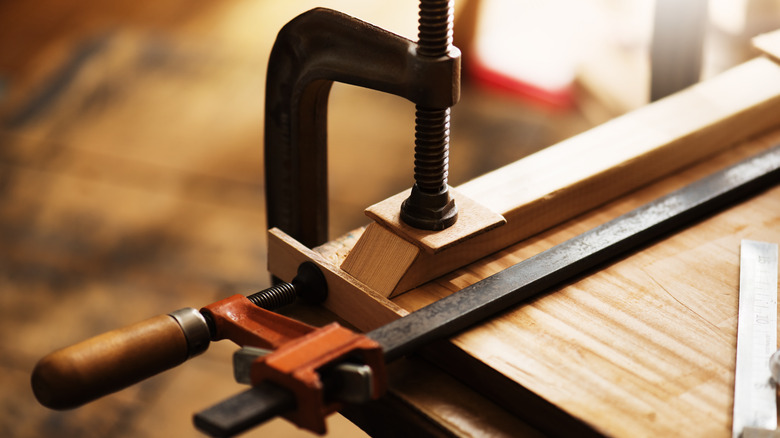
Now that you have all the pieces cut out and sanded for your book stand, place them together to make sure they line up properly. Use your wood glue to attach the base of the stand to the back and the ledge to the base. Clamps can then be used to hold your pieces together as the glue dries. If you're using a drawer pull rather than a wooden ledge, you'll need to screw it into the base. Keep in mind that you may need a drill to create holes before inserting the screws.
Once the glue has totally dried, remove the clamps and glue your triangular stands to the back of the cookbook holder, with the 3-inch side acting as the bottom. You could also nail or screw them into place if you're concerned about stability. Now, place wood filler along the spots where your pieces are attached or over any screw holes and allow it to dry before sanding it down. Once you wipe away the dust, your cookbook holder can then be painted or covered with a wood stain to create a beautiful kitchen accessory. Place it on your countertop and prop your cookbook open inside it for a decorative but functional piece.