Mistakes Everyone Makes When Limewashing Brick Exterior
We may receive a commission on purchases made from links.
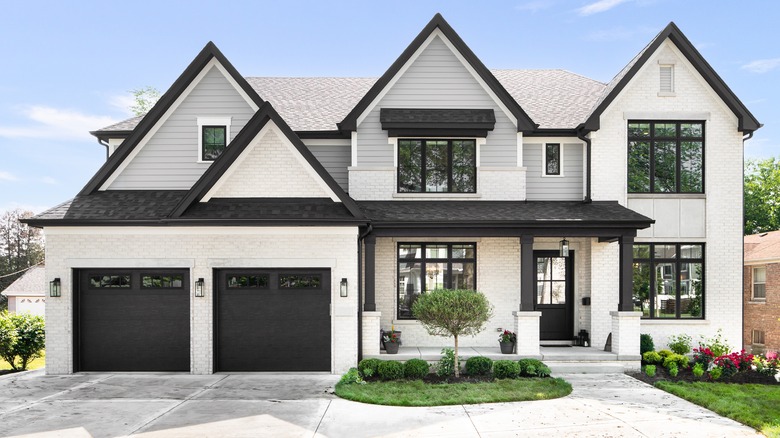
Limewashing seems to be all the rage recently, and it feels like every time you turn the corner, a new house is sporting a brand new white-coated look. While white houses seem to be the hottest thing right now, this trend isn't new. Instead, it traces back centuries. Originally, it was used as a durable solution for coating and protecting buildings from weather and heat, but it eventually developed into a sign of a family's status and wealth. Today, it's used as a safe way to change the color of your brick house, helping to either modernize it or lighten its visual weight.
While it might seem like an easy enough project to do — after all, all you need is a paintbrush and a bucket of limewash — it's easy to make some mistakes along the way. People tend to walk into this DIY confidently, thinking the limewash will go on as smoothly as paint. However, without the correct consistency, tools, and techniques, it can easily become patchy or translucent. This can result in a messy finish and a need to start over. There are other things you need to keep in mind as well, such as the weather temperatures and how many breaks you will need. Not researching the consequences of these factors beforehand can lead to a messy application and diminished curb appeal. To avoid that, here are some common limewashing mistakes to keep an eye out for.
Not budgeting properly

Now that you're ready to spruce up your house and make your Pinterest board dreams a reality, there is one thing you need to consider before putting brush to brick: your budget. The last thing you want is to have two-thirds of your house painted only to realize you don't have enough funds to finish the last third. To guarantee the completion of your project, do the math beforehand to ensure you have enough money set aside to cover not only your house's square feet, but also three to four coats since you will be layering them several times.
On average, a gallon of limewash can cost between $25 to $100, depending on what brand you get. A 4-gallon bucket typically covers 1,800 square feet, so you can expect to pay between $100 to $400 for one coat of 1,800 square feet. However, if you want to keep costs down, you can also mix the putty yourself rather than buying a pre-made solution. You can buy the lime for $5 to $15 per 50-pound bag, but then you have to make sure you create the correct consistency, which can open you up to mistakes.
If you try DIYing the project but end up wanting to outsource the task, limewashing a brick house costs between $1.50 to $5 per square foot with labor. To calculate the price, you take your house's total square feet and subtract 200 to 300 square feet to get the paintable wall amount. So, if your house is 2,000 square feet, you have 1,700 square feet of paintable area. If you're paying $5 per square foot, your entire project will cost you $8,500.
Incorrect preparation
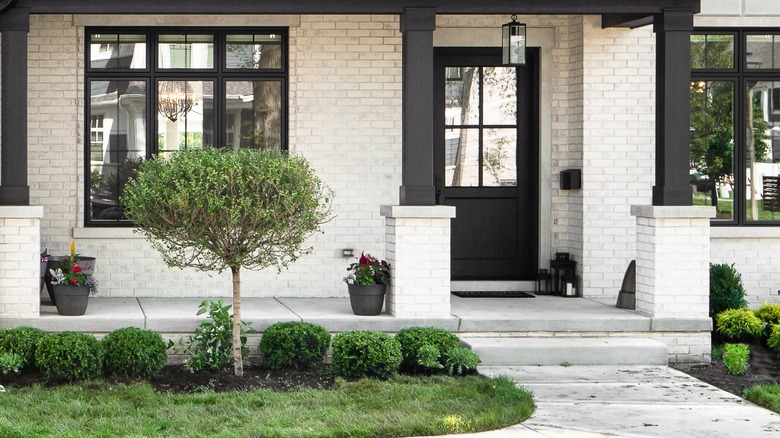
The idea of giving your house a brand new look is exciting, but you don't want to get off on the wrong foot by skipping essential preparation steps. Just like with any paint job, you want to make sure your surface is ready for a fresh coat of paint. And unfortunately, this doesn't just mean a quick rinse-off with the garden hose. The first step to cleaning your brick is to brush off any dust, cobwebs, or other debris with a clean broom. Next, it's time to scrub your brick with good old soap and water; no harsh chemicals are needed. This step is only for the spots that have any dirt build-up, so hopefully, you won't have to pull the ladder out quite yet. Once your house exterior is clean, your brick is finally ready to be painted.
While this is a tedious and potentially time-consuming step, it is absolutely necessary in creating a product you're happy with. The last thing you want to do is paint over dirt, the odd insect, or a twig and have an uneven look. Plus, if you don't prep your brick properly and paint over dirt or sand, it won't bind correctly, creating air bubbles and premature chipping.
Using the incorrect brush
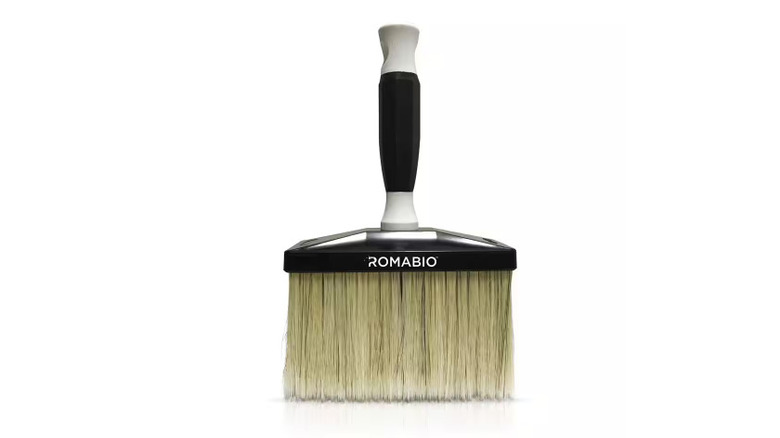
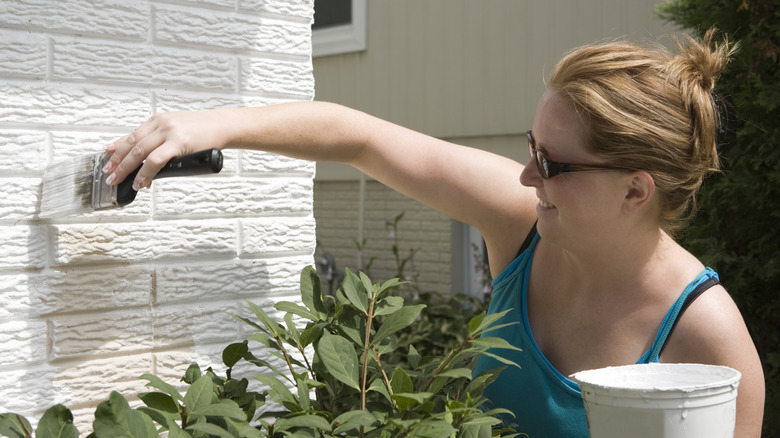
No matter how big your house is, painting its exterior can be daunting. So, while you're going to want a brush that covers the most surface area possible, its size isn't the only thing to consider. When shopping at your local hardware store, you're going to want to pick out a large masonry brush, which has long, firm bristles specifically designed for applying water-based paints to exposed brick. A great pick is the Romabio masonry brush, which you can get for $40 at Home Depot. While using this type of brush might add time to your project, it gives you the precision you need and will eliminate any long drip marks you'll get from a bigger brush.
Much like foregoing the correct preparation of your brick, using the wrong brush can make or break your project. For example, if you use a traditional sponge roller like you would for your house's interior walls, you won't cover all the grooves in the brick, leaving the original color exposed. Sponge brushes are also more likely to pick up dirt and debris, which is not ideal when painting outside in the elements.
Creating an incorrect whitewash consistency
Very much like Goldilocks and her porridge, getting the correct mixture of paint is its own art form. Too much lime may result in masking the texture of the actual brick, but too little might cause you to be adding coats for weeks and still not getting the desired look. The key to the perfect ratio is water. You want to make sure you have a 1:2 paint-to-water ratio, which will create a nice opaque look. If you want something a little bit lighter, try a 1:3 paint-to-water ratio.
A pro tip before going to town is to test your mixture on a small, unnoticeable section of your house to make sure you're going to be happy with the end result. Try a spot close to the ground on a side wall. Allow it to dry, and see if the consistency matches your aesthetic. If not, you have a second chance to either thicken or lighten it before painting your entire house.
Rushing the process
Patience is a virtue, and this project is no exception. Each coat could take hours to cure, and it's recommended to wait a full 24 hours for each layer to dry before adding a new one on top. In addition to that, the average house needs at least three coats, if not four or five, to look like the pictures you see floating around on the internet. If you don't wait for your coat to cure and dry properly, you may wipe away some of the previous coat with your brush. This will make the final result sheerer than you wanted, requiring more and more layers.
While no one likes waiting, the plus side to having to pause a full day between coats is that you have time to think about how you would like to proceed. You can evaluate how the limewash is drying and weigh whether you want to add more coats to create a thick, opaque look or if your house looks better with a more weathered wash. Depending on where you are after each coat, you can also change the ratio of your mixture, so your last coat is lighter than your first. While no one wants a project to drag on, slow and steady truly wins the race in this case.
Ignoring weather conditions
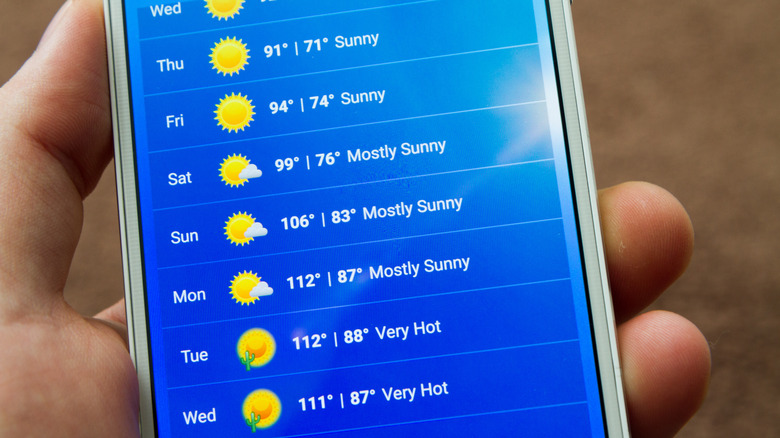
We know the weather channel isn't always reliable, but there is a prime time and climate for painting and re-doing your house's exterior. Unfortunately, winter isn't it, so if you're seeing this during the holiday season and don't live near the equator, you might need to put this on your spring cleaning to-do list. Instead, painting around the 50 to 86-degree marker is what you should aim for. Obviously, you don't want a rainy day, but a bright and sunny day isn't a good idea, either. Too much exposure to the sun may cause your paint to dry too quickly and not stick to the material properly. Also, hot days usually mean an increase in humidity, which can drag out your drying process.
Instead, it's best to wait for an overcast day if you want a uniform finish. But remember — this project will likely take a few days to finish. So check the forecast for the entire week rather than just a couple of days. This will ensure that a rogue rainstorm or an unexpectedly humid day won't ruin your progress.
Changing up your stroke technique

Painting can be very relaxing, but it's important not to zone out and change your stroke technique because you will be able to tell. Each brush stroke will show a different look on the brick, meaning that some will have a more weathered look while others will have fuller coverage. Before you commit to one, it's a good idea to test out the three most common stroke techniques on a piece of drywall to get an idea of what each one will look like.
The first and most common one is a crosshatch pattern, where you simply make an X that slightly overlays the last X, creating gradual coverage of your space. The next pattern you can choose is a vertical pattern, where you take long strokes from top to bottom. You can also try a horizontal pattern, which is exactly like your vertical option except going left to right. Pick the one that you're most comfortable using and the one that gives you the most consistent results. Then, practice on an inconspicuous wall first to get the hang of your technique, only moving to the front of the house once you're comfortable with the application.
Applying it too thickly
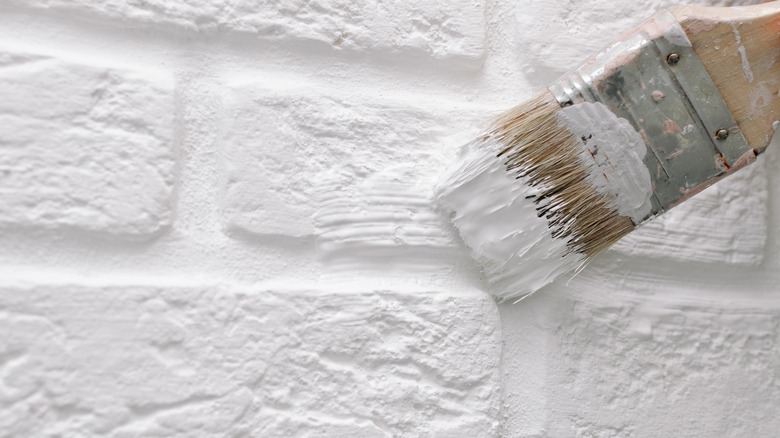
If you want an opaque finish without any of the original brick color peeking through, you might be tempted to layer your limewash thickly. While at first it might produce the consistency and effect you're after, the trouble starts once it begins to dry. Thick layers are prone to crack or, even worse, craze. Limewash crazes when the layers start to peel apart, creating flakes and irregularities. These outcomes are especially prone to happen on rough textures like brick since they have irregular pockets and dips that will promote split paint.
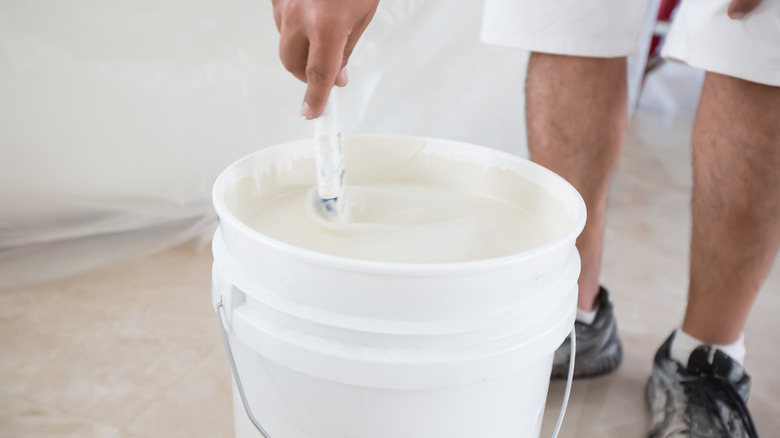
Instead, you want to add thin coats that you can slowly layer. This will create a more durable finish. However, you not only want to avoid globbing on too much limewash onto one spot, but you also want to avoid making your mixture too thick. The perfect consistency should look like milk — any thicker, and you may experience cracking in the near future. To get that consistency, your mixture should have a minimum 2:1 ratio of water to lime.