How To Add Sliding Doors To Any IKEA Open-Faced Storage
We may receive a commission on purchases made from links.
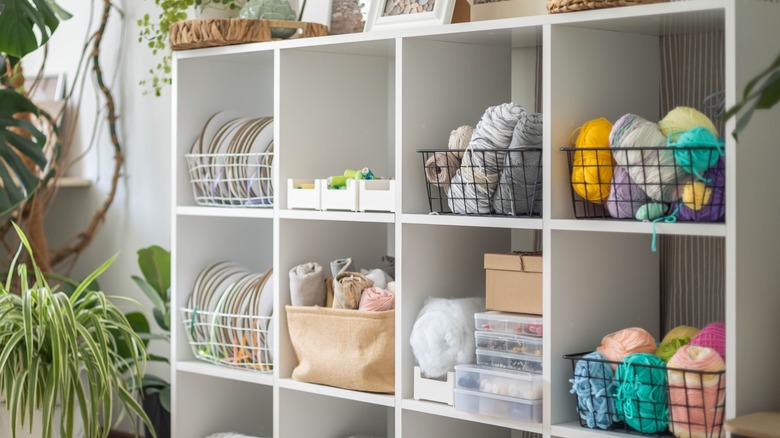
There's no denying that many IKEA storage solutions are ideal for stowing things away, but sometimes, they can become unsightly depending on what you store there. If this sounds like a familiar scenario and you've been wondering how much it costs to install a sliding door, then you may want to test out a hack by @riel.design on TikTok, which shows how you can incorporate your own to conceal any open-faced storage you have and upgrade the design. This addition will make it look much better and is incredibly easy to install, making it the perfect option for any DIY rookie. Likewise, it's not too pricey if you already have a unit, so it's a great budget-friendly option.
All you'll need to get this done is a 10-foot J trim piece for $8.88 from Home Depot, some construction adhesive, a saw, felt, and a 1/8-inch plywood piece. You also have the option to get yourself some paint, although this is not mandatory. You'll also need your open-faced storage units, which, if you don't have one already but want to try this hack, grab an IKEA BESTA for $175. Once you have everything on hand, you're ready to get started. The best part? You can use this trick on virtually any open-storage unit.
Ensure your plywood is the correct size
First, adjust the size of your plywood and J trim so that it's the correct size for the width of your storage unit, but if it already fits, then you won't need to do anything. For the trim, you'll need to do the same and measure and cut it with your saw, so there's one section for the top and one for the lower half of your unit. Next up, take your construction glue and use it to secure the two strips of trim in place, ensuring you allow them enough time to adhere and that they're aligned straight, as this is where your plywood is going to slot into place. After all, nobody wants a wonky result.
While the construction glue starts to dry, take your felt and cut some strips of it for the top and opposite ends of your plywood, applying them in a straight line with your adhesive. Again, you'll have to wait for them to dry before you move on to the final steps. Once that's done, you can take your new doors and simply slot them in place using the J trim railing, which should now be set after at least 24 hours. As a result, you should be left with your very own DIY sliding doors that help hide away your items and storage box.
Customize your sliding doors
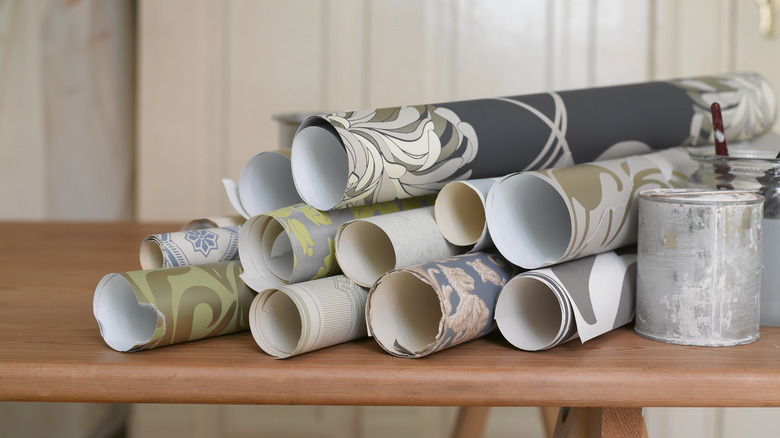
Yes, you can leave your sliding doors plain, but you can also add your own touch if you want a higher-end-looking result. One great way to do this is by painting them to match the rest of your storage unit. However, you have the option to paint them and the rest of the unit to create a completely custom look; for example, a navy blue would work well to create a high-end look, while a bright blue pop of color would help create a statement piece. To take things further, experiment with wallpaper, such as this vintage peel-and-stick floral wallpaper from JamesAndColors, starting at $26. However, this is just one example of what you could choose, and plenty of other options are at your fingertips to help give your doors a decorative update.
One of the main reasons this hack is effective is because the plywood and other items you use can be adjusted depending on the dimensions of your furniture, meaning you can create a sliding door for virtually any shape and size. For example, you could use this hack on an IKEA KALLAX, BESTA, HAVSTA, BILLY, or even a non-IKEA-related brand product — your options are practically endless. One caveat to remember with this project is ensuring you get the correct measurements and products so your wood will fit in your J-trim, for example. This way, you'll be more likely to get the best results the first time around.