The Adorable Garden Decor You Can DIY With Leftover Bricks
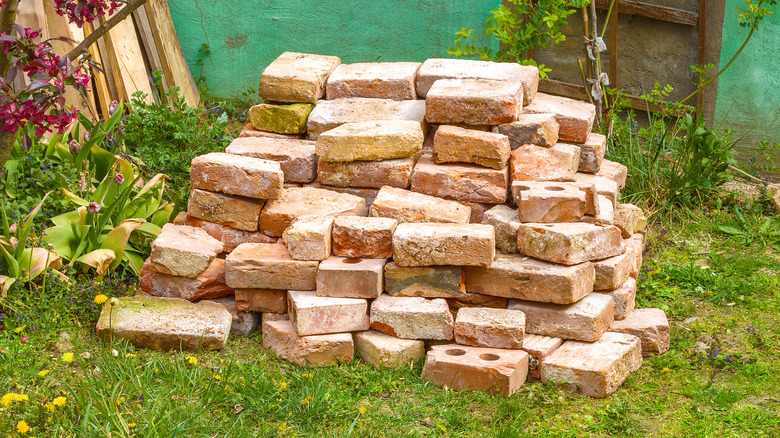
Garden ornaments add charm to your green space, whether you incorporate hanging lanterns on your trees or a curved bench near your favorite flowers. They also change the ambiance and make you feel more at peace. In addition, you can DIY many garden ornaments at home with leftover materials you have on hand from the time spent preparing and designing your garden. Bricks, for instance, are a classic material homeowners use in their yards to create a brick path, make a brick edging for gardens, or DIY brick planters. If you have any leftover bricks from your past projects, use them as garden ornaments. Transform your bricks into books with a bit of paint and a Sharpie.
You can be as straightforward or as creative as you want to be with this project. If you want to add a splash of extra color to your yard but don't have the best artistic skill, opt for a simple paint color and draw a few lines to outline the brick, making it look like a book. On the other hand, if you have some artistic talent, challenge yourself to replicate your favorite book's cover or come up with your own. You'll need a few bricks, a piece of cardboard, acrylic paint or spray paint, primer, a spray paint sealer, paintbrushes, and a black Sharpie.
Painting your bricks
Gather your materials and take them outside to do your project on the grass. Before you start painting, thoroughly clean your bricks to eliminate dirt. You can use vinegar and water to clean the bricks, but soap is a great alternative. Having a clean surface will allow the paint to adhere better. Pat dry the bricks with a cloth as much as possible and let them air dry for a few hours.
Then, lay out one brick on the cardboard, as shown by TikTok user @hometalk, and spray a layer of primer around it. After the primer, start painting the bricks one at a time. You can paint one side of the brick at a time to allow enough drying time. Paint the brick's front, back, and left side (the book's spine) to create your cover. Let the paint dry. Then, paint the top, bottom, and right side white because they'll be the paper. Allow the bricks to dry completely. Next, using your Sharpie, draw lines along the white sides to show the pages and draw a few lines on the spine to add dimension. Finally, draw shapes or write phrases on the front cover to give your brick book a title. Once the paint dries, add sealant to protect the paint. Repeat the steps with all of your bricks. You can use different Sharpie colors to add details to your brick book covers. Customize your covers by drawing one of your favorite book covers.
Make your brick books look more realistic with a detailed book cover
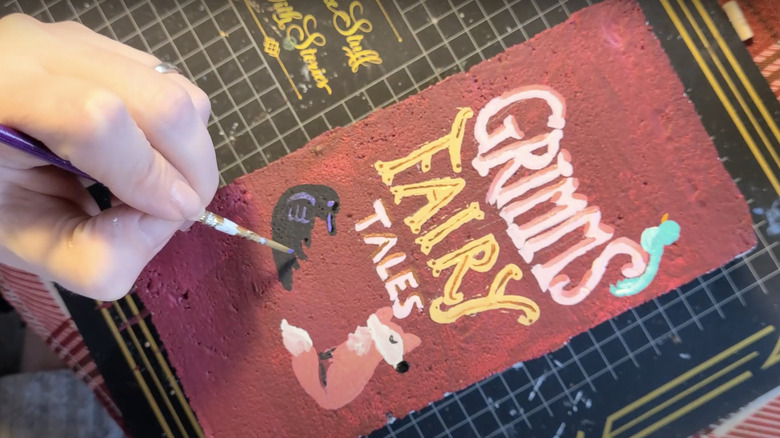
Basic book covers are great for a quick DIY, but you can sketch out a book cover you love on your brick if you want more detail. For instance, choose a book you used to read a lot as a kid, possibly "The Rainbow Fish," "The Very Hungry Caterpillar," or "Brown Bear, Brown Bear, What Do You See?" Choose a classic or something you've recently read. Once you choose your book cover, print out a copy scaled to the brick's size to ensure it fits. Then, sketch the cover on the brick using carbon tracing paper from Michaels or freehand the sketch, as YouTube DeeBee's Handicrafts did. Perfecting your book cover will take some time, but you only need a light sketch since you'll be painting it.
After your sketch is complete, paint your cover. You can replicate the same cover from the book or add your own twist by swapping out colors. Use a paint palette to hold multiple colors at once. It's best to use acrylic paint so that it's thicker, making the design more prominent when it dries. Finally, when you're done painting your cover, allow it to dry overnight. Spray sealant on the bricks to protect the paint. Repeat the steps with your other bricks. Display your brick books around your yard, such as near a garden bench, in front of a shrub, or in a garden bed.

