TikTok Shows You How To DIY A Stunning Wooden Coat Rack
We may receive a commission on purchases made from links.
Your entryway feels fit to burst with a rising dogpile of coats, climbing high and screaming for space. With a freestanding hanger out of the question, you may wonder how to give these distressed garments somewhere to call home. The solution? Create your very own stunning DIY wooden coat rack, as shown by @designed.by.taylor on TikTok. Using just a few slabs of wood, you can quickly turn old scraps into a work of art and utilize them as an attractive hanging space. Plus, if you upcycle any old wood from around your home, you can complete this hack for a relatively low price, which is excellent news if you're looking to cut costs while making decorative changes.
As well as freeing up some room, you have the option customize this DIY how you like and adapt it to your needs in terms of length and capacity. This makes it an attractive option for larger families, who may need more room to create a clutter-free entryway. However, it can work with small areas too and is suitable for anywhere in your home, whether it's an upstairs hallway or your kitchen.
How to make a DIY wooden coat rack
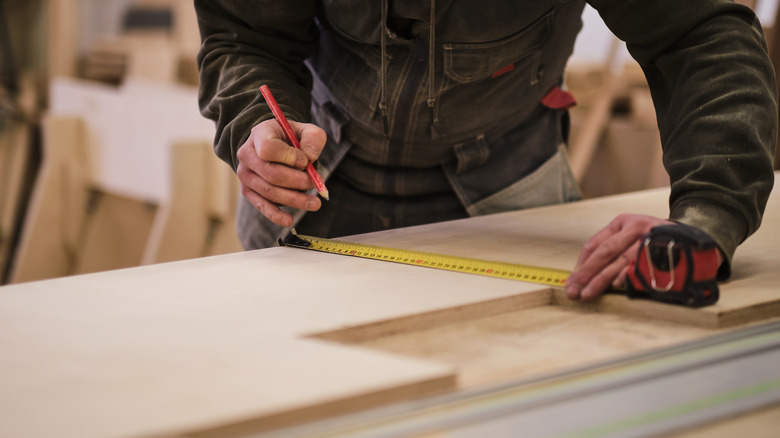
To recreate this rack, you'll want to arm yourself with some pine lumber, which you can upcycle or purchase from stores like Home Depot. You'll also need a saw, a tape measure, a pencil, Titebond Ultimate wood glue, a nail gun, sander, polyurethane, a paintbrush, and several hooks (one per coat). Grab an old clean rag, an electric screwdriver, screws, and some wood stain of your choice too. You can buy some hooks to hang it with from Home Depot for a few dollars. Starting with your saw, lumber, and tape measure, slice two pieces of wood measuring 1x6x32 inch and 1x3.5x32 inch. However, if you want a longer rack, purchase a larger piece of lumber and chop it to the size you desire.
Using your wood glue, take your 1x6x32-inch piece, prop it up lengthways, and apply it on top. Next, grab your other shorter piece and place it flat face down, with the bottom edge covering the glue, so you're essentially creating an upside down "L" shape. Allow it enough time to dry, then use your nail gun to secure it in place before going over the whole thing with your sander. Simply apply a coat of wood stain and rub it down with an old rag for the finishing touches.
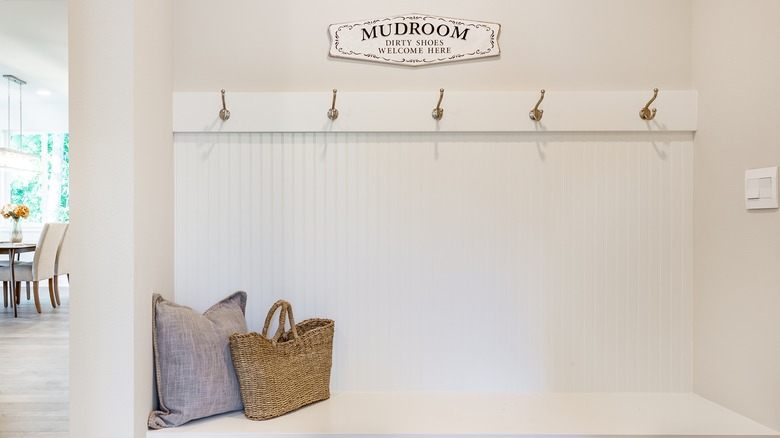
You can try a few different looks for your coat rack
When that's dry, add a lick of polyurethane to seal it. If you don't have any, you can find a water-based option on Amazon for $14.47. Now, attach your hooks in place before securing it on the wall using hooks and screws. As a result, you should be left with a stunning wooden coat rack with plenty of space to store your garments, whether that's hats, coats, scarves, or grocery bags for shopping. Although the rustic look is appealing, there are some changes you could make to this hack. For example, rather than using a wood stain, you could paint it white for a modern look, or navy blue for a moodier yet regal ambiance. You also have the option to add some smaller hooks down the side for items such as keys or lanyards; this way, it can double up and have multiple uses. You can buy some smaller hooks at Michaels for $2.99.
The reason this DIY is effective is because it can help to reorganize your entryway if you have nowhere to store your outdoor garments, giving you quick and easy access. At the same time, if you're looking at saving money, then the overall cost may not be too much different from if you purchased a coat rack yourself online. For example, a simple one from Walmart costs $17.50, while your lumber (if you don't upcycle it) could cost around this price or more. It will all depend on what you buy or if you already have wood to spare.