How To DIY A Fleece Blanket For Customizable Home Decor
Fleece blankets are not only great for getting warm on cold days, but they can add a pop of color or a patterned texture to your decor. This DIY for a reversible fleece blanket is a simple way to create a piece of functional decor that can make your living room feel extra cozy. While you can sew your blanket by hand or with a sewing machine, you could also make a tied blanket that requires no sewing at all. This last option is a great activity to get kids involved and could be used to decorate your child's room.
For this project, you'll need two different pieces of fleece. Try getting one piece patterned with another in a matching solid color, use two complementary colors, or whatever fabric inspires you. Anti-pill polar fleece is a great choice for most blankets, but if you prefer a thicker fabric, you'll likely need to sew your blanket. Throw blankets will require approximately 1 ½ yards of each fleece, and larger sizes will need 2 yards.
DIYing a no-sew fleece blanket for your decor
This method for making a fleece blanket is easy and straightforward and will help you decorate your home with blankets. First, lay one of your fabrics face down on the floor and place your other fabric face up on top of it so that the insides of the fleece are together. This is what allows your blanket to be reversible. Use fabric scissors or a rotary cutter to trim the edges of your fleece, ensuring both pieces line up as closely as possible. Now, cut 5 x 5-inch squares from each corner. You could make them smaller or larger, but smaller cuts will be more challenging to tie, and bigger ones might shrink the blanket more.
Once your corners are cut out, lay a piece of masking tape or a yardstick 4 to 5 inches above the edge of your blanket. This will be a guide on how long to make your strips. Beneath this line, cut strips that are about an inch wide. Repeat this across the entire blanket until all the edges resemble fringes. Now, you'll need to tie each pair of fleece strips together. You could do a double knot or an overhand knot for a fancier look. Additionally, you could also make a slit in the center of each strip and weave them together rather than tying them.
Sewing a customizable decor blanket
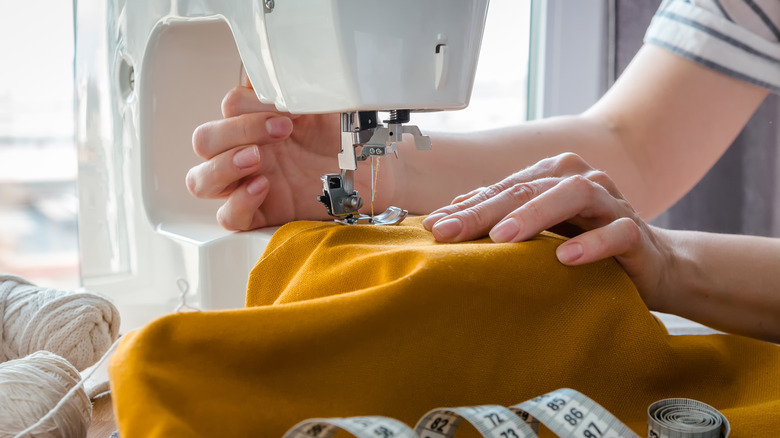
If you're trying to achieve a more luxurious aesthetic, sewing the ends of your blanket may be more appealing than having fringes. First, lay out your fabrics and trim the edges, just like in the previous method. For a blanket with rounded edges, simply use a small bowl or another circular object to trace and cut the corners of your blanket, though it's unnecessary as it will also look great with square edges. You may want to pin the fabrics together so they don't shift as you work.
Now, use six-strand embroidery floss and the blanket stitch to hand-sew the blanket together easily. This can be done by threading your needle through the loop of the stitch and spacing stitches about a ½ inch apart. The blanket stitch is a visible stitch that would look great with a thread of a contrasting color. For those with sewing machines, you could choose to attach a border, trim, or even hem the edges. When your reversible fleece blanket is finished, you could fold it neatly and tie it with a ribbon, lay it over the edge of your couch or bed, put it in a cute basket, or arrange your throw blankets however you like. With this DIY, you'll have a unique fleece blanket that can spice up the decor in your home.