TikTok Shows You How To DIY A Stunning Range Hood To Elevate Your Kitchen
If kitchen DIYers are a representative sampling, it's fair to say that most homeowners aren't fond of having a microwave mounted above their kitchen's cooktop. While the over-the-range microwave solved some space problems, it created others. For example, the likelihood of eventually spilling hot soup on your head went from nearly 0% to nearly 100%. Perhaps even more importantly, the microwave suddenly erased one of the easiest opportunities for a dramatic statement piece in your kitchen: the fancy vent hood cover. TikTok DIYer Kenzie Mac (@kenzieemac) decided to have a go at removing her microwave and installing a ductless vent hood and DIY vent hood cover in keeping with her kitchen reno. The project turned out great and, perhaps more importantly, encouraging for other potential DIYers out there.
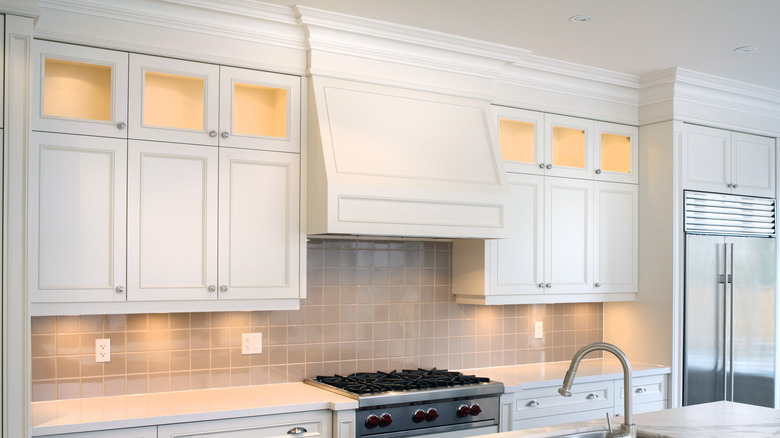
The vent hood cover is an opportunity to get a lot of design bang for your buck. The design options are almost limitless, from simple boxes to enormous ballooning marvels that are as wide as the wall to which they're mounted. While Mac's clean, minimal, and Arcadian-style vent hood cover adds polish to her new kitchen, it's not an overly dramatic presence — and drama isn't a requirement. One gentle curve adds enough interest to keep the project engaging and the result pretty, but otherwise, it's pretty low-key.
Uniformity and contrast
Vent hood cover designs tend to be either high-contrast statement pieces or simple refinements that blend into the background. The difference consists of many visual cues, but mostly, the more dramatic designs are defined by size, curvature, and material choice. Less assuming designs are often smaller, boxier, and integrated with the surrounding cabinetry. They might be a little angular with a slight flare, like elegant farmhouse-style covers, or they might simply be the size and shape of the cabinets, with some trim adding visual interest and distinguishing the vent hood from the surrounding cabinet doors. Or not — hiding your range hood is all the rage these days. The simplest vents use common materials and don't involve tricky curves. You can even use Joanna Gaines' trick of customizing your existing vent hood.
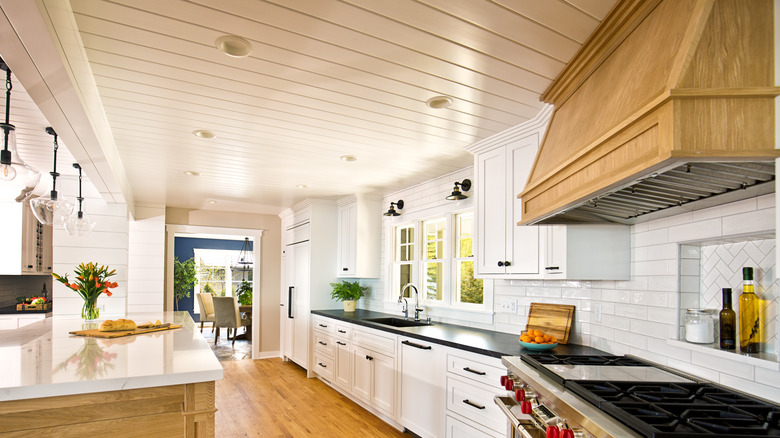
More striking vent hood cover designs announce themselves boldly. They could be huge copper- or nickel-clad bells or carry a pop of color into an otherwise monochrome kitchen. Curves can soften the right angles of a typical kitchen, but they aren't a requirement — and if the look you're going for is driven by the materials you'll use, straight lines are sometimes the way to go. Materials can include just about anything — painted panels, wood, metal, tile, and even brick. In fact, the only drama you need is sometimes the right material. Stained wood, like commonly available whitewood or wide wall planks, can create warmth and interest instantly and easily.
Building the vent hood cover
Before building your vent hood cover, you'll need to answer some questions about the vent hood itself. Are you covering an existing hood, replacing a microwave, or recirculating a fan hood? Will you be using a ductless vent hood, or will you need venting? Is electricity available, or do you need to add a receptacle? We'll assume you're installing a recirculating hood in an existing cabinet like TikTokker @kenzieemac.
The recirculating hood itself will usually slide into the cabinet from below, but check your model's installation instructions. Since your cabinets provide structure, your job is to attach a frame to the cabinets in the shape of the hood cover you've designed. It's best to use thin yet stable wood, like strips of plywood. Once the frame is in place, you'll attach the covering itself. Choose materials that work with your design: If it's curvy, but bending wet drywall like @kenzieemac did isn't your thing, consider using a more flexible alternative like hardboard. Otherwise, a whole universe of materials is available, from sheet copper to pallet wood or rough-sawn lumber. Don't be afraid to attach the covering in sections; you can cover the joints with trim or hide the gaps with drywall mud. Just choose a method that works with your intended effect; wood strips covering the joints wouldn't necessarily make sense with a faux stone finish. The last step will be to sand and apply your finish of choice.