DIY Your Own Bunk Beds Instead Of Overpaying For Prefabbed Options
We may receive a commission on purchases made from links.
If you're considering ways to save space in your kids' shared bedroom, you'll want to study your options for choosing the right bunk bed that fits the space. Many pre-fab options are available as all-in-one kits you can purchase and assemble yourself. Unfortunately, many of those can cost anywhere from several hundred to a few thousand dollars, which may not quite fit into your budget. Perhaps you prefer the idea of creating this type of furniture through a DIY project to save some money and to put your own personal touch on the final product.
If so, fortunately, TikTok and YouTube users are on the same wavelength as you. Multiple videos show you how to make your own bunk beds, whether you want the basic frame alone or you want to dress up the basics a bit. The key is to make the bunk beds safe by building them with guardrails and the proper distance from any ceiling fans, electrical outlets, or other immovable obstacles. TikTok users @saraflipsit and @zooftg have posted examples of the bunk beds they created from scratch at their homes. Their sped-up videos show the basics, as well as some of the great finishing touches they applied, but we'll give you some of the steps and discuss the estimated costs required to construct your own bunk beds.
How to start building your own bunk beds at home
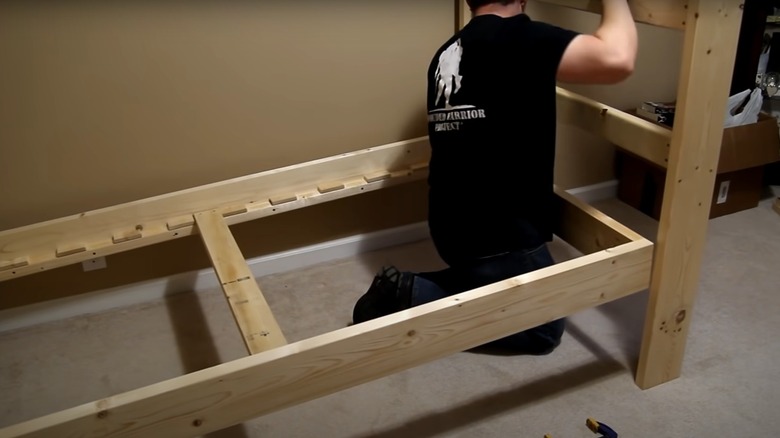
Before you begin working on the personal touches that will give your bunk beds the desired level of charm, you need to create the frame. This is key to creating a piece of furniture that will be safe and will hold the weight of the kids, whether they're being rambunctious or sleeping. TikTok user @saraflipsit started by building the outer frames. Use 2x4s to construct the frame where it will connect to the walls in the corner. Secure the frame to the wall studs along two sides of the bunk bed (or three sides in a small room). Then add the 2x4s that extend from the wall to posts that anchor the beds in place in the middle of the room and complete the bed boxes.
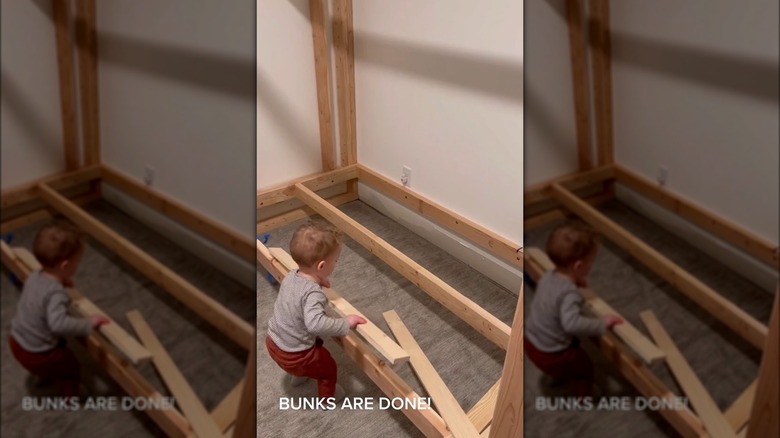
With the bed boxes completed, you can then add slats for the mattresses. Some common slats and edge piece sizes are 1x4s, 1x3s, or 2x2s. You can purchase these pieces pre-cut from the lumber yard, or purchase 2x4s and use a power saw to rip them into 1x4s and 2x2s yourself to save a little bit of money. If you want a ladder that's part of the bunk bed structure, rather than being loose, you should add it before you do any of the finishing design touches. You can use 2x4s for the sides and large-diameter dowels or chunks of 2x4s for the rungs on the ladder.
Finishing touches for your DIY bunk beds and expected starting costs
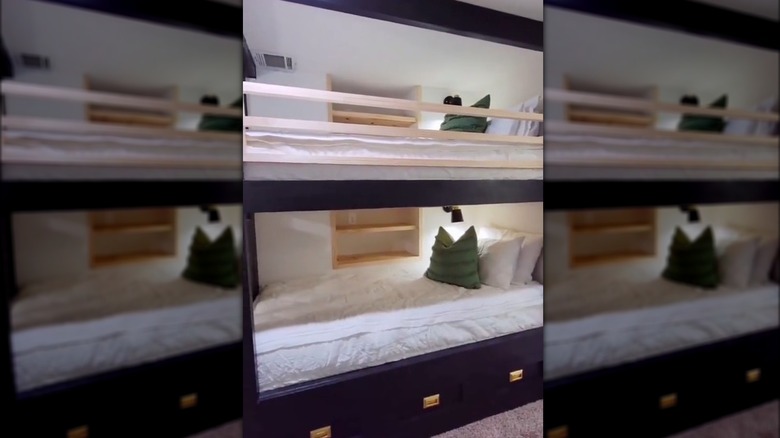
You have many options for placing the finishing touches on your bunk beds. TikTok user @zooftg built drawers to place underneath the lower section for storage. Alternatively, @sarahflipsit added shiplap where the bunk beds meet the wall, painting it the same color as the frame. You could close in the openings, creating a sense of privacy for the kids. Some people choose to wire the insides of the frame for USB outlets or a reading lamp. Paint and stain make a huge difference in the final product, too. You may want to sand or plane the boards carefully to remove any stamp marks on the wood to enhance the final look. There are many ideas for bunk beds that will deliver a style the kids will love, depending on what you want to try.
The exact cost of your materials will depend on your plans for the bunk beds and the finishing touches you're using. For the basic frame and bed boxes, expect to need at least 17 8-foot 2x4s ($3.25 each at Home Depot), six 8-foot 2x6s ($4.60 at Home Depot), four 8-foot 2x2s ($3 at Lowe's), and 10 8-foot 1x3s ($2.25 at Lowe's) for an estimated cost for lumber of a little less than $118. Your cost may be larger, depending on your particular plans. The foundational tools you'll need include a circular saw, drill, tape measure, stud finder, and level.