DIY A Stunning Wooden Wall Organizer For Your Bathroom With Dollar Tree Items
We may receive a commission on purchases made from links.
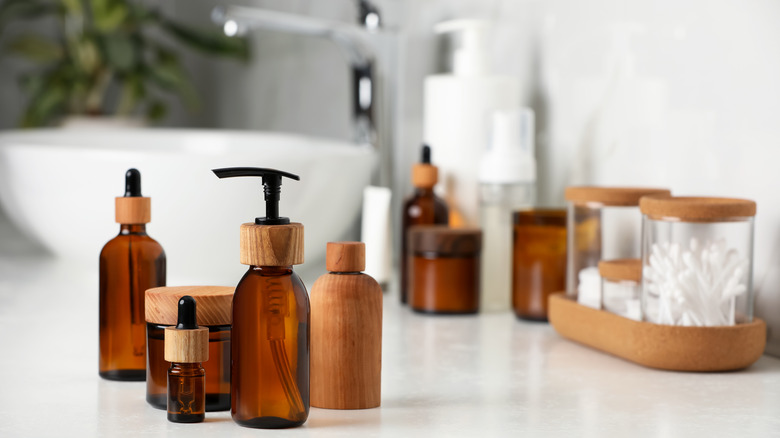
Storing personal care products on the bathroom vanity can not only make a compact room feel messy but also make smaller items harder to find, which is why organizational gurus and professionals recommend corraling some of these items into attractive containers you can display. For example, Joanna Gaines dresses up her bathroom storage by using little glass jars and baskets to store Q-tips and cotton balls. But what if you don't have the counter space?
Luckily, there's a simple, beginner-friendly Dollar Tree hack to keep bathroom counters clutter-free: a stunning DIY wooden wall organizer. Since it's designed to store small, lightweight items, you won't need to use any power tools or screws to put it together — a hot glue gun will suffice. And since you're getting all of your wood from Dollar Tree, it respects even the smallest of budgets. Curious about how to pull this off? Here's how.
How to transform Dollar Tree items into a bathroom wall organizer
First, you will need Crafter's Square Wood Pallets. The exact number will depend on the size you want to make your wooden wall organizer, but the creator used eight. Arrange them into the shape you want, and then hot glue them together along the edges. To make the frame sturdier, hot glue Crafter's Square Natural Craft Sticks (aka popsicle sticks) vertically over the seams where the pallets meet. Once the glue dries, flip the frame over and either paint or stain it in your color of choice.
Now it's time to prep your "baskets," which are wooden crates. You can use either Wood Slat Crates, which have open slats, for a more farmhouse effect, or Crafter's Square Rectangular Wooden Crates with Handles, which don't have any space between the slats. Again, either paint or stain them in your color of choice. Using chalk, write what you will store in each crate on Crafter's Square Chalkboard Tag Clothespins and hot glue them to the fronts. Then, hot glue each crate to the frame.
How to hang it up
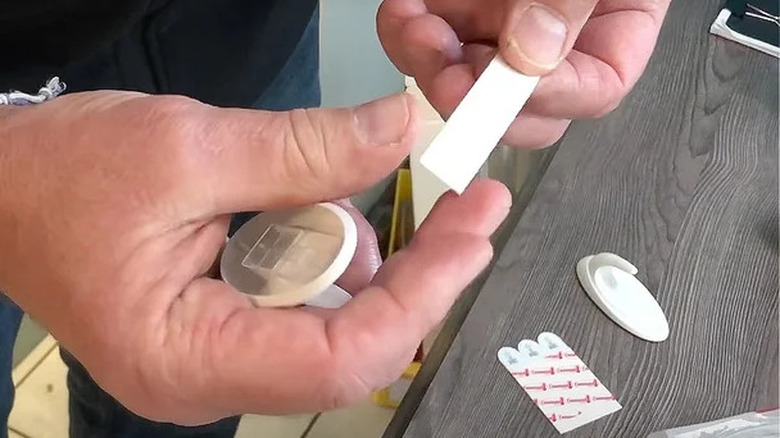
Once your wooden wall organizer is dry, it's time to hang it up! While the creator doesn't touch on how to do so, water-resistant Command Strips will both ensure it is flush against the wall and reduce the chance of it falling due to excessive moisture. Try using four large Command Bath Strips that hold 5 pounds each, which will give you a combined weight limit of 20 pounds (remember that you can only store lightweight items on this organizer since it's being held together by hot glue). You can get a pack of four for about $6 or $7 on Amazon.
The last step is to fill your wooden wall organizer with various bathroom staples. Fortunately, there are plenty of items that can be stored here without overloading it. In addition to personal care products like cotton balls and Q-tips, you could also add a stack of washcloths, extra rolls of toilet paper, or a box of tissues for easy access. If you're placing your wooden wall organizer in a guest bathroom, consider adding fresh hand towels, new toothbrushes, and travel-size toothpaste for your guests to use. The possibilities are endless.
Feeling inspired? Here are 23 more ways to repurpose Dollar Tree finds to organize your space.