Turn A Thrifted Vintage Camera Into A Totally Unique Lighting Solution
We may receive a commission on purchases made from links.
Lamps are a great way to decorate your home and provide soft lighting, and this project will allow you to DIY a lamp and create fun, vintage camera lighting. Depending on the type of camera you're working with, you could place the lightbulb in the lens, in the flash hood, or even on top of the camera itself. Even if you're not an electrician, this project should be rather simple and only requires a nightlight bulb, an auto LED light or small Edison bulb, a lamp cord or an AC adapter and female barrel connector, and a corresponding bulb socket, like these wiring sockets from Amazon. You will also need electrical tape, a screwdriver, and possibly a drill and hacksaw if you're placing the bulb atop a boxy camera.
If you don't already have a vintage camera, try checking your local thrift stores and yard sales or sites like eBay or Facebook Marketplace. Online, vintage cameras are offered in a wide range of prices, but there are several models that are rather inexpensive. For example, on eBay, the Kodak Brownie Hawkeye would be great for inserting a bulb on top, and it's only $5. The Kodak Brownie StarFlash for $15 would also work.
Crafting your thrifted vintage camera lamp
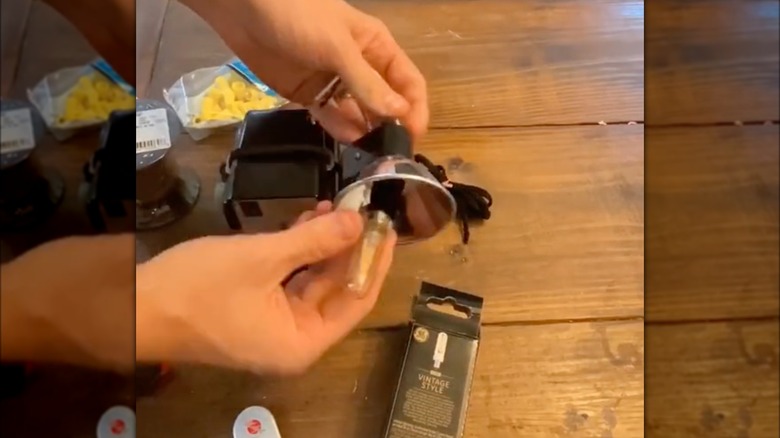
For those planning to place their lightbulb in the lens of a point-and-shoot camera, you'll need to take off the lens or push it out to create a small hole for your bulb. You may also have to remove the back of the camera to give yourself room to insert your socket. Now, attach the bulb to the socket and then connect the wires to your barrel connector with the red wire on the positive connection and the black wire on the negative. Though you could use a lamp cord, it will stick out. With the barrel connector, you are able to keep it inside the camera's casing, leaving the end you'll plug into accessible from a hole drilled in the back or bottom of the camera.
Place your bulb through the hole where the lens was, tuck your cords inside, and secure everything with electrical tape. Replace the back of the camera, ensuring the hole you drilled lines up with the end of your barrel connector. Finally, you can plug an AC adapter into the camera and the wall, and your unique lighting solution will shine. Your lamp can then be placed on a tripod for a swiveling spotlight or right on your desk. Other types of cameras will have a very similar process, but you will be disassembling other parts of the machine to create a beautiful light fixture.
Other ways to make a lamp with a camera
If your camera has a metal flash hood, start by unscrewing pieces of it so that you can remove the flash bulb, making room for your lightbulb. Different camera models may require you to take off different parts to access the flash. You can spray-paint the hood silver as well if it appears dingy or scratched. Once these components are removed, the process for creating the lamp is similar to the previous method. Attach your lightbulb to your socket and the socket to your lamp cord. If the bulb and socket don't fit snuggly in the flash hood, place electrical tape around the socket to make it wider. Reassemble the back of the flash, letting the cord hang out.
To make a vintage camera lamp with a light on top, you'll want a camera that does not have a flash hood and is cube-shaped. For this version, you could use a lamp-making kit from Amazon since the bulb can be larger. Start by taking the cover off the back of the camera, which may require removing some screws, as well as the lens and shutter cover. Drill one hole in the back of the removed cover for the lamp cord and another in the top for your socket and bulb. When you have your electrical components in place, you can reassemble your camera and enjoy your creative and unique light fixture.