How To DIY Seed Tape To Make Gardening Easier
While most of us enjoy seeing the fruits –- and vegetables –- of our labor start to sprout after planting seeds, even on the best of days, planting can be back-breaking labor. Raking dirt, digging individual holes, planting — and often spilling — seeds out of little seed packets can make the process labor-intensive and less than productive. Even if you start your seeds indoors before planting outside, there's still a lot of work involved. However, by using seed tape, you can make the process simpler, more efficient, and easier on your body.
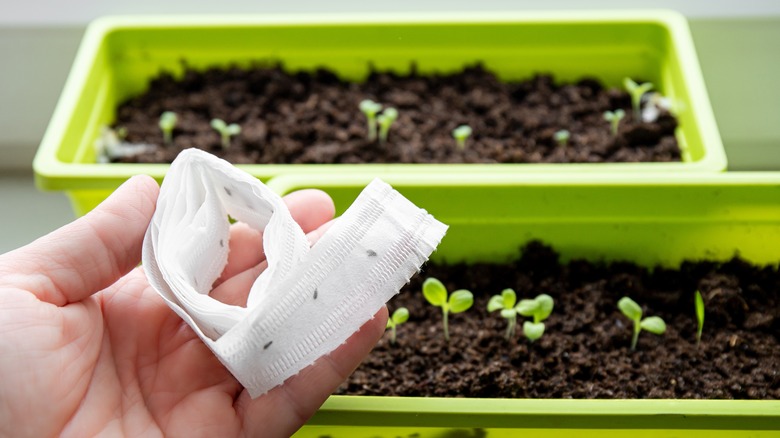
Seed tape strips and seed disks are, in short, seeds adhered to a compostable material or paper that are designed to be put in the ground, watered, and left to grow. Just plant it and forget it — no starter seedlings needed! They can also be used in pots or containers indoors if preferred. Because seed tape is pre-set to proper seed spacing, there's less likelihood that you will plant too many seeds in one spot and have to thin and remove sprouts, as often happens when planting seeds individually.
While commercially made seed tapes are available at garden centers and online retail stores, they're also relatively easy to make at home, so you can make seed tape for any plant you want.
Gather your seed tape materials
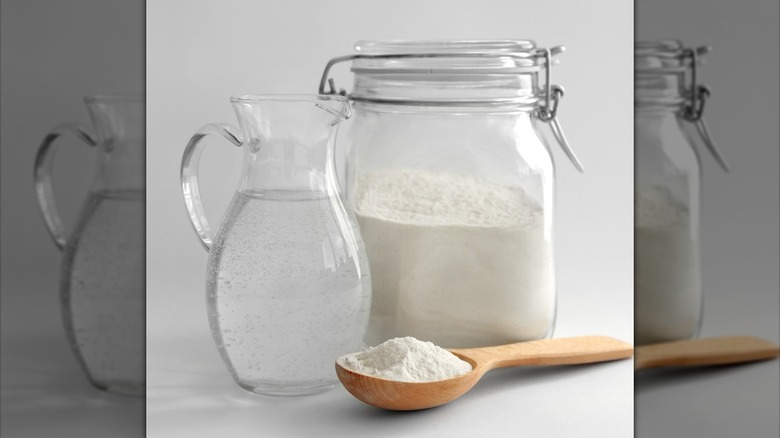
The process of making seed tape is fairly quick and easy. To make them at home, you'll need seeds, of course, and then some sort of biodegradable paper like toilet paper or paper towels. You'll need flour and water to make the adhesive, and then you'll also want a paintbrush, a popsicle stick, a chopstick, or some other small tool to apply the glue to the strips.
Prepare the glue
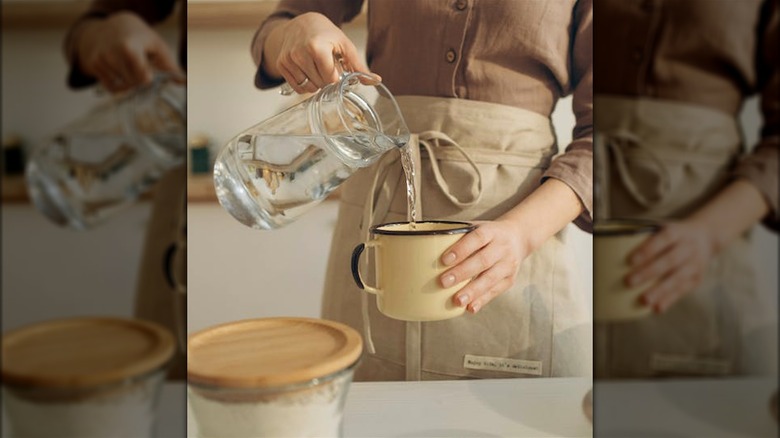
Because the tape will be going in the ground, you'll want to use a non-toxic, biodegradable adhesive to attach the seeds to the strips. And in this case, the cheapest — and easiest — method is to make a thin paste of water and all-purpose flour. Mix them together in a small bowl or cup until you have a slightly thin, but not runny glue. It should look like the consistency of regular white glue you would get at a craft store.
Cut the strips
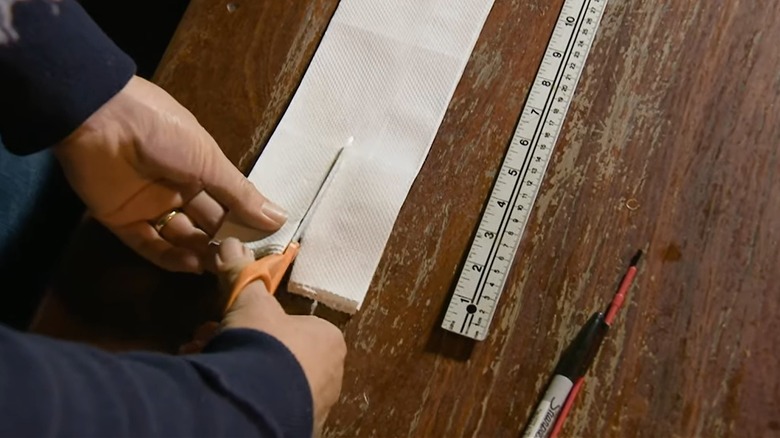
Keeping in mind how long the garden beds are where you're going to be planting, decide the length of strips you want to plant. Then roll out your paper on a table and cut the paper to that size. The advantage of using toilet paper or paper towels is you can just tear them at the natural perforations to get close to the length you're looking for. You'll then want to cut the paper lengthwise into strips, about an inch or so wide. For toilet paper, you can just cut it in half, but it's helpful to put a few layers together and cut them in half all at once. First so you get even strip sizes, but also because it's easier to cut the thin toilet paper when it's in thicker layers. The cuts don't have to be perfectly straight, just so they're sort of similar sized.
If you're making a seed disk for inside planting, you can use two single squares of toilet paper, or cut two pieces of paper towel down to the desired shape to fit your pot.
Apply the glue
Once everything is cut, lay out your individual strips across the table. You'll want to work on one sheet at a time, so make sure to give yourself some space.
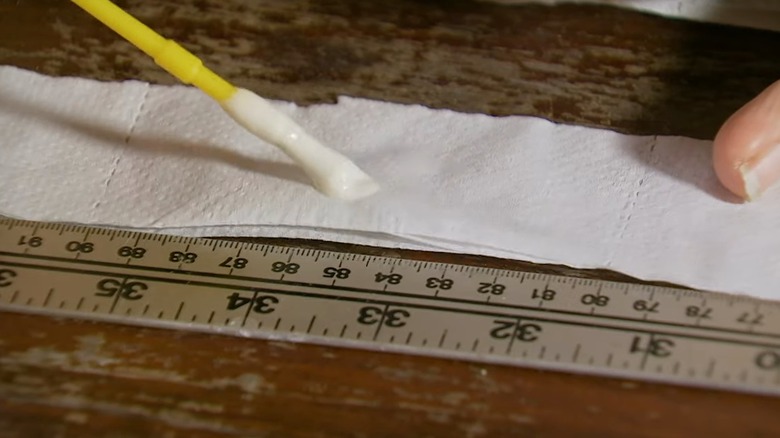
Take a look at your seed packet instructions and see how far apart they recommend spacing the seedlings. You'll want to use that spacing for how far apart you set the seeds on the seed tape. You can eyeball it, or if you want to be precise you can use a ruler to help make sure you're spacing everything correctly.
Then take your glue and apply a dot of glue at that spacing. Keep in mind that once the seeds are added you're going to be folding the paper over the seeds in half, so you want to keep the glue dots closer to the edge, approximately about a quarter or a third of the way from the edge of the paper.
If you're making seed disks, the process is similar. Just dot the glue spacing around one piece of paper. Similar spacing is recommended.
Add the seeds and fold
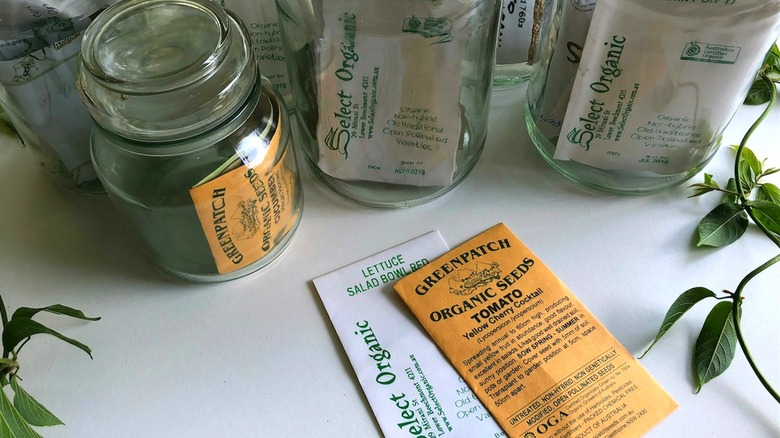
Grab your packet of seeds. It can be helpful to put the seeds in a plate or shallow bowl so you can grab them easier, rather than shaking them directly out of the seed packet.
Put a few seeds in your hand and put one in each of the little dollops of glue. Ideally, you'll want one seed per glue spot, but if you end up with a couple it won't hurt.
Once all the seeds are laid, fold the paper over in half and press the top layer lightly into the glue. If you're making seed disks, lay the second layer of paper over the first one and again press lightly to make sure the adhesive connects the paper together.
Leave the strips or disks on your work table until the glue has completely dried. Then you're ready to plant! If you're not going to plant right away, make sure to write on the paper what type of seeds are in the strip so you'll be able to identify it later.
Get your garden ready to plant
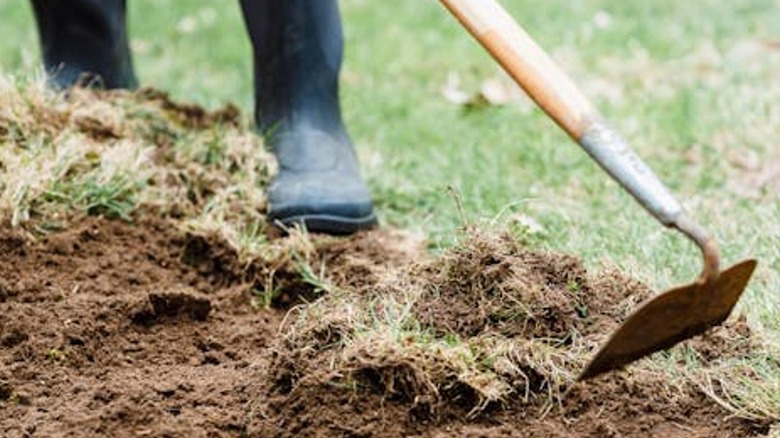
Once you've selected where you want to plant — ideally a warm spot that gets a lot of sun — you'll want to make sure the ground is ready for the strips. You'll want to freshen up the ground and turn the dirt over with a rake. Ideally it would be helpful to mix in some compost or natural fertilizer to add fresh nutrients to the soil and give the seeds a little extra boost. You'll want to try to remove any debris, roots, or rocks from the area as well.
Dig a trench and lay the strips
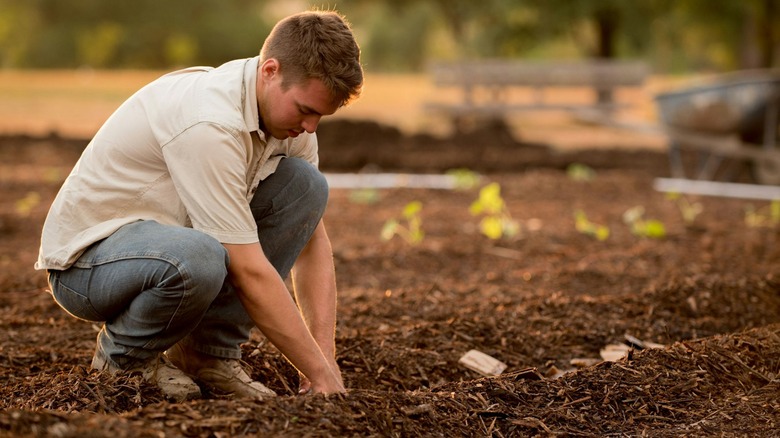
Once the soil is ready for planting, dig channels in the ground to lay the strips. It doesn't have to be very deep, just enough to lay your strip down and cover it with the dirt. Decide how many strips you're going to plant and how far apart you want to lay them, and then dig every row long enough for each individual strip. If you're sowing multiple strips, you can do them one row at a time or dig all the rows and lay them down at once. If you're using commercial seed strips, they often come in perforated sheets, so separate however many strips you want to plant.
Lay each strip in the little trenches you created, and then cover it with the dirt. You want to make sure that the tape is thoroughly covered so that none of it is exposed.
Keep watering the plants
Once everything is planted, give the area a little bit of water. Continue watering the area regularly. You don't want to drown them, but make sure the area stays damp and doesn't dry out completely.
Keep an eye on your garden and remove any weeds that pop up or any debris that's fallen on the area. Your seedlings shouldn't take too long — about a week or two — to show up.
Planting indoors is a similar process
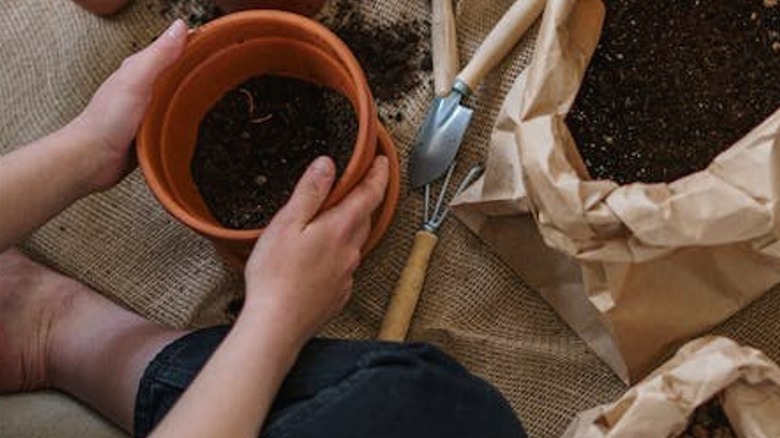
If you are planting your vegetable seeds in a container, select a pot that's appropriately sized for your seed disk. You can also trim the seed disk down with scissors if it's too big for the container.
Fill your pot with good potting soil, pressing it firmly down. You don't want to overfill your pot as you need to leave enough room to insert the disk.
Place the seed disk into the pot, cover it with soil, and then give it a little water. Like the outdoor seed strips, you want to keep it damp, but not overwatered. Find a sunny spot either in the house or in a protected area outside. It should take a few weeks for the seed sprouts to pop up, but soon you'll have a lovely crop to enjoy!