Blend Style & Functionality In The Kitchen With This Hilary Farr-Approved DIY

We may receive a commission on purchases made from links.
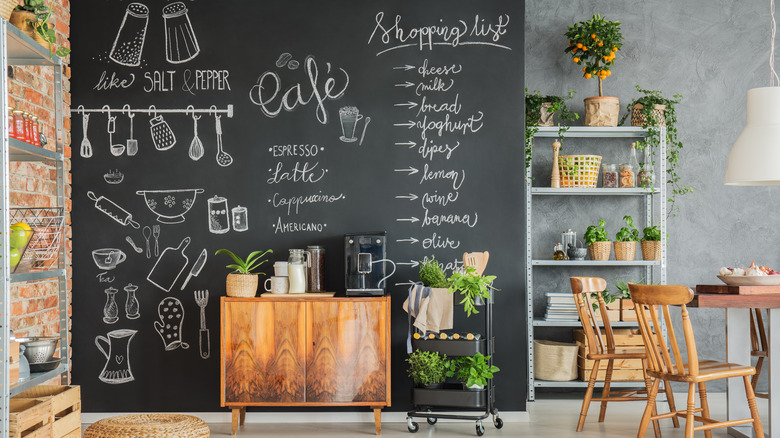
Having multi-functional appliances, rooms, and furniture around the house reduces clutter, revealing a more ample space. You also reduce your spending by opting for an item you can use for multiple things, especially when decorating your kitchen. Many homeowners enjoy a minimalist kitchen interior with clutter-free countertops and multi-functional storage. If you're a fan of to-do lists and labeling, HGTV's Hilary Farr has cracked the code to find the best way to keep your lists nearby at all times in the kitchen by DIYing a chalkboard wall. It superbly blends style and functionality in the kitchen.
Farr is highly experienced in decorating a kitchen. She's transformed an abundance of kitchens on her HGTV show "Love It or List It," where she constantly switches up the style, playing with dark and light tones, vibrant furniture, and multi-functional materials. Her chalkboard wall design was a hit with her clients. It gave them a fun activity and a reminder board in the kitchen. The best part about this design is it's quick and easy to replicate. You don't need to do any heavy lifting to install large pieces of chalkboard; there's chalkboard paint you can use to apply to the walls effortlessly. You'll need to prep your space and gather a few materials before DIYing your chalkboard wall.
How to add a chalkboard wall to your kitchen
For this DIY, you'll need chalkboard paint, primer, paint rollers, painter's tape, and masking paper. Lowe's sells paint for $14.98 a quart, but you can purchase more depending on how many walls you update. As for the primer, you can opt for a standard white, but some folks use gray to avoid painting multiple black coats. Home Depot sells a gray primer for $24.99 a gallon.
Once you gather your materials, decide how much of your kitchen you want to paint. There are a few different ways you can include a chalkboard wall. If you prefer a reminders wall where you can write down appointments and small to-do lists, then paint one wall in the kitchen. Or, if you want to write down long dinner menus and label specific areas around the space, paint all of your walls with chalkboard paint. A fun chalkboard backsplash gives the kitchen a moody ambiance and lets you write on it when needed.
Then, prep your space to avoid making any mistakes for a seamless application with masking paper and painter's tape to prevent paint from spilling on your counters, cabinets, and appliances. Apply a few coats of primer, following the container's instructions. Let it fully dry before painting two coats of the chalkboard paint. Allow the chalkboard paint to dry. Finally, remove the prep work and start writing on your new chalkboard wall.
How to remove chalkboard markings from chalkboard wall
When you finally apply your chalkboard paint and let it fully dry for three days, it must be prepped. Depending on the wall surface, it can be porous or non-porous. If it's porous, you'll have trouble removing the chalk since it'll fill the pores. Instead, you want to prep the wall so that you can write on it. Using standard chalk will help close up the pores. Simply drag the chalk over the entire wall to create a white coating, then erase the chalk. A light dust layer will allow you to use chalk and chalk markers without worrying about whether you can erase them.
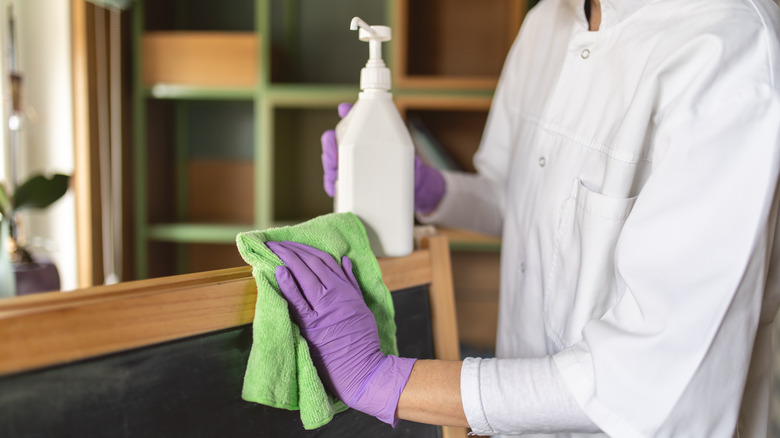
Cleaning up chalk and markers is much easier than you might think. Instead of wiping down the wall with a chalkboard eraser, which leaves behind chalk streaks and residue, you can use water and a cloth to clean the surface. If you don't notice the best results, then dipping Mr. Clean's Magic Eraser into a little water will help wipe away the chalk without leaving streaks behind. For stubborn chalk marks, use a teaspoon of vinegar to clean the wall. After you wipe down the wall with your preferred method, wipe it down with a dry cloth. Effortlessly clean the chalkboard wall so that it looks as good as new every time you have to write down a new dinner menu or your to-do lists.