Avoid These Chalk Paint Mistakes For A Seamless Application

If you have an old piece of furniture that you're ready to refinish, you might be thinking about using chalk paint to help you. It's one of the best mediums if you're looking to give your furniture a weathered or distressed look. However, while the paint is relatively easy to work with, there are a number of mistakes people make when using it. Making these mistakes could have a detrimental effect on your finished project. The paint may crack or peel, your distressing job may look overdone or unrealistic, and the furniture just won't turn out how you envisioned.
If you want your DIY projects to turn out right, it is essential to understand the right techniques when working with chalk paint. You should be mindful of what you should and shouldn't do before, during, and after using it. This way, you can avoid the common mistakes that have sent many DIYers frantically searching for a way to undo their errors and save their projects.
Overlooking necessary prep work
One of the appeals of working with chalk paint is that you can often start applying it right away, without completing any of the prep work required with other types of paint. However, often does not mean always. There are times when some work will be required before you start applying paint.
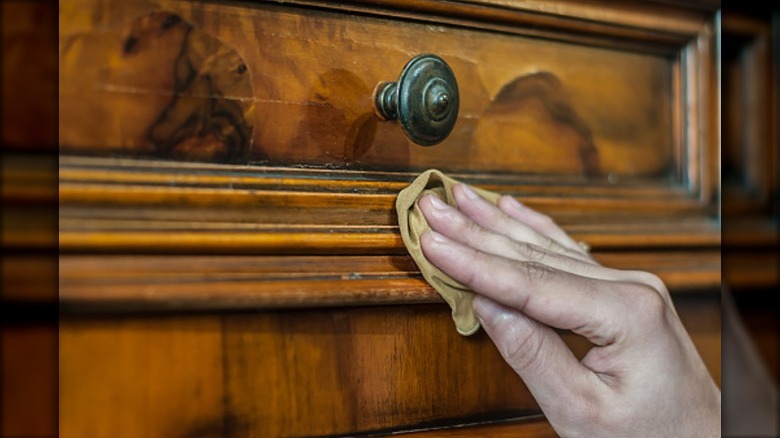
If the furniture or surface is dusty or dirty, you should clean it before you start. Skipping this step can interfere with the paint's ability to adhere to the piece, or you could end up with debris showing through the finish. Vacuum off dust and then use a soft cloth dipped in warm, soapy water to remove any stuck-on dirt or residue. You can also use canned air to blast dust out of any nooks and crannies.
Sanding is generally not needed when applying chalk paint, but there are also exceptions to this rule. If the surface has a laminate finish or is very slick, take a few minutes to sand it down a bit. Doing so will give it a slightly rougher texture to allow the paint to adhere properly. Sanding may also be necessary if you want to smooth out any imperfections or damage to the piece.
Not stirring the paint
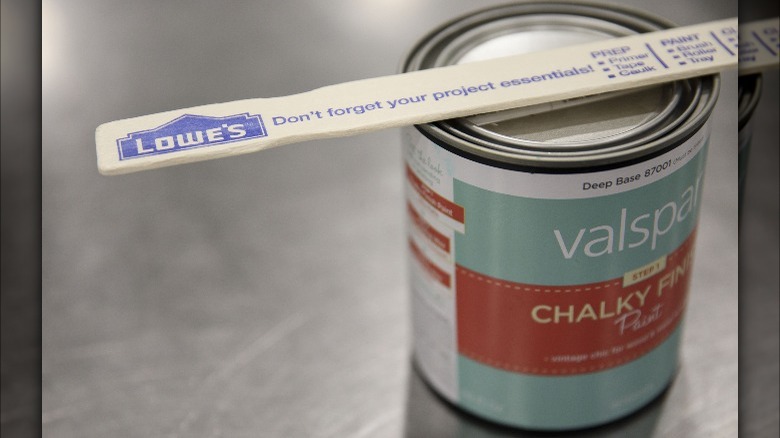
After you open a can of chalk paint, always stir it before you start applying it to the desired surface. As the can sits, whether for months or even just a few hours, the ingredients start to separate from one another. If it isn't mixed before you start working, the consistency won't be right and the color may be off from what you're expecting. Failing to stir paint before you start applying it can also make it more likely that brushstrokes will be visible on the finished surface.
To help ensure that the various components are fully mixed together, it is also a good idea to shake the can well before opening it. Then, use a stirring stick, or something similar, to more thoroughly mix everything. Be sure to push the stick all the way to the bottom of the can to incorporate all the ingredients together. Pause your job a few times to give the paint another good stir to make sure that the ingredients haven't started to separate.
Not waiting long enough between coats
You'll often need more than one coat when you're working with chalk paint. Only waiting a few minutes before applying the second coat could be a mistake. While it may seem that the paint dries very quickly — it can often feel dry to the touch in 15 minutes or less — it isn't actually ready for a second coat.
Before you can apply a second coat, the first needs to fully dry. This is different from being dry-to-the-touch. It means that the paint has lost all of its water content. Unfortunately, there is no one set answer for how long this process will take. It can vary depending on the type of material you're refinishing, how much moisture and humidity is in the air, and other variables. In some cases, it could be ready for a second coat in as little as one hour. Other times, it may take nearly 24 hours for it to dry completely. You can tell that a coat is dry when it has a chalky texture, there is no visible shine or sheen on the texture, and the paint doesn't transfer to another surface if you handle it.
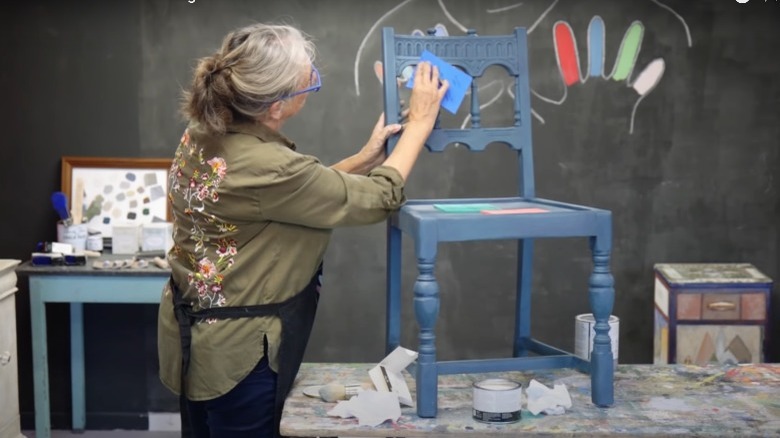
Using too much paint
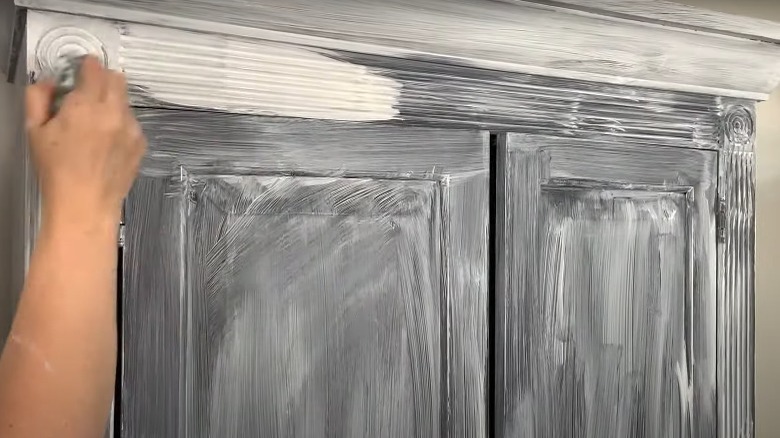
One common mistake DIYers make when using chalk paint is overloading their brush. Using a lot at once can make it feel like you're making faster progress with your project. Plus, because chalk paint goes on rather smoothly, you might not realize that you're even making a mistake before it is too late. If the paintbrush is holding too much, it is more likely that some of the excess will drip off and onto your furniture piece. These drips are not easy to clean up and will impact the way your item looks when finished. Working with too much paint at once also can result in visible brushstrokes.
If you want to avoid these potential issues, only apply a thin coat at a time. You can always apply multiple coats to achieve the desired finish, and you won't need to worry about visible brushstrokes or unsightly drips. The extra time and effort will be well worth the finished results.
Not letting the paint fully cure before using the furniture piece
Chalk paint needs to fully dry — or lose all of its water content — before applying a second coat. But before you can actually use the furniture, you need to go a step even further by letting it cure. Despite what you may think, curing and drying are not the same thing. Curing is a process in which the molecules in the paint go through a reaction with the oxygen in the air. As this reaction occurs, the bond between the molecules strengthens, hardening the paint. The resulting finish is then more resistant to peeling or getting scratched.
Curing can be a lengthy process. As with drying, the material of the item or surface you're painting, the temperature, and the moisture levels can all impact timing. In most cases, it will take chalk paint about one full day to fully cure, but in some cases (such as when humidity levels are very high), it could take as long as two weeks. Because you might not be able to tell exactly when your furniture piece is ready, the safest bet is to avoid using it for two weeks. This way, you won't accidentally scratch it or ruin your finish.
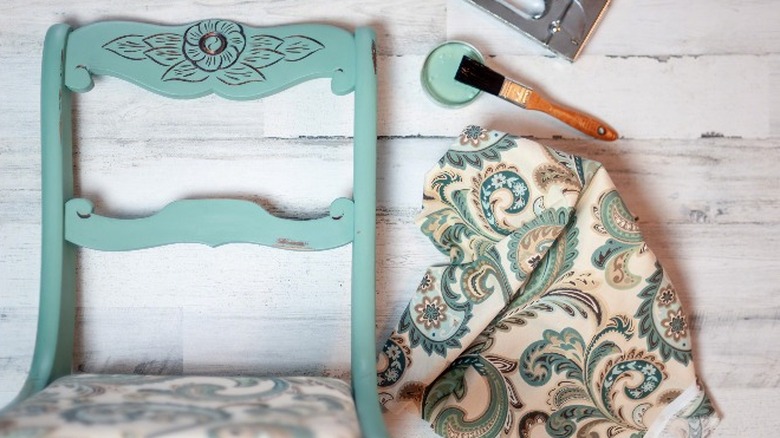
Not properly distressing the piece
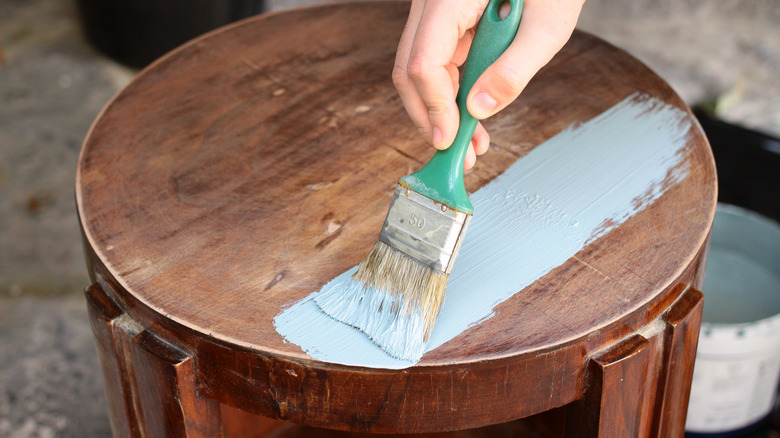
When your aim is to give a furniture piece a distressed look, chalk paint is an excellent option to help you achieve that goal. It has a natural rustic look to it and a matte finish. Plus, it can easily be sanded down to give the illusion of years of wear and use. However, you don't want to overdo things and make the item look too rough and unattractive.
When distressing furniture you've painted, use a piece of sandpaper. Think about the areas that would see natural wear over years of use, and sand these sections down to remove some of the finish. Rub the sandpaper along the edges, on the tops and sides of any handles or pulls, and over any particularly textured areas on the piece. Just work slowly and frequently evaluate your work from a distance to avoid taking off too much paint. This will help keep you from going overboard and being dissatisfied with the finished project.
Not waxing after applying chalk paint
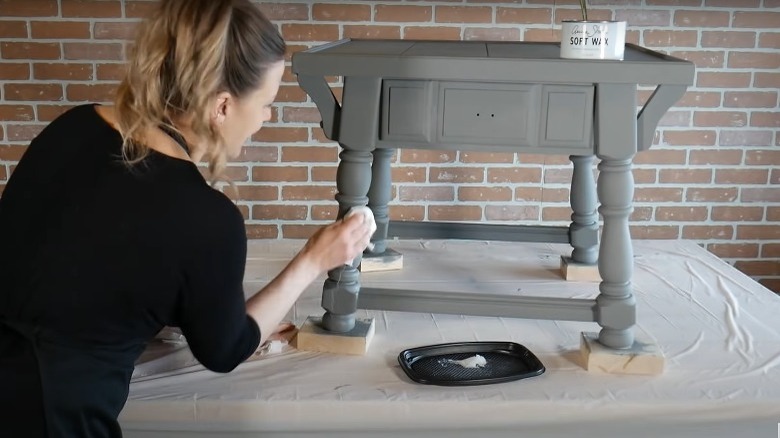
When finishing up your chalk paint project, it's important to add an extra layer of protection to protect the new finish. Applying wax is an important step that you don't want to forget after painting a piece of furniture. It works to seal the piece, protecting it against scratches, water stains, or other damage. It can also give your finished piece a slight sheen, making it look more attractive and vibrant.
Look for a wax specifically formulated to go over chalk paint. You should wait at least an hour after applying your last coat to apply the wax. The paint should feel completely dry to the touch. Then, apply the wax in patches to ensure that you cover the entire piece. Remember, this protective coat does not negate the need to let the paint cure, so make sure you don't use the piece for the full two weeks.
Applying too much wax to the painted piece

While waxing your painted furniture pieces is important, you want to avoid using too much. A thin layer can enhance the way the furniture looks by adding some sheen. However, if you are too heavy-handed, it can go the other way and make the item less visually appealing and it may leave a streaky residue on the surface. In some cases, there may even be little lumps of opaque wax scattered over the piece.
Fortunately, you can still remove the excess and save the furniture piece. If you catch the error right away when the wax is still pliable, simply use a microfiber cloth to wipe some of the excess away. If you don't catch your error until after it has already dried, adding one additional thin coat can actually help you remove it. When you apply some fresh wax, its oils will interact with the dried finish to make it softer and easier to remove using a microfiber cloth. You may need to switch to a clean cloth a few times as the one you're working with becomes too waxy.
Not monitoring temperature and humidity levels

When applying any type of paint, it is important to pay attention to temperature and humidity levels before working on a project. Extreme temperatures — both hot and cold — are not good for paint. They may cause it to crack as it dries. If you need to complete a project on a particularly hot or cold day, consider working inside (just make sure to work in a well-ventilated space).
In addition to monitoring temperature levels, it is also important to check the humidity level. Ideally, you want to work when this level falls between 40 and 50%. If humidity levels are above 85%, work inside or wait for a day with less moisture in the air. If the air is too damp, it may cause several potential problems. First, a wooden furniture piece may absorb some moisture, causing the paint to bubble or not adhere properly as it is applied. And with too much humidity, the paint will also take longer to dry and remove its water content.
Only using chalk paint for furniture
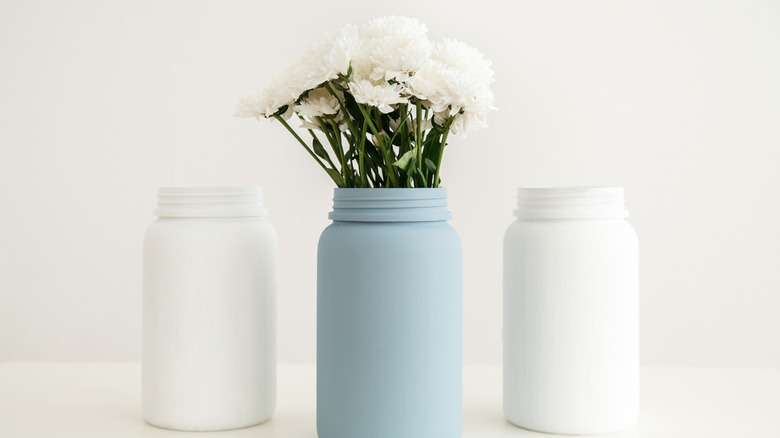
If you only use chalk paint for furniture, then you're making a mistake. While this medium is ideal when refinishing furniture, you can use it for so many other types of projects and surfaces. If you love the textured and matte appearance, why not use chalk paint to create a colorful accent wall in your bedroom, living room, or dining room? When painting walls, you can choose to skip the coat of wax since they won't see as much wear and tear as a furniture piece sees.
There are also several smaller DIY projects that are less involved than painting a wall or a piece of furniture. They could be a good starting point if you don't have a lot of experience with chalk paint and want to get a feel for using it. You can try painting glass jars or vases to give them a vintage and distressed look, refinishing the frame around a mirror, creating custom flower pots, or giving an old candlestick a makeover.