Convert An Old Dresser Into A Functional DIY Miter Saw Stand
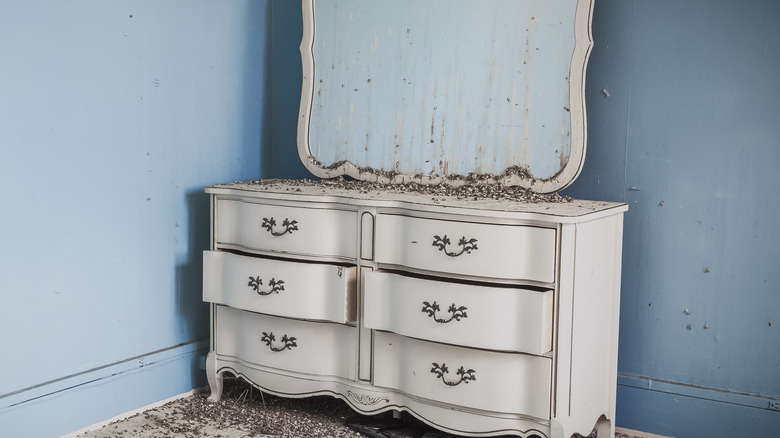
There are a handful of projects that woodworkers and DIYers eventually build for workshops: a workbench, outfeed tables, router tables, some kind of wall-mounted storage for tools, and a miter saw station. Shop-built jigs and fixtures are often completely practical and highly customized, but they tend to lack any sort of stylistic flair. But YouTuber Cara Newhart wasn't about to sacrifice style, so on her DIY Dream Home channel, she built a functional rolling miter saw station using an old dresser as her base (though you could certainly use a new dresser instead; three of the best-selling dressers at Walmart are under $200). She did a brilliant job, as summed up at the beginning of the video: "Miter saw stand, but make it cute."
"Cute" doesn't often enter into the equation for DIYers, but Newhart nails it, creating a workable station with tons more storage than the typical miter saw stand, and still managing to bring the style with the dresser, its melon sorbet chalk paint, and its gold drawer pulls. Newhart based the business end of her design on Shanty 2 Chic's miter saw stand, which is purely a functional tool. About their design, the sisters say that the ultimate purposes of a miter saw station are support for longer materials and an extended fence for clamping on stop blocks when you're repeatedly cutting boards to the same length. It's a great improvement to a tool we named one of those worth investing in to start woodworking at home.
Making the dresser miter saw station
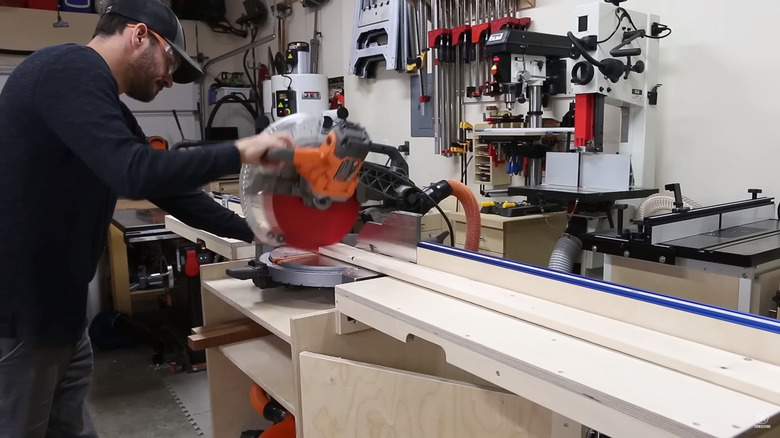
Cara Newhart's video is thorough, detailing everything except the part she borrowed from Shanty 2 Chic. She starts by cutting the "feet" off of the dresser. This might seem rash, but it's almost a necessity. The top of a typical miter saw on a stand is about 36 inches from the floor, while the average dresser is between 30 and 35 inches tall. Given that Newhart is going to add 4-inch casters, a plywood top, and the height of the saw's base, it's all but impossible to hit the 36-inch mark without starting with an unusually short dresser. In place of the feet, she adds supports to which she'll attach her locking casters, including one in the center of the dresser to prevent any sagging. From here, she makes a plywood top, trims it with mitered pine boards, then starts on the table and fence extensions. We'll come back to those.
She adds a book and magazine rack to one end of the station and a gold handle to the other. She paints it with homemade chalk paint (you can make your own chalk paint with the simple addition of baking soda to flat latex paint), adds the drawer pulls, and then starts on her final cute flourish: the hardware bowls. In the cavities created by the table extensions, she slides painted porcelain bowls to which she has added pulls. It's an interesting choice for a workshop, and speaks to Newhart's commitment to cute.
Adding functionality to your dresser saw station
The fence and table extensions are where you'd make the most improvements in Newhart's design. Brad of YouTube's Fix This Build That channel makes a "totally tricked out" station that includes Kreg Top Track segments for attaching stop blocks without clamps, ruler stickers for stop block placement, a port for a small Shop Vac and cyclone dust collector, and a fence that's adjustable from front to back. We couldn't unpuzzle why you'd want your miter saw fence to move in that way, but one of Brad's features should be on any miter saw fence: Chamfering or notching the bottom of the fence board helps to keep sawdust from collecting where the table and fence meet and interfering with the smooth movement of workpieces.
Bob Clagett at YouTube's I Like to Make Stuff channel creates a saw station that also incorporates some good ideas. He covered his saw with a hood and shroud designed to contain sawdust and help direct it to two dust-collection ports. Clagett makes his fence from two laminated layers of plywood for stability, ensuring the fence is basically straight forever. Instead of Top Track, he uses generic T-Track in a routed channel for the same purpose. And he goes so far as to make his own stop blocks from scrap wood, knobs, and carriage bolts ground down with a sander to fit the T-tracks. All great ideas, but if you stopped with Newhart's design, you'd be a perfectly happy miter sawist.