Upcycle An Old Tennis Racket Into Practical Shelving For Unique Home Storage
We may receive a commission on purchases made from links.
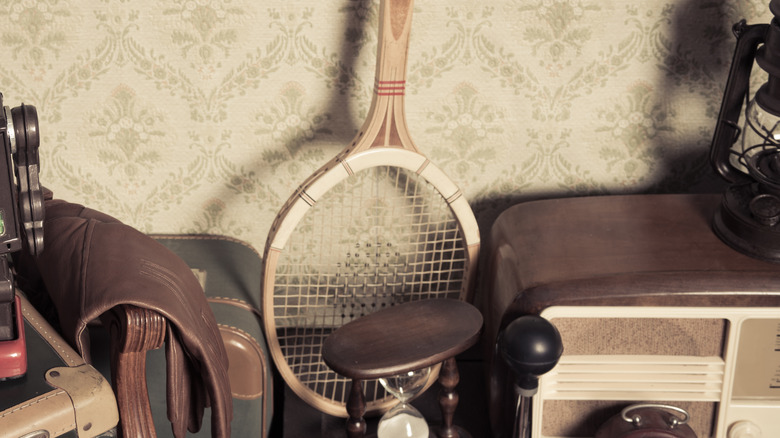
Are your days of competitive college tennis behind you and those expensive rackets are now collecting dust in the garage? Or perhaps you came across a beautiful vintage wooden whacker for cheap during a thrift store rummage. Sure, you could use old rackets to ensure dust-free couch cushions (yes, you hit your upholstery with them), but we're suggesting a far more dignified way to repurpose the old sports equipment in your home: turn it into a shelf. To do this, cut the head in half horizontally, bend it 90 degrees, glue it, and hang it with the top of the handle facing the ceiling.
Shape and size-wise, any racket will do for this DIY. It really depends on how big you want the shelf to be. You could even use multiple sizes — both kids' and adults' rackets — to create interest on a wall. Further, because you're going to cut the racket head in half, the saw-a-bility of the material matters. Until the 1970s, rackets were made from ash or beech timber. Modern rackets are usually made from synthetic materials including fiberglass, graphite, boron, Kevlar, and aluminum; sawing through some of these materials may require more effort, specialized tools, and a respirator and goggles for dust protection. Therefore, your best choice when working in a standard home workshop is a wooden, graphite, or aluminum racket — all of which are easy to cut through with a hacksaw with an 18, 24, or 32-teeth-per-inch blade. You might have to test which works best.
Make the shelf
Along with the hacksaw, get a vise to keep the racket still while cutting and some sandpaper. You'll also need a drill and heavy-duty wall screws to hang the piece. Further, you'll need to purchase a tube of super glue suitable for use with the racket material. We recommend extra strength SureHold 5 Star Super Glue, since it works on metal and plastic — you can purchase a 12-pack for $9 from Walmart. If you're worried about the glue failing, secure the horizontal and vertical sections of the shelf to one another by discreetly threading a cable tie through the strings — one on each side. A pack of 600 assorted transparent plastic cable ties costs $7 on Amazon. Alternatively, drill a small screw into each side.
To complete this DIY, first clean the racket with warm, soapy water and unwind the grip material from the handle. Once dry, cut the frame of the racket head at the same halfway point on both sides using your hacksaw and sand down the sharp edges. It's crucial that you leave the strings intact, as these will form the base of the shelf. Apply glue to the outside of the handle portion near the cut and the inside of the other portion. Bend the racket head at the cut up 90 degrees and slot the handle portion neatly inside the now horizontal portion, forming a shelf. Leave the glue to set according to the manufacturer's instructions.
Mount it and use it
To mount your new tennis racket shelf on the wall, measure the width of the handle a little down from the top. That's how far apart to position the wall screws on which you'll hang the shelf. Once up, it's time to use it! Standard ideas include as a bookshelf, side table, or display for knick-knacks, but why not get a bit more creative with this upcycle? Stick it on the wall in your walk-in wardrobe or dressing room for jewelry storage. Hang everything from necklaces to dangly earrings. Screw hooks into the handle for even more organization options. The strings can also hold long, thin items with bulbous heads — they won't fall through. Think paintbrushes in an art studio or toothbrushes in the bathroom. Use a water-friendly graphite or aluminum racket for this repurpose.
Here's arguably one of the best laundry room shelving ideas that will elevate your storage and decor: Use the mesh shelf to dry delicate items, as this will keep them from stretching or wrinkling. Your racket shelf is also great for displaying houseplants that prefer dry conditions. Looking for easy ways to care for your air plants? Attach the little suckers directly to the strings. Further, you could use hooks to hang all kinds of plants underneath the netting shelf. Finally, you could replace the vertical section (the part attached to the wall) with a cut-to-size piece of chalkboard or mirror glass for a multi-functional office or bathroom organizer, respectively.