Add These Common Ingredients To Paint And Watch What Happens
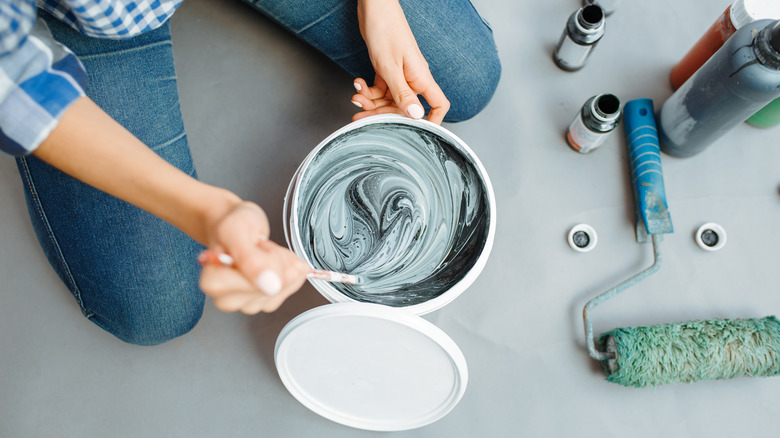
When you think about painting, color choices are usually at the top of the priority list. But there's much more to painting than finding the perfect shade to complement your home decor. Think about taking ordinary paint and adding a household ingredient or two to turn it into a whole new medium. Many common ingredients also make the paint tactile, providing more interest to your space.
Adding baking soda, salt, or coffee grounds to paint allows you to turn flat paint into a sensory experience. These aren't your common painting tricks and tips. For example, mixing salt into watercolors gives you a fun speckled effect that looks like stars, while coffee grounds give you a rustic look with a soft, earthy tint.
These projects center around adding depth to your paint to bring it to life and make it stand out. You can use this technique to transform your living space or art project and make it more creative. Let's look at how everyday ingredients around the house can enhance your painting skills and turn your next project into a textured, professional-grade masterpiece.
Adding baking soda to paint can create a textured, matte finish
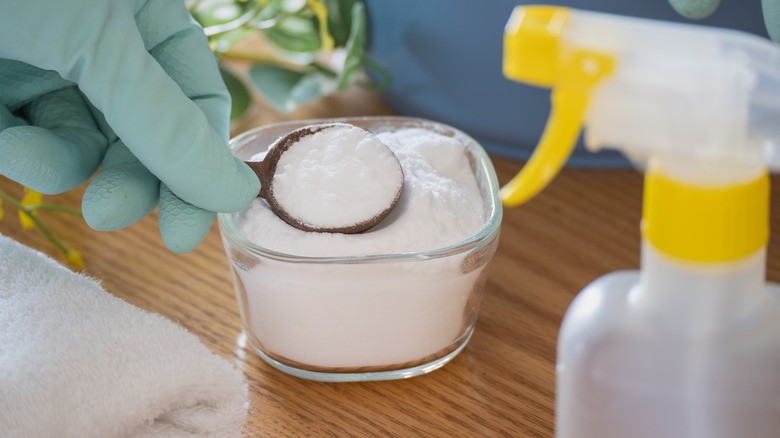
Mixing baking soda and paint takes the standard finish or shiny surface and transforms it to a matte finish. Adding baking soda gives you a flat look that works well when you want your project to have a soft or rustic feel. Combine a tablespoon of baking soda for every cup of paint and mix it well after each addition. Apply the paint with a roller or brush, and see how the texture adds character and depth.
The textured finish you end up with works well for smaller, more decorative projects like picture frames, furniture, or accent pieces. If you want a vintage feel, refinish old furniture pieces with this technique. Although it adds character to small projects, it can overwhelm on a larger scale. Also, using on walls may make them look busy, and the textured surface catches dust that is hard to clean.
For a gritty texture, fine sand can be mixed into paint

Adding fine sand to your paint flips the texture to give you a gritty finish. It's a great way to add a dimensional feel to your paint project, making the surface interesting to touch and look at. Mix 1 cup of fine sand into 4 cups of paint, stirring thorougly for even distribution. Use a brush or roller to apply it, but be aware that you'll have a thicker consistency that may take more work to get an even layer.
The gritty texture from the sand makes this an excellent choice for anything that needs a rustic look and more grip, like outdoor furniture, stairs, and flooring. It also boosts the grip on your handrails, and sand paint adds traction to your porch. You can also use it to breathe new life into your garden pots or outdoor decorations. Along with adding texture, you'll get more durability to help them withstand exposure to varying weather conditions. However, don't use sand-infused paint on large indoor walls because cleaning will be challenging, and it may even feel too rough if you brush against it.
To thicken paint, cornstarch or flour can be a great additive
For an unconventional use of cornstarch around the house, add it to paint to thicken it and give it more texture. As a bonus, a thicker paint usually means fewer coats and a faster project. Flour also works well if you're out of cornstarch, and it's a wonderful additive when your paint is thin, but you still want an opaque finish. Mix 2 tablespoons of cornstarch or flour with 1½ cups of water and heat it until it thickens. Allow it to cool, and slowly add it to your paint (while stirring so you don't get lumps) until you reach the desired thickness. When you apply the thickened paint, you'll notice it's much easier to get a streak-free finish, and it's a great way to hide minor flaws on whatever you're painting.
Flour and cornstarch-thickened paint works wonderfully for small-scale DIY projects, like painting decorative items, canvases, or furniture that needs detailed work or a slightly textured look. However, thickened paint might not be ideal for exterior surfaces or big walls, because the additional texture could make it hard to get even coverage on the whole area and result in a patchy finish. Also, it's harder to notice the benefits of thick paint for big areas, and it could cause paint waste.
Finely crushed eggshells can be added to paint for a subtle, speckled texture

You may know that you can toss eggshells into your tomato garden to fertilize them, but did you know adding finely crushed eggshells to your paint gives you a speckled, delicate texture? As a bonus, it adds a touch of depth and elegance as it dries. It's a great choice to get a unique look with a very slight roughness that catches the light. Clean and dry your eggshells and crush them into a coarse powder. Start slowly, mixing a small amount of crushed eggshell into the paint and adjusting as you go. Stir between each addition to distribute the eggshells.
The slightly textured effect of crushed eggshells benefits decorative items or accent pieces in your home. Think lamp bases, vases, or picture frames where the speckled look will pop and complement whatever you paint, without taking center stage. This technique shines inside where natural light can play off the textured surface and showcase them. It's also a great choice for artwork or feature walls in smaller rooms where you can get up close to see the texture. However, if you cover a big area, like an entire wall, with it, the fine details and texture get lost. Also, in high-traffic areas, it catches grime and dust.
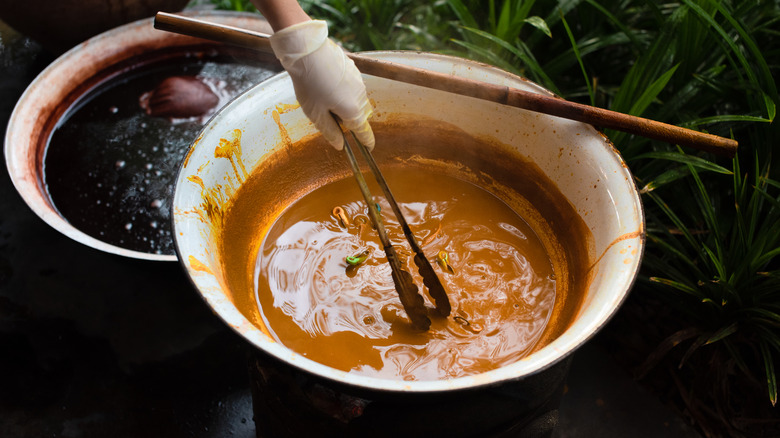
For a faux rust effect, ground cinnamon can be mixed in
Using spices to get a faux rust effect in your paint is one unexpected way to use cinnamon around the house. It'll give you an aged, warm, vintage look and mimic rust, without any actual corrosion or damage, giving you a versatile and safe way to decorate. Start by applying a light paint layer to whatever you want to transform. While it's wet, sprinkle cinnamon over it. Adjusting the cinnamon-to-paint ratio will give you shades ranging from sandy and light to dark and gritty. Use a brush or sponge to apply your paint in layers for a more authentic, rustic, finished product, and seal it to finish.
If you have a themed room, the antique rust effect works wonderfully on metal garden decorations, furniture, frames, or accent walls. The texture and warmth you'll get with this paint lend a cozy, vintage-inspired feel, making it an excellent way to make things like a metal lamp base, decorative bowl or tray, or a wooden picture frame look weathered and aged. It can also add interest and depth to larger walls, but the impact is much more pronounced if you use it on smaller things where you can see the fine details. Painting a whole room with it can overwhelm it and take away from the faux rust texture's subtlety.
Add a bit of lemon juice to adjust the paint color
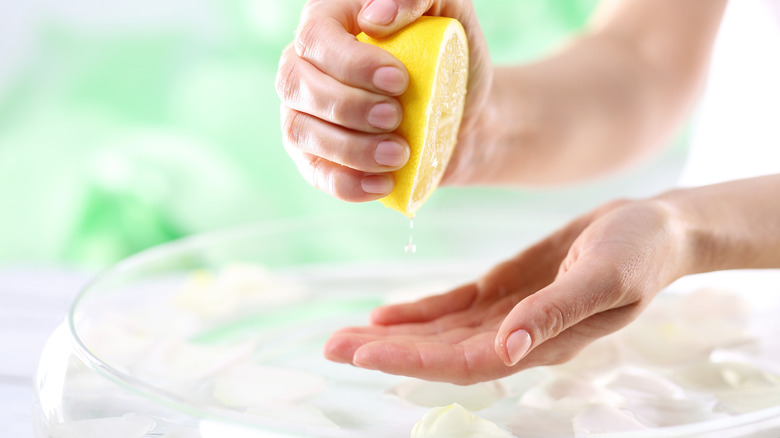
Lemon juice can slightly change your paint's hue due to its acidity and lightening properties; this helps you tweak your colors without needing to purchase more paint. It's a great way to tone down overly bright colors or get a slightly aged look. Just add a few drops of lemon juice to the paint, being sure to mix it well. Lemon juice's acid will react to the paint, slowly lightening it. Test the new color after each addition on a small sample spot to see how it looks. It's great for fine adjustments for DIY enthusiasts and artists who want to get the perfect paint shade.
The slow way lemon juice changes the paint's color makes it an excellent choice for art projects, any painting task that needs a specific color, or detail work for furniture. For example, if you restore or repaint furniture with a particular theme, lemon juice will help match the new paint to whatever is currently on the piece or make it look slightly vintage. It's also fun for decorative painting or mural projects where you need slight shade changes to add realism and depth. However, it can be hard to notice the subtle differences if you want to paint an entire room or exteriors. The color change is mild; you'll see it in more detailed projects much better.
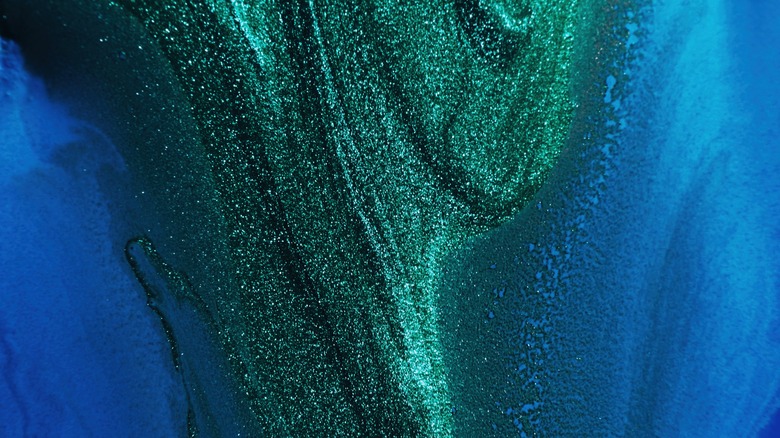
Salt creates a speckled, mottled effect with watercolor paint
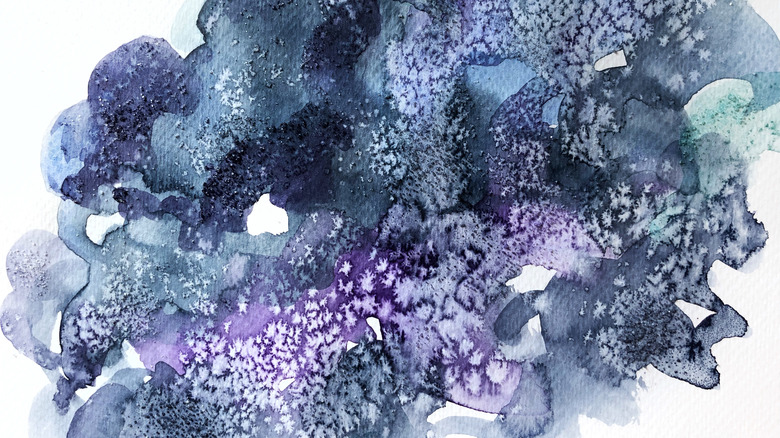
What happens when you add salt to paint, and what should you use it on? If you add salt to watercolors, you'll get a mottled or speckled effect that adds texture. It exploits the way salt absorbs water; this causes the spots around the paint to have brighter colors as it dries. Paint your paper with watercolors and sprinkle some salt over the wet paint. Fine table salt will give you intricate, smaller patterns, while coarse sea salt has more distinct, larger speckles. Let the paint dry and brush off the excess salt to get interest and depth for your watercolor paintings.
The salt hack works well for small-scale watercolor projects like drawings, greeting cards, or detailed parts of bigger paintings. The textured effect can mimic a starry sky, a road's rough surface, or a sea spray's bubbles, making it a great way to add realistic details to a landscape project. Also, using it on smaller projects gives you more control over how the final product will look and helps you highlight specific parts to draw the eye. However, salt isn't suitable for large background areas or spots where you want a smooth finish, because it can make it look busy.
Sawdust thickens paint and gives it a wood-like texture
Adding sawdust to your paint thickens it and gives it a distinct wood-like texture that is excellent for making faux wood finishes or adding a light tactile quality to your project. It's also an effective, but simple, method to get a rustic feel. Mix the fine sawdust into your paint, using a ratio of 1 cup of sawdust to 2 cups of paint. Stir until the sawdust gets distributed throughout the paint and it's thick enough to cling to your brush without being too runny. Adding more sawdust will give a grittier texture, so starting slow is best. Use a roller or brush to apply the paint, going with the woodgrain for a more natural finish.
Paint with sawdust is excellent for projects where you want to mimic the look of real wood, like paneling, decorative items, or furniture. It's fantastic for upcycling or refurbishing old pieces that need a warmer feel and organic wood texture, like plastic or metal furniture. Also, applying sawdust-infused paint to garden decorations, outdoor signs, or planters can give them a rustic feel. However, if you use this on a whole room or large wall, the rough texture will be an ongoing battle to keep clean because it catches dust. Getting a uniform look is also more challenging, so using it on more targeted, smaller areas is best.
Rubbing alcohol creates an abstract splatter effect
When you add rubbing alcohol to paint, you get a fun splatter effect that helps you create fluid, abstract patterns that look like marble. You can get this look by lightly spraying or dropping rubbing alcohol onto wet paint. The alcohol will repel the paint, making it separate to create varying patterns, and the final result will depend on how you apply it and how concentrated your rubbing alcohol is. A brush or dropper gives you a controlled effect by putting it right where you want splatter effects or a textured design. For a more random pattern, use a spray bottle. Experimenting with different concentrations and tools gives you a broad outcome range.
This technique works well on smaller-scale projects, like handmade greeting cards, canvas paintings, or decorative crafts, because you can really see the patterns. It'll help you make focal points inside your artwork or add a surprise element to the design. This makes it excellent for background or to add texture to flat surfaces, without overwhelming your subject. But it's not practical to use it on big areas, like walls. Over large surfaces, the intricate splatter effect loses its impact, and it's time-consuming to apply. Also, the finished product can be chaotic, messy, and overwhelm the space.
Adding glitter gives a soft sparkly effect
Mixing glitter into paint can make it catch the light with a sparkling effect that is playful and enchanting. You can mix glitter into the paint or sprinkle it over wet paint after you apply it to whatever surface you want. The key is to use fine glitter for a subtle shine or larger glitter for a louder look. Start small and slowly build up how much you add — roughly 1 to 2 ounces at a time per gallon of paint until you get your desired look. Stir it thoroughly so the glitter is evenly distributed in the paint.
Glitter paint highlights smaller interior features like decorative trim or kid's furniture. These areas do well with the added sparkle, drawing attention without being overwhelming. Using it on picture frames, shelving, or lamp bases can add a playful, but elegant look, depending on how much glitter you add and the paint color you use. However, having a whole wall covered with glitter-infused paint is too intense for most home decor, and it can make your room feel overly flashy and cluttered. Focusing on small areas lets you apply it tastefully to boost your room's ambiance.
Tint light-colored paint with turmeric or paprika for bold, warm colors
Adding turmeric or paprika to light-colored paint helps you infuse your projects with warm, rich colors that add an organic hue you can't get with traditional paint pigments. Mix a few tablespoons of your chosen spice into the paint, slowly adding more until you get the desired shade. The final shade can be very different from the starting color, so testing after each tablespoon and making a note of the outcome will be helpful.
This technique works well to paint decorative items, feature walls, or accent pieces in any room where you need a warm touch and natural color to boost your decor. Also, using these spices is an excellent way to add character to canvas art, handmade pottery, or wooden furniture that goes with rustic, bohemian, or eclectic decor styles. However, since you're using organic material to color the paint, they won't hold up well outside or in spaces with higher humidity and moisture levels, because the color will slowly fade or take on an unwanted hue.
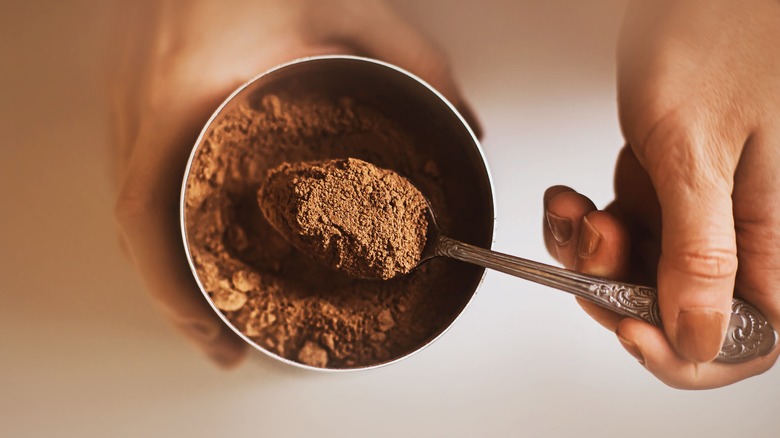
Mixing used coffee grounds into paint can give it a granular texture, earthy tint
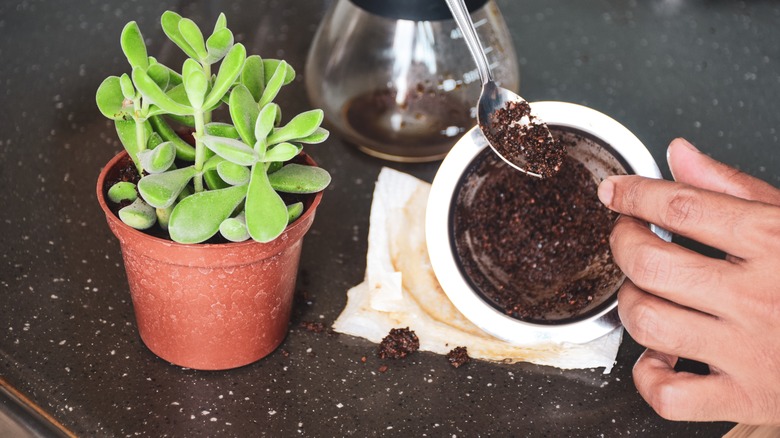
What happens when you add coffee grounds to paint? You get a granular texture with an earthy, visual color depth that's hard to replicate with standard paint pigments. Mix a small amount of coffee grounds into the paint, gradually adding more until you get the desired color. The grounds should be completely dry so you don't add moisture to the paint and thin it. This helps you recycle used coffee grounds, while giving you an eco-friendly way to get a rustic, earth-toned look for your projects.
Using paint with coffee grounds is excellent for projects that need an aged or rustic look, like frames, wooden furniture, or crafts. The subtle texture works best where the tactile feel boosts the sensory experience. However, if you add too much of this paint or cover large surfaces, you must clean them often because dust will collect. It could also overwhelm a space, so stick to smaller, more decorative touches.