Important Things To Consider Before Bleaching Wood Furniture
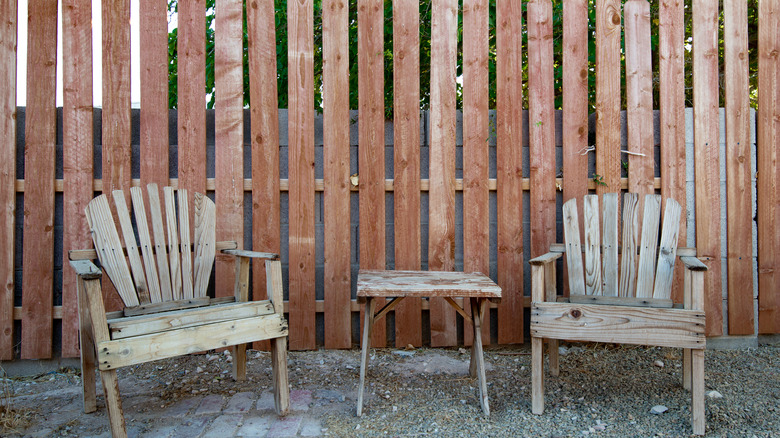
If you're looking for a budget-friendly technique to give wooden furniture a beachy vibe or simply want to lighten some of the pieces you already have, bleaching is a good way to go about it. That said, from the type of wood and bleach you're using to the safety precautions you should always take, there are a few things you should keep in mind. First, it's important to know what wood you're working with. Not all woods can be bleached, so knowing what you've got up front is a great way to avoid wasting time on something that won't work. Cedar, cherry, and chestnut fall into this category. On the other hand, oak, maple, beech trees, and many others are great candidates.
Not sure which wood is in your furniture? If you didn't buy it firsthand or don't know who manufactured it, asking them questions isn't an option. Head down to your local woodwork shop and ask a pro. Alternatively, if the piece you're thinking of bleaching is on the bigger side and you'd rather not transport it to a woodwork shop, you can also use The Wood Database's website for a comprehensive guide to help you identify the wood type on your own.
There are a few wood bleaching options to choose from

Once you've identified the wood in your furniture and know it can be bleached, the next thing to consider is the bleaching option you'll use. That's right: there's more than one way to go about it. Some are also a lot easier than others. Don't forget to actually prep your furniture before refurbishing it. Starting on the easiest end of the spectrum, there's good old household bleach. Simply decant the bleach into a spray bottle container (ideally a plastic one), and all you'll need to do is spray it on and allow it to dry. Keep in mind that this method will give fairly minimalistic results, so if you're after something a little more noticeable, you may want to use something stronger. Enter option two: oxalic acid. You can get a two-pack of this on Amazon for around $24. Follow the product's instructions to get the best results.
If you're comfortable making your own bleaching mixture, you can combine hydrogen peroxide with lye (which you may also know as caustic soda or sodium hydroxide). Start by measuring out 1 ½ teaspoons of sodium hydroxide pellets to a ½ cup of water. Then, combine that with ½ a cup of hydrogen peroxide. Head to your local pool shop to purchase specialty hydrogen peroxide, as you'll need a 27% solution. Once you've combined the two half cups, brush it on to the prepped furniture and wait for it to dry completely before using it.
Remember to prioritize your safety when bleaching wood
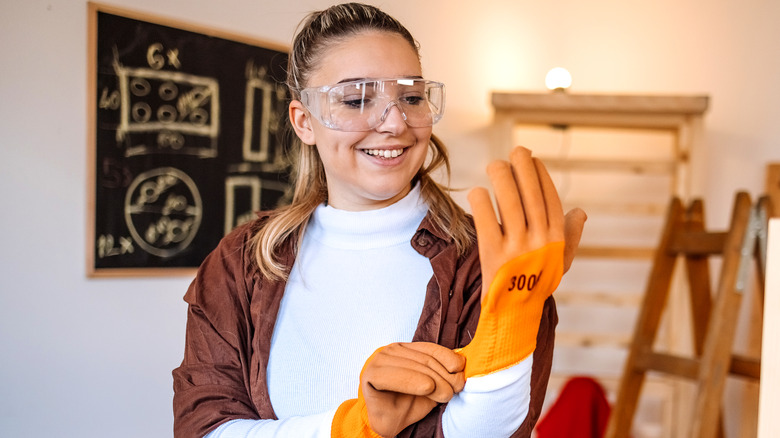
While bleaching wood can be done fairly easily, from a safety perspective, you certainly don't want to take any shortcuts. With each of these methods, it's vital to work in a well-ventilated space. If working outside isn't possible, invest in a ventilator mask. You should wear gloves, safety goggles, and a mask if you're working inside. Outside of the general safety precautions, it's also important to note that if you're planning on using the caustic soda and hydrogen peroxide mix, you need to do so with care. Add the caustic soda to the water first. Doing it the other way around is more likely to cause splashing — a big no-no when it comes to working with potentially dangerous chemicals. Likewise, when it comes to adding hydrogen peroxide to the caustic soda and water solution, do so slowly and carefully.
If you're going the oxalic acid route, you'll need to follow the specific instructions of your product. But the general idea of working slowly and carefully applies here, too. Bleached wood furniture is a great way to incorporate elements of coastal luxe, the beachy yet sophisticated home decor trend. It's great knowing that if you have the right type of wood, you can do it yourself. Just be sure to pick the bleaching method you're most comfortable with, and above all, take safety precautions seriously.