How To Repurpose Toy Figures Into Kitschy Dresser Knobs
Do you love kitschy elements in your home? If upcycling or finding creative ways to decorate gives you endless joy, then it might be time to add a new project to your DIY list. Dresser knobs have come a long way from the basic pulls invented in the 1700s to provide a functional way to open drawers and cabinets. You can upgrade almost any furniture with designer or decorative knobs that elevate any piece, but what about creating your own with toy figurines? Instead of going to a big box store or searching the internet for that ideal fit, why not grab some old (or new) toys and turn them into crafty and fun knobs that are chic, vintage, and budget-friendly?
The finished product will transform your basic dresser into a clever work of art that is still functional for all its entertainment factor. Whether you use this in a child's bedroom, or even throughout your home to complement your aesthetic, the results are definitely worth the DIY work and will leave friends and family in awe of your creativity. This genius handle upgrade will surely elevate the entire dresser, and it's fairly simple to execute, so anyone can try it!
Cut and set your new knobs for a customized dresser
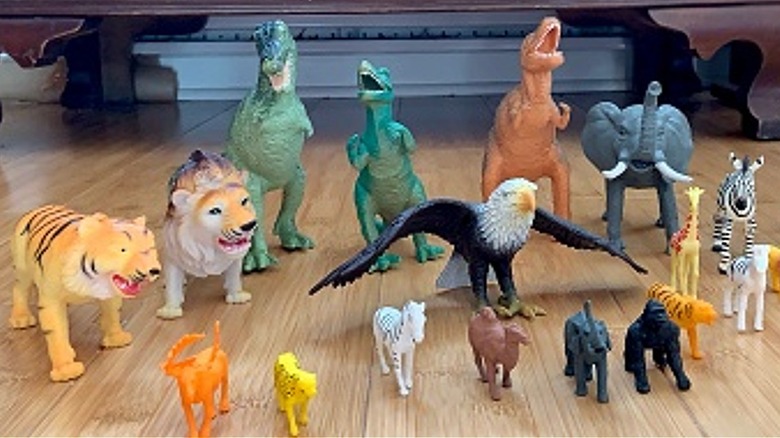
The first step to turning toys into dresser knobs might be the most exciting part of the project: picking your toys. Dinosaurs, dolls, robots, animals — the world is your oyster when it comes to choosing your new pulls. Items made of rubber are ideal because you will need to drill a hole for the bolts that will act as the pegs into the toy. Consider the width of your dresser drawers or the height of your cabinets when picking out figurines, because pieces that are too big could look bulky or imbalanced when added to the furniture. This is also a great way to decorate a dresser while still leaving the top clutter-free.
You can use the toy as it comes when you find or purchase it, or you can cut it down to a smaller size to fit your needs. Animals or dinosaurs, for example, can either face forward by cutting them halfway so their middle is against the wood or surface of your dresser, or you can display them sideways so their entire profile is your knob. The toys you pick should be thick enough that you can insert half a bolt into it. Not only will this provide a decent surface to pull open the dresser fixtures, but it will keep them attached as well. Remove your existing knobs and bolts, which will act as the anchors for your new ones.
Add a little paint to match your aesthetic
You can either measure the existing hole on your dresser if you're replacing knobs, or you can drill a size that will fit the bolt you want to use. You will need to cut the top off your chosen bolts so both ends are the same width. After you've made a hole with the drill bit, add super glue or Gorilla Glue to it before pushing and twisting the bolt in. Try to get the metal one-quarter to half of the way in, spinning your figurine around to gain purchase.
By adding another layer of glue around the opening and the bolt, you can ensure it will remain fitted inside. Allow your glue to dry for at least a day before attaching your new knobs. Twist the toys and bolts into the holes, ensuring the figurine sits closely against the outer surface of the dresser. For flatter toys, you can leave a little space so your fingers can find purchase. On the backside of each knob, use nuts and washers to secure it, screwing on the nuts first and topping each bolt off with the thicker washer.
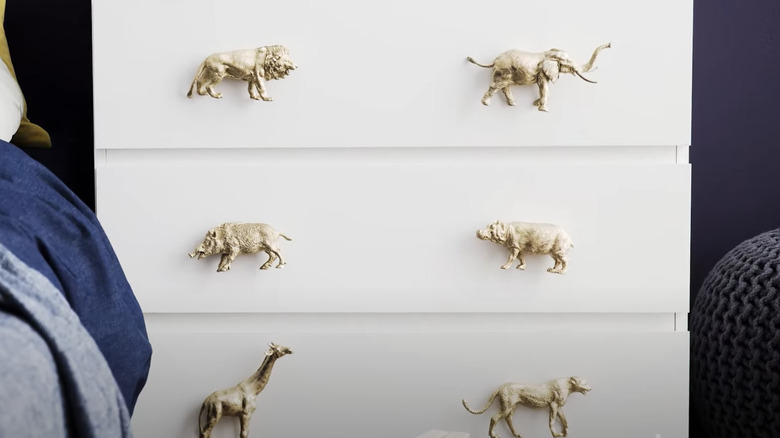
If you like the idea of the figurine handles but prefer a little more uniformity or flow throughout your rooms and home, you can spray-paint them first to match your interior aesthetic. You will still get the shape of the toy but with a more art-forward finish that gives it an elevated and stylish functionality.