The Tools You Need In Your Kit To Install Laminate Floors
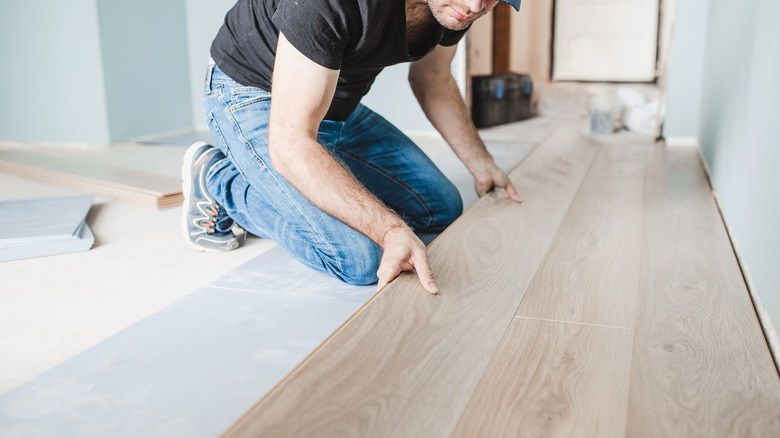
Laminate plank's click-lock mechanism has made it possible for DIY-savvy homeowners to install new flooring themselves and save $2 to $8 per square foot on installation costs (per Angi). Another incentive for individuals to get their hands dirty (literally!) is that this DIY project doesn't take too much time. Depending on the size of the room you're upgrading, you can be done with the project in as little as a day or two. However, one of the most common mistakes everyone makes when installing laminate flooring is not gathering all the required tools, like a jigsaw, sliding T-bevel, combination square, hammer, utility knife, measuring tape, pencil, spacers, and tapping block, to get the job done.
The easiest way to install laminate flooring is having access to the right tools, or you'll have to deal with the misalignment of the planks later. These issues won't just detract from your flooring's aesthetic appeal but also make it difficult to walk upon comfortably. Worse, the unwanted gaps will house dirt and dust, and might also attract insects searching for their next hidey-hole. That being said, you don't have to buy all the tools if you don't have them at home; you might be able to rent a few. Besides, don't forget to wear protective eye glasses, a dust mask, and ear muffs to keep them safe from the accompanying noise and airborne dust and debris. Donning a pair of gloves will also help you maintain your grip on the power tools.
Tools for measuring and cutting laminate planks
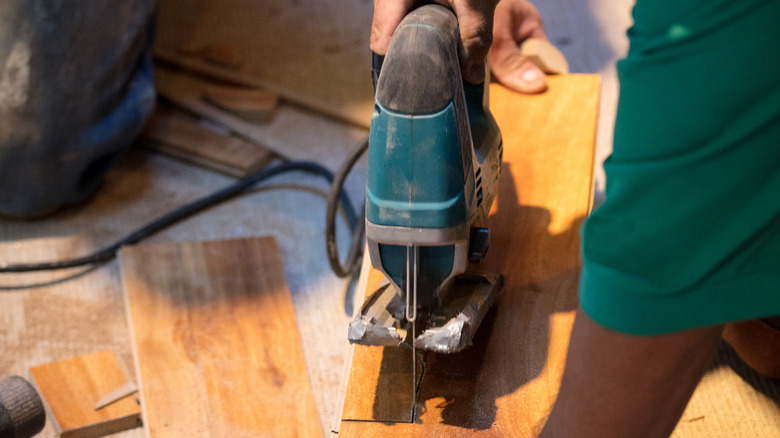
The first thing you're going to need is a tape measure to find out the desired plank length. You'll also be needing a pencil (or a dry erase marker) to mark the length and get the precise cut. Once you have the measurements, it's time to cut the planks to fit your room's dimensions. You have two options here: a chop saw and a jigsaw. Go with a chop saw if you're a perfectionist and need a perfect cut, although your ears will have to deal with the accompanying noise and you'll have to spend more time cleaning off the dust. Moreover, you'll have to spring for a specialized blade since the regular carbide ones won't be able to deal with the tough upper layer of a laminate plank.
On the other hand, a jigsaw won't give you as smooth cuts as its contemporary. But the trade-off comes with less noise and dust. Since you'll mostly be trimming the ends, the smoothness of the edges might not matter much. However, if you aren't willing to compromise, a sharp utility knife can take care of the jagged edges. Plus, it's better suited for circular and customized cuts. To perfectly fit laminate flooring in even the curviest corners, arm yourself with a sliding T-bevel. Alternatively, get a combination square to accurately make 90- or 45-degree cuts to ensure your laminate flooring fits snugly along the contours of the wall.
Tools for fitting in the laminate planks
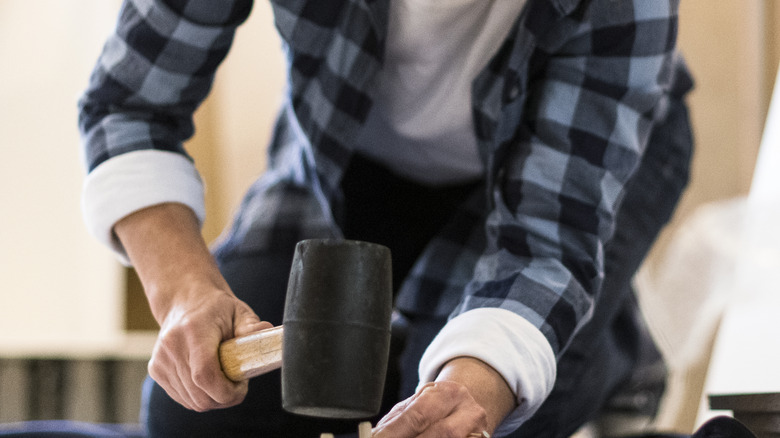
While measuring and cutting tools are indispensable to correctly install laminate floors, you need a few more tools to ascertain the planks' tongue-and-groove click together as desired. To elaborate, a rubber mallet will be your best friend when you're trying to lay the pieces back-to-back without any gaps between them. Although you can substitute this tool with a steel hammer, a mallet will produce less noise. Avoid striking the edge of the planks with a hammer or mallet when trying to close the seams, or you risk damaging its click-lock mechanism. This is where a tapping block comes in.
After you have chosen between hammer and mallet, position the block over the seam of a plank and hit it with your weapon of choice until the board fit its neighboring planks. Since a tapping block is engineered considering a plank's click-lock mechanism, you won't have to worry about damaging the unit. With that said, if you have a tight budget, substitute a tapping block with scrap laminate pieces. Though these tools will help you fit most of the planks, you might find yourself in a bit of a jam towards the end or corners where you don't have a lot of wiggle room. Under such circumstances, use a pull bar to make the installation easier. Finally, put in spacers along the length of your walls to leave some gap for the laminate planks to easily expand and contract per the weather and humidity.