DIY A Greenhouse Out Of A Shade Tent (Or Other Items You Might Already Have)
We may receive a commission on purchases made from links.
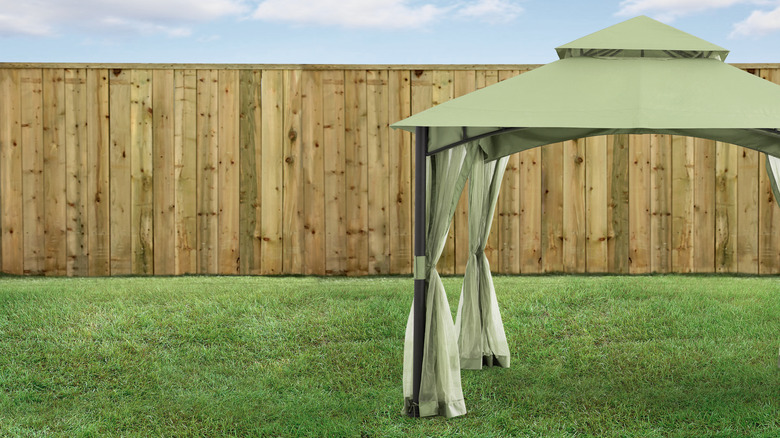
One of the things that stops gardeners from building greenhouses is intimidation. Those lovely, Instagram-worthy greenhouses that look more like a wedding spot... are, in fact, sometimes more of a wedding spot, as is the case with Kate Morse's greenhouse, which I discovered while admiring her beginner-level DIY scrap-wood porch swing. These are beautiful places befitting a beautiful hobby. Yet sometimes, your needs are less refined and more practical; perhaps you want to disentangle your 12-year-old's messy terrarium operation from your current greenhouse. That was the situation I found myself in. I have a large, functional greenhouse, and I didn't feel the need to have a work of art sitting out in a field among the disused chicken tractors and rolls of hardware cloth. The mechanics of a useful greenhouse are very simple, and even an old gazebo frame covered with greenhouse plastic will do the job while looking the part. And that's exactly what I'm building here.
The thing about greenhouses (and potting benches, trellises, and garden paths) is that they inherit a default beauty from their purpose. A plastic-covered frame full of lawnmowers and water skis would look a mess, as does an empty plastic-covered frame, but the same structure full of mossy shelves, stacks of pots, and trailing foliage becomes a functional part of creating beauty. Many greenhouse ideas can transform your backyard, and this is one of the simplest.
The skills, time, and cost required to build a gazebo greenhouse
If you are intimidated, and part of that intimidation stems from concerns about your construction capabilities, fear not. This is not one of those spa-sunroom spaces with floor drains and finches flitting about. You're about to stretch some plastic over a pre-built frame, which is a bit like throwing a tarp over a truck bed and tying it down. The entire thing won't take more time than a long day or a short weekend, and it'll last as long as the plastic you choose — after which you can cover it with new plastic.
If you're repurposing an old gazebo frame or something similar, the main expense for your greenhouse project will be the UV-protected plastic film you cover your frame with, which can last from one to ten years, depending on its thickness or about four years for a typical 6-mil plastic. For a 10x10-foot frame, this 25x25-foot Greenhouse Film ($56.79) from Amazon should serve well. Secure the plastic at the bottom of your frame with something like four 10-foot pressure-treated 2x4s ($6.68 each at Lowe's) and a roll of 3M All-Weather black rubberized duct tape ($13.98 at Lowe's) to strengthen the edges of the plastic where any staples, grommets, etc. might be used. This barebones materials list comes in at $97.49 — somewhat less than the average cost to install a greenhouse. Still, there are other options, some of which I use below.
How to prepare to build your greenhouse
To pick the best spot for your greenhouse, choose a level area with the right amount of sun and good drainage. The ideal situation is a southern or southeastern exposure, with the length (assuming one side is wider than the other) of your greenhouse running east-west. Pay attention to drainage; anywhere water stands after a hard rain should either be rejected or re-graded — unless you like gardening ankle-deep in a puddle. Secure any permits or permissions you need before you get started. Given the size of your greenhouse, you may not need a permit, but your HOA covenants might require permission.
Finally, you'll also want to consider the floor. A greenhouse can be a prime habitat for "weeds," which, in this case, refers to everything you didn't plant on purpose. I've seen a single volunteer tomato plant take up a third of a 10x17-foot greenhouse. Plastic feed bags–which you might buy chicken or duck food in–will do a great job of suppressing plants but won't allow water to seep through into the ground, creating standing puddles that are an irritation and a slipping hazard. Ultimately, I used landscaping cloth; it's not perfect and not terribly durable, but it's a good solution for low-traffic areas.
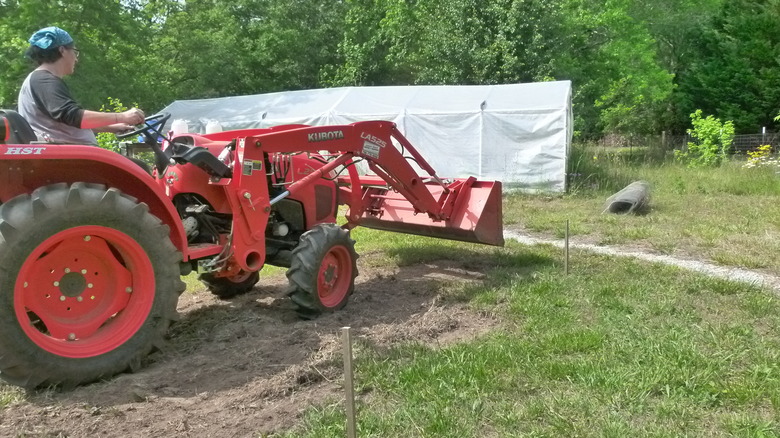
Strengthen your greenhouse by securing parts of the frame
Your mileage on this task will vary based on your particular gazebo, shade tent, or other frame. My gazebo frame, which had been disassembled the previous year, needed some mending and replacement bolts. Bolster your frame's strength in any way available to you. The horizontal members of my reassembled gazebo were already sagging, so I supported three of these runs with posts of ½-inch galvanized conduit. Wind will take its toll and eventually collapse the structure if you don't prepare it now with options like diagonal corner bracing. You can also create a great deal of lateral support by crossing each wall area with two ratchet straps from upper corner to lower corner (or to a spiral stake in the ground). Tighten these as needed and evaluate your next strengthening move once the greenhouse has been fully assembled.
Don't leave any jagged areas that might interfere with your plastic's integrity. Look out for edges or protrusions that could cut into your greenhouse film; smooth them with an angle grinder or sanding block. If you use PVC during this or any other part of the construction, remember to paint it first since the off-gassing of the PVC will degrade your greenhouse film and eventually cause it to fail.
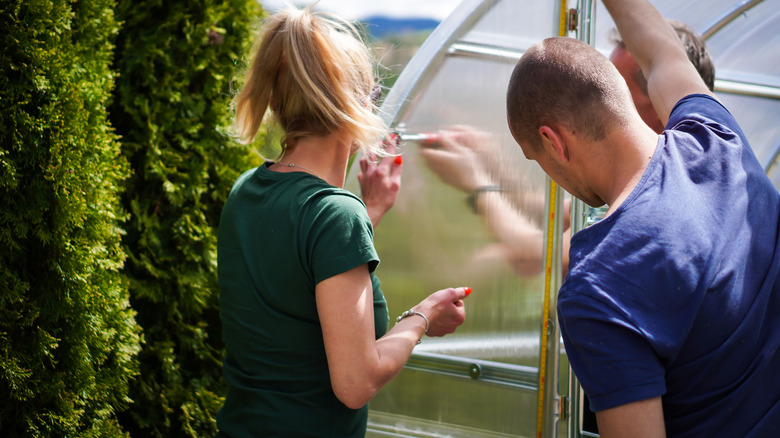
Install the polyethylene film and secure it
Plan carefully for fitting your plastic. My 20x25-foot plastic covered three sides and the top of the frame, but it's perfectly fine if you have to piece together various cuts. Just remember to overlap any joints in the manner of flashing so that the uppermost part of any piece is always on the outside to keep water from being directed into the structure. Lay out the plastic and pull the middle of one side across the middle of the structure. Orient the plastic so that any writing on it is readable from the inside to ensure it's right side out. Secure the bottom of the plastic to wood boards or whatever base you choose. I initially intended to use wood, but eventually, I settled on the ½-inch conduit I had handy. Apply a strip of duct tape to the plastic along the length of each board and staple through it.
Unless you cut individual panels for each wall, this process is naturally going to involve some pleating of the film at the corners; fold them and secure with duct tape or construction adhesive. You could also invest in "wiggle wire" and channels, the traditional method of keeping greenhouse film tight. Secure the frame itself to the ground to prevent storm damage. True hurricane anchors or steel folding ring spiral anchors (four for $36.68 at Home Depot) work well.
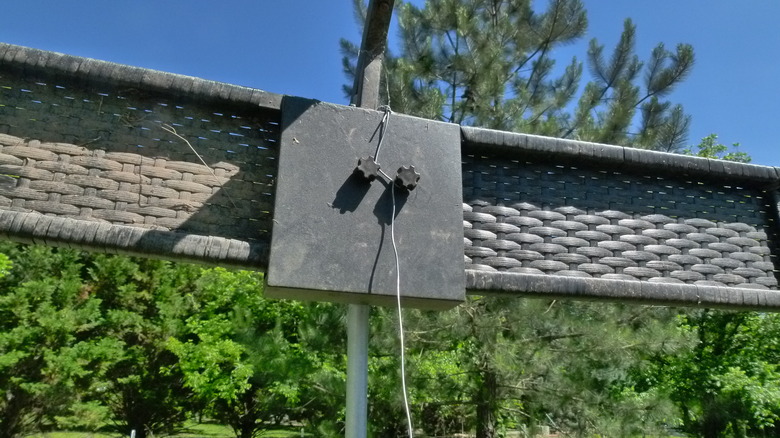
Add a door, ventilation, and shade
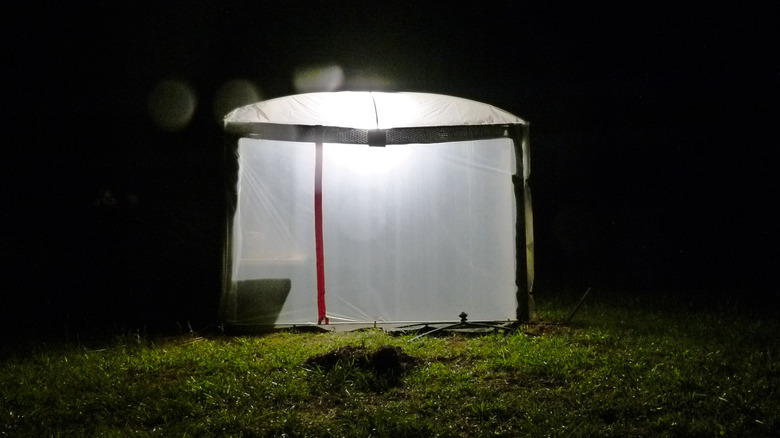
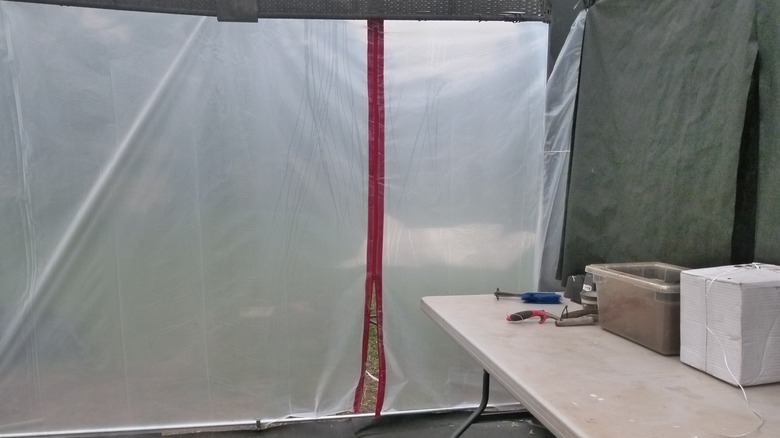
There are many ways to add a door to a greenhouse. My main T-shaped greenhouse has three wood-framed end walls — one framed around a door and the others framed around a window and high-volume industrial fan. Since the plan for this improvised greenhouse still had some loose ends and open questions ("How long can a kid's terrarium hobby really last?" for example), I made a simple doorway using a ZipWall self-adhesive heavy-duty zipper kit ($24.98 for two from Lowe's) to create a zippered entrance. These nifty little devices are used for painting rooms, isolating areas for mold remediation, and the like.
Ventilation is a must to exhaust hot air, but in some climates, ventilation alone won't fully control your greenhouse's temperature during hot months. Use an exhaust fan in an end wall or a removable shade or landscaping cloth over part of the structure. Commercial greenhouses often have roll-up sides, which are available from suppliers like Grower's Solution ($67.00 for an 8-foot side), or you can DIY a basic version with PVC pipe. I made one wall of the greenhouse out of landscaping cloth to add a little ventilation. Plan your furnishings so the southern exposure works to benefit most plants and to cool work areas. Repurposed gazebo greenhouses are, by their nature, fairly small, but if you can find room for a comfortable lawn chair, it'll also serve as a spectacular place for a nap on a mild spring day.