The Creative Way To DIY Old Baby Wipe Containers Into Small Item Storage
We may receive a commission on purchases made from links.
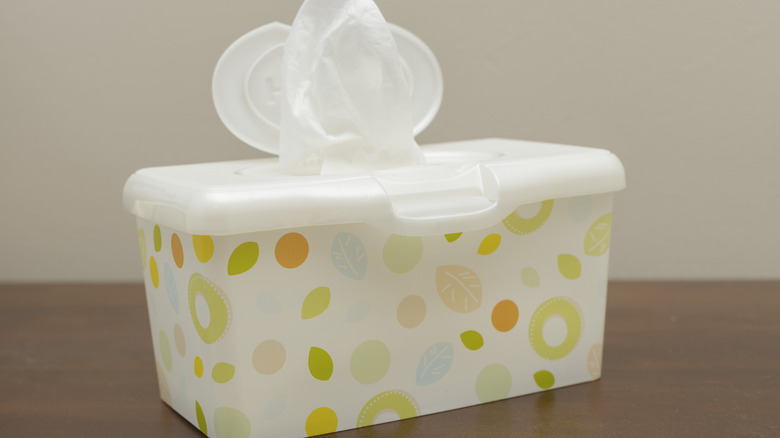
Chances are, you have a baby wipes container lying around somewhere — but don't think you need to throw it out once you reach the end of your stash. In the same way that paper napkins can give basic planters a major upgrade, by getting creative with decoupage glue and some fun napkins, you can turn it into a very professional-looking, nifty storage box, perfect for the odd bits and bobs you have lying around.
For this DIY storage craft, start by removing the lid of the box. From there, strip the original packaging from the container and remove any sticky residue (hydrogen peroxide is a household staple perfect for easily removing super glue from any surface). Once it's all glue-free, start thinking about which napkins you'd like to use. For a full-on upcycling project, use the remaining three left over from your last picnic or birthday party. Alternatively, Walmart sells a ton of options with sweet designs for under $10.
Finally, the decoupage glue. You'll use this to secure the napkin to your container, and then to seal the project when it's all done. Prices will depend on the finish you want (matte, satin, and glossy options are available), but bank on spending around $3 for a bottle of Mod Podge at Walmart.
Decoupage your way to a fun storage container
Three paper napkins should be enough for this craft, but base the number on the size of your container. Unfold each napkin, remove the blank white layer from underneath, and then wrap them over the exposed areas to see if you have enough to cover the outside of the box and the lid.
Once you've got the right number of napkins, start by applying decoupage glue to the lid or one side of your container. Use a sheet of plastic wrap and a ruler to smooth it down. Then, repeat the process on another one of the sides until every visible surface is covered (of course, if your container is tube-shaped, you'll just wrap the napkins around the circumference). You'll probably be left with some sections where the edges of napkins stick off, so trim where necessary and use a nail file to neaten everything up. Paint some more mod podge over those areas, and if there are any noticeable gaps, use leftovers from the cutoffs to cover them up. Apply another layer of mod podge over the finished product, and once it's set, you're just about done.
To finish, go over the lid with a craft knife so you can open the flap. Then, pop in whatever you're planning on storing in your creative container. Et voila! A fun, easy DIY storage solution, perfect for anything from first aid supplies to jewelry or small office items to keep your office organized and stylish.