The Correct Way To Paint Over Water Damage Without It Bleeding Through
We may receive a commission on purchases made from links.
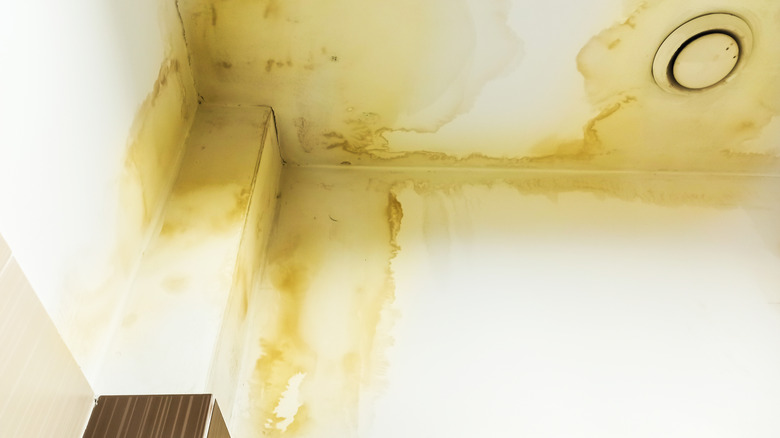
Has your home suffered water damage? In this frustrating situation, your first instinct may compel you to repaint the areas that became stained due to the leak. This way, you can get back to normal as soon as possible and put the unfortunate event behind you. After all, with a few coats of paint, how hard can it be to get the ghastly brown streaks covered up and move on with life?
Unfortunately for many homeowners, water damage is more than a cosmetic issue. As a leak makes its way down through drywall, joists, studs, and insulation, it leaves a trail of destruction and exposes large areas of your home to nasty mold outbreaks. Much of the harm water causes can be obscured inside wall and ceiling cavities, giving you false hope that the consequences of the leak are less severe than they really are. What's worse, applying several coats of paint over dried surfaces can fail to cover up the discolored areas — if you don't use the correct primer first.
But enough doom and gloom. With a bit of patience and a zen-like state of mind, you should be able to tackle all of the deficiencies coming at you with grace. To help you out, we've outlined a few best practices for preparing leak-damaged areas and repainting them to make — and keep — your interiors stain-free.
Analyze and rectify the full extent of water damage before you start painting
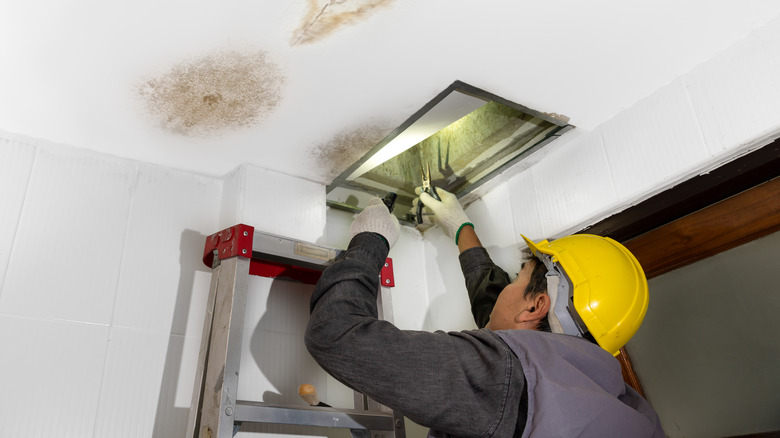
Before you get your paint brushes out, know this: the leak may still be ongoing, and the area may be prone to subsequent leaks. For example, if the pipework inside the walls or ceiling is damaged, the amount of water coming out may be small enough that the drywall soaks it up and you don't see it actively dripping down. Meanwhile, if the leak is coming from the outdoor elements, it will recur every time it rains. Depending on the leak source, hire a plumber, roofer, or envelope expert to fix the issue before repainting the interior.
Inspecting the water damage may reveal that some of the affected materials need replacement. For one, there's a good chance that the leak got into the batt insulation in the wall or ceiling cavities. It's impossible to dry this insulation, and the water trapped between its fibers makes an excellent home for mold. What's more, moisture degrades the thermal resistance of batt insulation to the point where it can't block heat transfer. To get all of the wet insulation out of the cavity, you may have to remove drywall sections that enclose. As for drywall, any sections that you've dried quickly enough to prevent mold growth (in two days or less after the leak) shouldn't need replacement. That said, if the leak came from blackwater or greywater pipes, you'll need new drywall as this type of wastewater can carry pathogens.
Prepare the surface with the right primer type
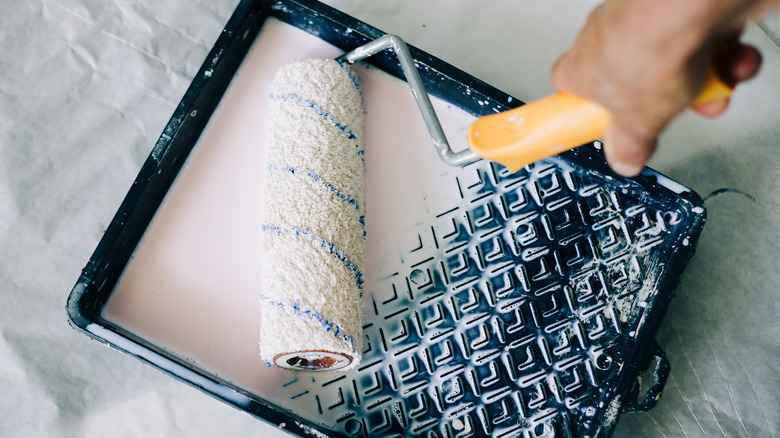
With the leak source eliminated, damaged material replaced, and surfaces dried, you can go ahead and apply primer. Choose a quality primer that's designed to block tough stains. For example, this oil-based primer from Home Depot is designed to block tannin, which can seep through and stain surfaces when a wooden component (like a stud) gets soaked in the leak. Moreover, this primer inhibits mildew growth — a useful quality to have when painting over an area that was recently wet. If the stains are quite faint and you already have oil-based paint of the right color at home, you can use it in lieu of the primer. If you opt for this alternative, you will still need several coats of the paint on the damaged surfaces to cover up the discoloration. This method only works with oil stain — under no circumstances should you use emulsion paint without a primer coat; it just won't conceal the brownish pigment.
Once the area is primed, you can finally paint over it and turn the page on the leak incident. A word to the wise: Don't bother painting only the part that got wet and stained. No matter how well you match the color, you'll end up with an unsightly patchwork that's obvious at a glance. Instead, paint over the entire wall or ceiling affected by the water damage to give the new finish a uniform look.