Revive Outdated Wood Paneling With Joanna Gaines' Modern Makeover Tip

They say there is a perfect time for everything. In the 1970s, dark wood paneling was all the rage, as many homeowners delighted in how it added a cozy, natural element to their homes at a relatively low cost. But we're no longer in that decade, and having wood paneling on the walls now feels outdated and out of place. However, if your home still has them, don't panic. HGTV's Joanna Gaines has a hack that can revive this decorative material and transform it into a modern fixture inside your home.
To be fair, there are many ways to modernize dated wood paneling on a budget. But Gaines' tip promises to breathe new life into the old-fashioned wall treatment without even tearing it out. So, what is the home design expert's hack? It's simply paint! Gaines revealed this while discussing a living room renovation project on her Magnolia blog. Since the budget was limited, she had to choose between "replacing the flooring or repainting the walls," and obviously she chose the latter. In the before-and-after photos she posted, it's evident how painting the wood paneling a solid dark shade altered the overall vibe of the space and made it more modern. At first glance, you would even assume that she styled the room with accent walls, which would not have been surprising, knowing Gaines has been transforming homes with her stunning accent wall ideas for years.
How to update wood paneling the Joanna Gaines way
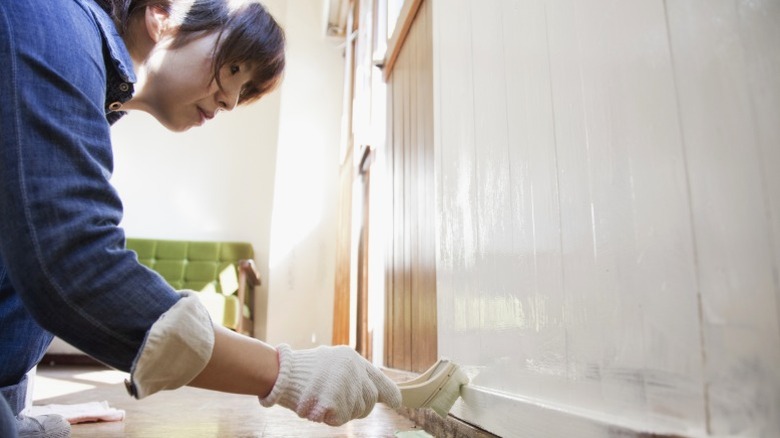
There are many things you need to know to paint wood paneling before you start, but following Joanna Gaines' lead can help you transform your walls in no time. The "Fixer Upper" host's method is mostly grounded in solid prep work, since dated wood paneling, with all its grooves and seams, is more complicated than a flat wall. The first and most important step is preparing the surface for the paint. You can't just roll paint on your wood paneling and call it a day. Vintage wood paneling often has this semi-gloss finish that you need to scuff up for paint to stick. Gaines sanded her paneling with 250-grit sandpaper to remove the sheen. After sanding, wipe the panels clean to remove dust or debris.
The next step is priming. Gaines used an oil-based primer with a stain blocker to effectively cover the wood knots or discoloration that might bleed through. Priming ensures that the final paint job will look neat and clean. Once done, all that's left is to paint. If you're not a fan of Gaines' choice of black for her wood paneling, you can go for a different shade. A good tip is to choose from the best paint colors for masking wear and tear, such as light beiges, creamy whites, blues, and greens. To brighten the space even more, use paint with a bit more glossiness, like a satin finish.