Free Up Countertop Space With A Dollar Tree DIY Storage Shelf
Somehow, no matter how small or expansive your countertops really are, counter space never feels quite as abundant as it should. Organization techniques are crucial for keeping counters free of clutter and giving you easy access to all of your essential items without wasting time searching an overcrowded space. Since the need for great storage solutions is so universal, many shelving units and bins are unfortunately costly. To free up countertop space without overspending, you can build these DIY storage shelves from Dollar Tree for just a few dollars.
To complete this project, you'll need two Dollar Tree wooden crates, which cost $1.25 each. You'll also need to reuse or purchase a plastic hanger, which costs $1.25 for a pack of seven at Dollar Tree. The rest of the materials and tools are items many households have on hand: paint, a sponge brush, paper towels, sandpaper, a strong glue like hot glue, a wire cutter, and a ruler. The Dollar Tree instructions call for brown paint, but you can reuse any paint you have on hand or customize your colors to match your bathroom design. This DIY is easy and affordable at around $5 per shelf depending on the paint you choose.
How to assemble the DIY countertop shelf
DIYers at all skill levels can easily complete this Dollar Tree storage shelf project in a single day. It won't require more than an hour's worth of hands-on attention, but you'll have to come back to it a few times as it dries. Start by painting or staining the wooden crates, then leave them to dry. While the crates are drying, use your wire cutters to cut the hanger in half. The goal is to create two equal V-shaped shelf legs from your hanger. Use sandpaper to get rid of uneven cuts and sharp edges.
Wait until the crates are completely dry, then determine the connection points between the crates and the hanger. You're creating two upside-down Vs with the hangers, then attaching one crate to the front two legs and another to the very top of the Vs. Use the sandpaper to smooth down the points of the crate that will attach to the hangers, as well as the portions of hanger that will touch the crates. Use your glue to attach the four pieces to one another, then lay your new shelf unit on its side to dry. To make sure it all stays together, leave a heavy book on top overnight.
Ideas for customizing your DIY countertop shelf
If the brown paint or the plastic legs of this DIY storage shelf don't quite match the bathroom aesthetic you're aiming for, have no fear. There are plenty of ways to customize this project to fit your desired look. The easiest swap is to choose different paint for the crates. You could use chalkboard paint to label each crate within the shelf, which is particularly useful for helping kids keep an organized bathroom. You could also use a fun wallpaper to wrap the crates instead of painting them. Finish the design with fun ribbons or fabric for an entirely unique piece.
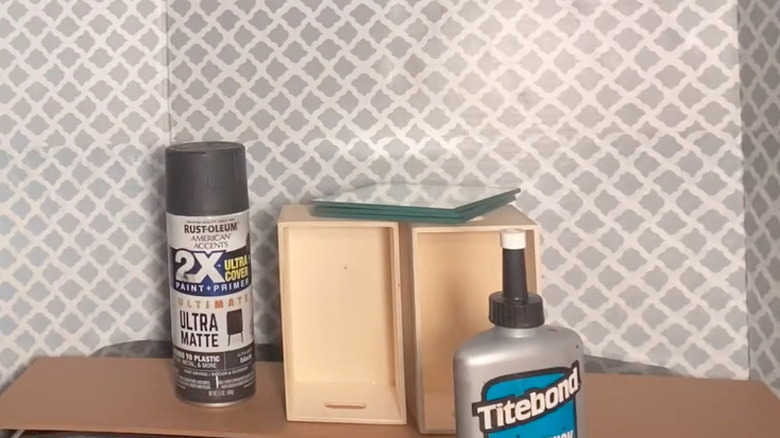
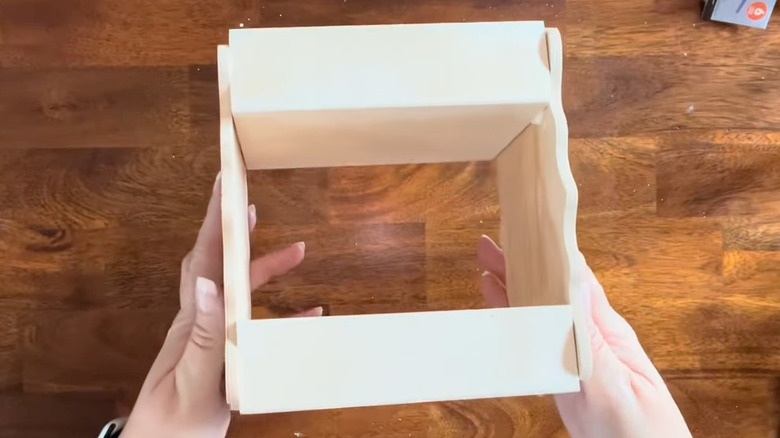
If the hanger legs aren't for you, you could follow the method from YouTube creator Happiness Created. Instead of using a hanger to attach the crates, she purchased wood shapes and used wood glue to attach them to the sides of each crate. This method leaves you with a vertical shelf unit instead of a staggered format, so it works best if you only need to store shorter items on the bottom shelf. To change up the size or add more layers, get creative with thrifted items or repurpose containers you already have.