Mistakes Everyone Makes When Laying Bathroom Tile Flooring (& How To Avoid Them)
We may receive a commission on purchases made from links.
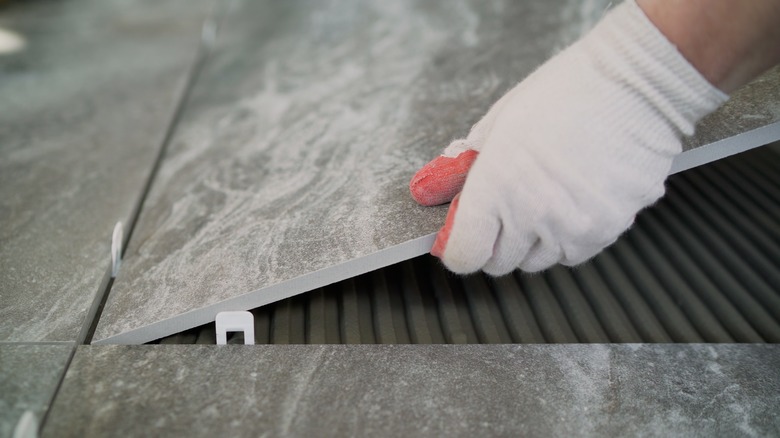
If you feel that your bathroom is due for a makeover, ripping out the old tiles and laying new ones can seem like a brilliant simple bathroom remodeling idea that breathes new life into the space. If you've been researching your retiling options, you've probably seen jaw-dropping quotes from contractors, who often charge as much as $150 per hour to do the job. At these rates, we wouldn't blame you for feeling reluctant to hire professionals for the project. The good news is that if you have some DIY experience, you can save a ton of money by tackling your bathroom tiling project yourself. The bad news is that certain tiling mistakes can endanger your safety and risk damaging your home.
All tiling projects can be somewhat treacherous. Cutting and fitting tiles is often tedious, as you must get the layouts and cuts done with great precision to get the perfect tile floor installation. Bathroom tiling projects throw in a new challenge: water. An improperly pointed shower head, a leaky toilet, or simply exiting the bathtub can soak the surrounding areas with water. This new variable makes it crucial that you avoid two common tiling errors. If you've failed to lay slip-resistant tiles on the bathroom floor, this water can turn the floor into a dangerous, slippery surface. Likewise, if you've forgotten to waterproof the bathroom floor, any water that gets on these surfaces will seep through and eventually damage the substrate. Below, we'll walk you through these tiling mistakes and how to avoid them.
Using tiles that are not slip-resistant
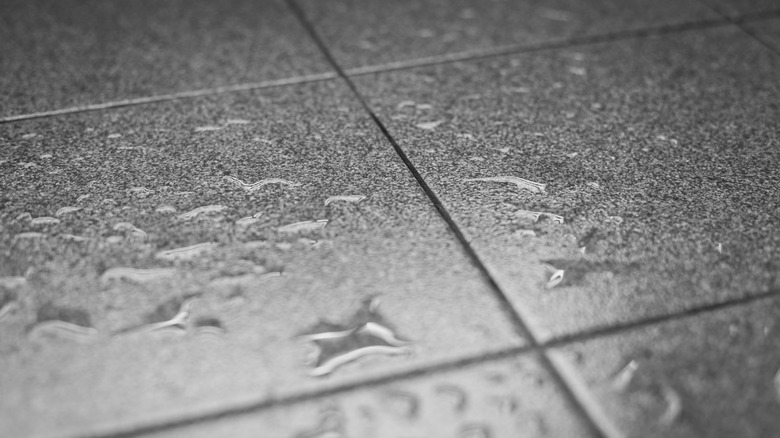
You may be drawn to the smooth, shiny look of glossy tiles, or you might think that cleaning them will be a walk in the park. But while the latter is certainly true, glossy tiles and bathrooms don't mix well. Any water that gets on them will create an immediate slipping hazard. Now, slipping and falling anywhere in the house is unpleasant and potentially dangerous. However, bathroom falls are particularly hazardous, since sharp counter edges and the toilet can do more damage to your head or limbs on your way down. Unfortunately, there is no surefire way to keep water from getting onto a bathroom floor. But using glossy tiles is a mistake that exacerbates the risk. Instead, you should tile the bathroom floors with textured or matte-finish tiles, whose rough surface provides better grip for your feet and helps keep you from slipping.
When choosing bathroom tiles, find out what their Dynamic Coefficient of Friction (DCOF) value is. This metric is usually stated in the product description. The higher the DCOF value, the more traction the tiles offer. As a rule of thumb, bathroom tiles should have a DCOF of 0.42 or higher, although a 0.60 rating is preferable.
Porcelain, ceramic, and natural stone tiles are all commonly used on bathroom floors. Porcelain non-slip tiles are known for their durability and tendency to resist wear and moisture-related damage well. Meanwhile, ceramic tiles are also easy to clean, despite their rough surface. If you opt for natural stone tiles, you'll pay more, but their porous surface will need sealing to prevent water damage.
Neglecting to install a waterproofing membrane
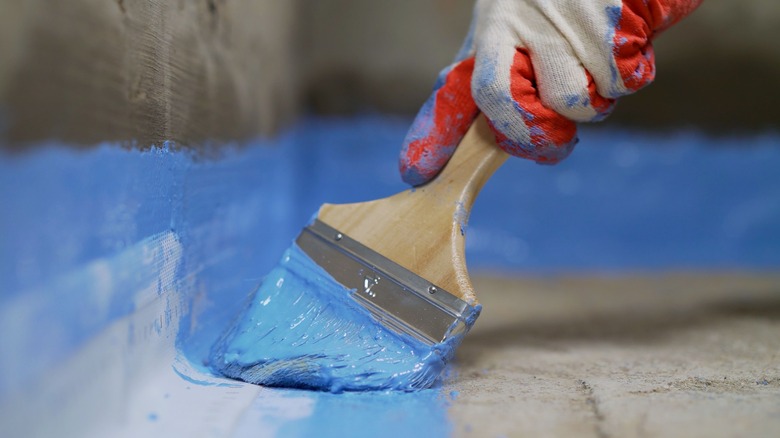
Failing to waterproof bathroom floors before tiling is another consequential error. Occasional splashes, standing water on the floor, or even water vapor from a hot shower can all make their way through the tiles and into the substrate beyond. Once it gets there, water can cause the home's wooden components to warp and seep down to the concrete foundation. Water building in the substrate can also lead to mold and mildew growth, both of which are hazardous to health. Avoid making this error by applying a waterproofing membrane to the entire bathroom — not just the shower — and sealing any crevices at the floor and wall joints.
To install bathroom waterproofing, start by clearing any debris from the substrate. Once it's perfectly clean, use a paint roller to coat the entire surface you plan to tile with a waterproofing primer, like this one from Seal-Krete. Next, identify any gaps at the wall-to-floor interface and seal them with silicone, then let the sealant cure for at least a day. With these gaps properly closed off, you can apply the waterproofing agent and membrane to the surfaces following manufacturer's instructions. The final step is to test the waterproofing system you just installed. To do this, pour a generous quantity of water onto the newly waterproofed floor, and see if it finds its way down through the membrane. If you notice the water escaping, then find the source of the leak and patch it up. If no leak presents, you can start installing the bathroom tiles.


