DIY The Cutest Menorah Drip Tray For Hanukkah With A Few Items Found At Dollar Tree
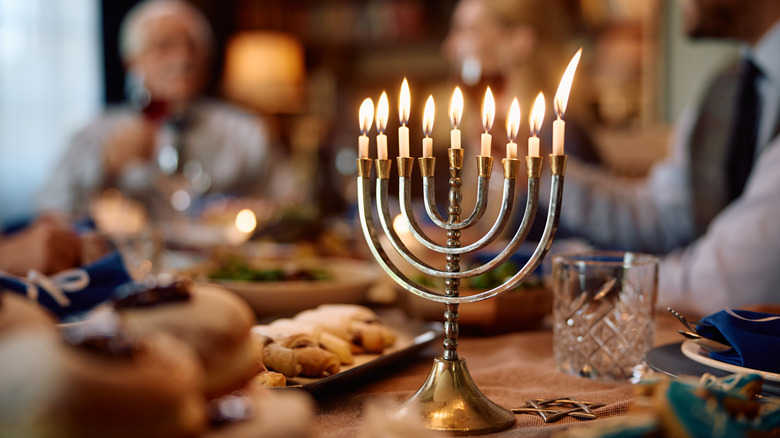
"Eight crazy nights" are approaching, and it's time to fit your menorah with a stock of fresh candles. After all, the Festival of Lights isn't complete without lighting at least two candles each night. With hours of burning for more than a week's worth of evenings, that's a lot of melted wax to collect. Why not pair function with form by making an inexpensive custom drip tray?
The clever Instagrammer responsible for @momsandcrafters, Menucha Citron Ceder, picked up a Dollar Tree picture frame and traced an image of a menorah from a printout onto the glass with paint pens. (She offers free templates at jewish.momsandcrafters.com.) Once you've colored in your design, this tray takes on a stained-glass look and will keep candle drippings contained. Topped with a DIY Hanukkah menorah made from wood scraps, this personalized addition to your holiday is sure to make memories.
What you'll need for this project is an 8-by-10 photo frame and permanent markers from Dollar Tree, and a printout coloring page with a Hanukkah image that appeals to you. We suggest this Special Moments Traditional Gold Plastic Picture Frame and a set of Jot Assorted Permanent Markers. Permanent marker ink is known to adhere to glass if you follow the right steps. If you're not confident that permanent marker will be true to its name if it's on glass, opt for paint pens like our Instagrammer did.
Stained glass lends a touch of class
Prepare both sides of the glass pane with a wash in white vinegar; this kind of vinegar is ideal for cleaning. Let it air-dry instead of towel-drying to avoid left-behind fibers. Place the glass over your design, trace it, and color in any details you'd like. Replace the glass in the frame, but make sure that the inked side is face-down; even if you've invested in a set of paint markers, dripping wax is apt to damage the ink or paint once you remove it.
Fold the frame's metal tabs over the edge of the glass to hold it in, and set it in pride of place with your menorah atop it. Since this particular DIY doesn't require you to put the frame's backing in place, it allows any pretty table linens to show through. It also contributes to the stained glass look, as the image seems to "hover" over the table beneath it.
If you'd like your tray to have a little something extra, you can place a piece of lightly patterned paper or fabric between the glass and the frame's backing instead of letting the table beneath show through. With this take on the tray, you'll want to remove the stand from the frame's backing so that the tray will sit flat on your table.
If you're not in the mood for permanent
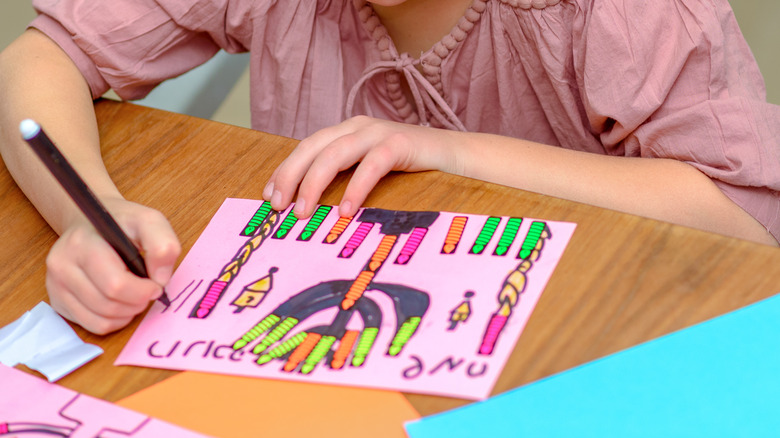
Perhaps you have little faith in your tracing ability or you tend to smudge marker ink as you draw. If so, you can shift the artistry from glass to paper. This is a pleasant option for families with children and is a clever way to display their art at home. For this version of the drip tray, you'll also need to remove the stand from the back of the frame.
Download some printable coloring pages for the young ones, and get them coloring. You can swap out the images each night to highlight each child's creations in turns. Your kids' freehand creations are even better.
There are grown-up ways to customize this craft, too. Copies of family letters or photos give a sentimental touch to your tray. Less meaningful but still attractive, an 8-by-10 piece of wrapping paper will look lovely beneath glass. You can even trim up sheets of paper in a different pattern for each night.