The Stylish & Durable Paver Alternative You'll Want To Cover Your Concrete Patio With

We may receive a commission on purchases made from links.
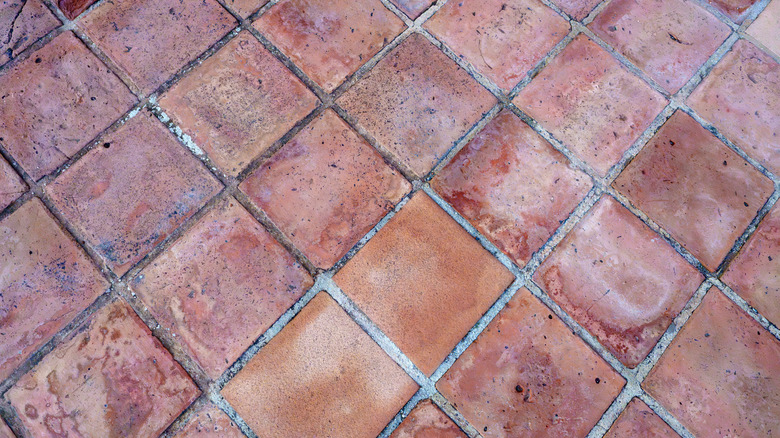
While concrete is known for being an incredibly durable material, its standard gray appearance can be dull and lifeless. While there's always the option to cover concrete with pavers as a way to upgrade your patio, this can lead to issues like the tiles being too tall or even drainage issues over time. One stylish alternative to covering a concrete patio with pavers is to use terracotta tiles. These tiles are made from clay and offer a warm-toned palette with a distinctive red hue. Installing terracotta tiles over concrete is similar to working with standard tiles, and requires prep work, tile laying, grout, and sealer. Although there are several steps to this project, even beginners can change up their concrete patios with the right tools and a bit of creativity.
Before diving into this DIY concrete patio upgrade, it's important to make sure you have all the necessary tools on hand. First, choose your terracotta floor tiles and lay them out on the surface in your desired pattern to make sure you have enough. You'll also need a mortar product like Custom Building Products Thin Set Mortar, tile spacers, grout, and sealant, as well as tools like a roller and tray for the sealer, a wet saw to cut the tiles, and a grout float. No matter what kind of DIY you're tackling, it's better to have everything you need ahead of time instead of running out to the store in the middle of the project.
How to cover your concrete patio with terracotta tiles
The first step to covering your concrete patio with terracotta tiles involves inspecting the surface for any signs of damage. Areas with cracks or chips in the surface will need to be repaired using a masonry filler – though serious damage may need professional repairs. This is also a good time to clean the concrete by sweeping or even pressure washing if there's a lot of buildup. When the concrete is ready, you should start working in small sections by applying a layer of your thinset mortar onto the concrete and placing the tile into it. Make sure to use spacers to leave room for grout, and to keep everything in place while the compound is drying.
After waiting at least 24 hours, you can move on to grouting and sealing your terracotta floor tiles. Start by using a paintbrush or roller to add a layer of penetrating sealer, which can be considered a pre-treatment to prevent moisture from affecting the tiles. Next, apply grout with your float and wipe away any excess with a damp cloth. Wait at least 24 hours before moving on to the final sealing step — in which you'll add your choice of a final protective coating. For example, a glossy finish can be a sophisticated design idea for your concrete patio, while an anti-slip coating is ideal for patios that see a lot of foot traffic.
Simple ways to customize terracotta tiles
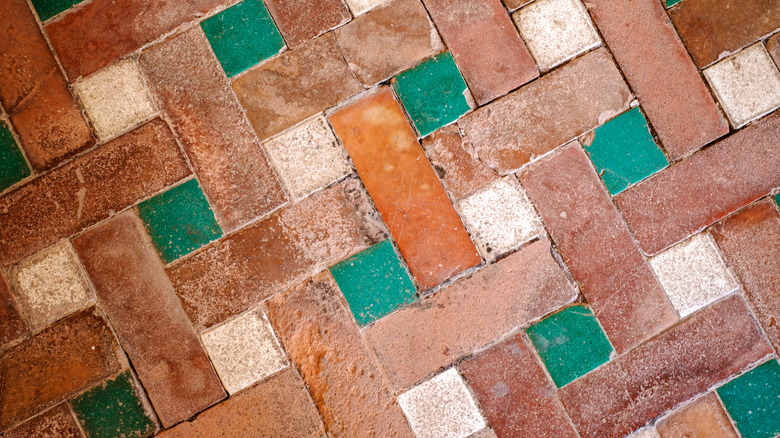
One of the best ways to customize and prevent your terracotta tiles from appearing outdated is to step outside the box when it comes to your design approach. While you should consider your overall goals for the space, options like glazing the terracotta can add a shiny finish while also protecting from moisture damage. Or, if you want an even bolder approach to customizing your terracotta tiles, consider painting some (or all) of the tiles before covering your concrete patio.
Some ways you can incorporate painted tiles into your patio design include choosing one color to strategically place as an eye-catching element or, if you're feeling particularly crafty, adding even smaller design details. One idea is using a small stencil and hand painting a design directly onto your tiles to create a border or one-of-a-kind design that you can't buy at a big box retailer.